


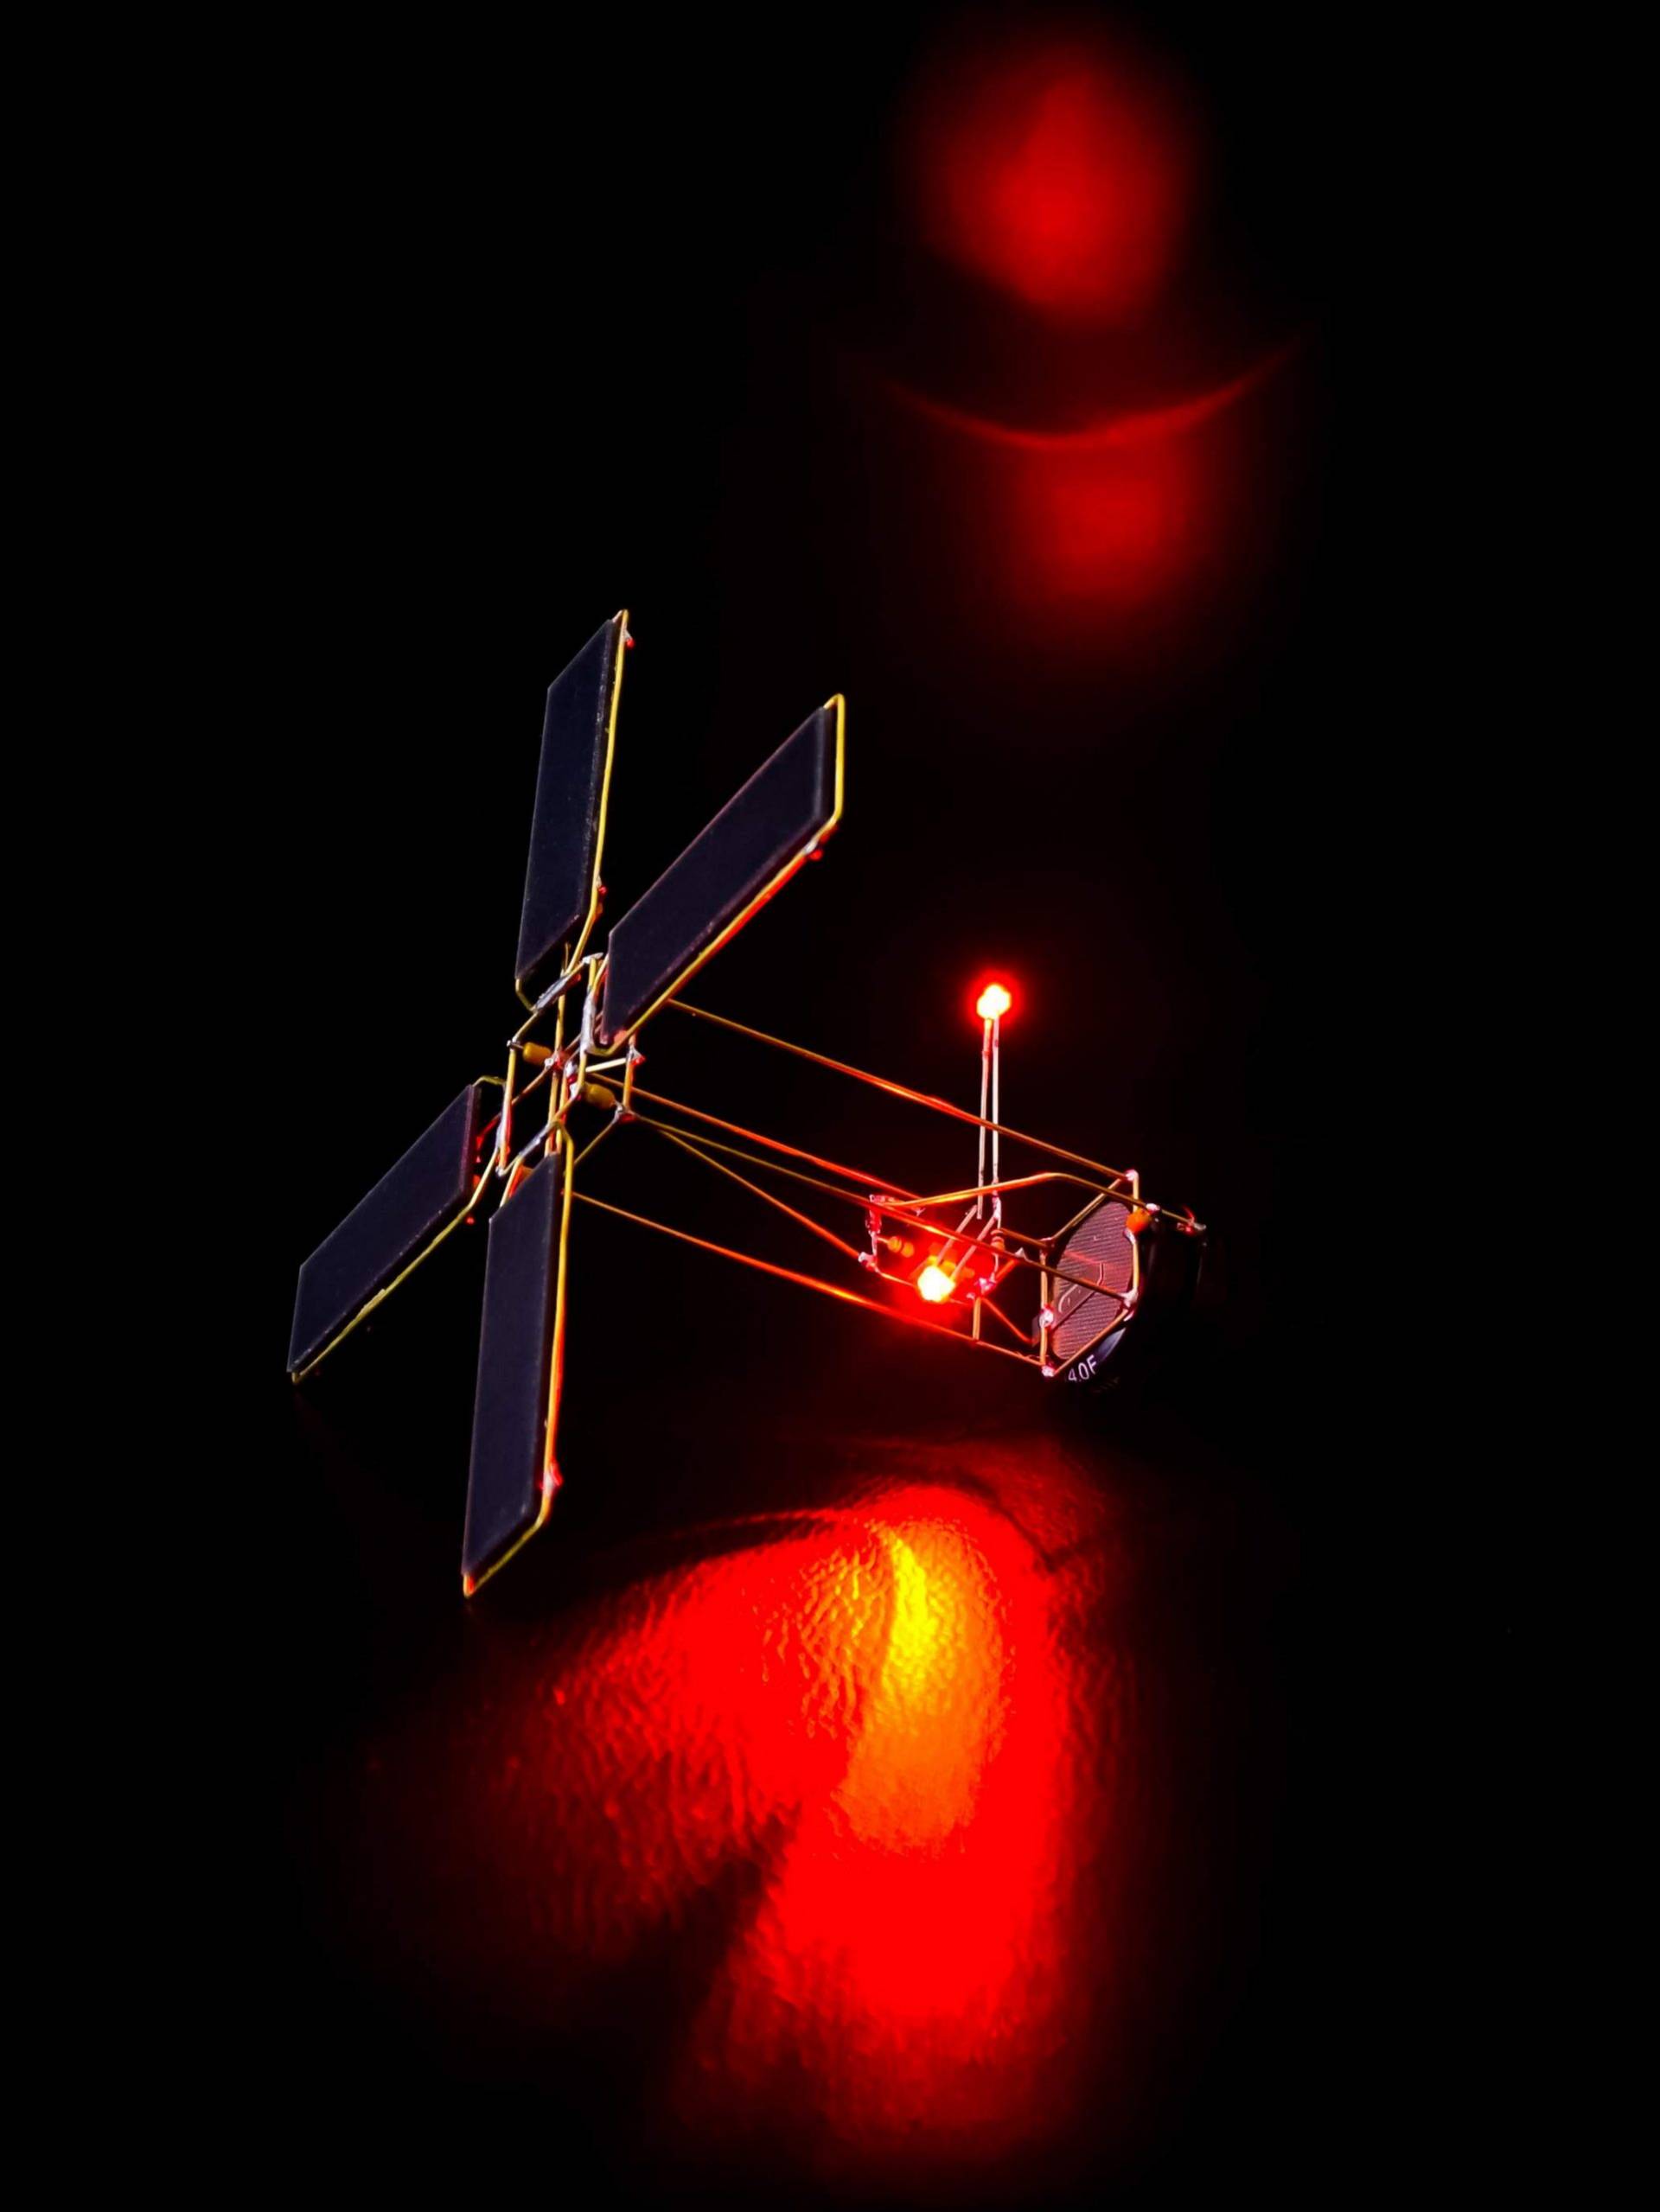


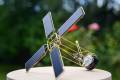

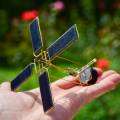


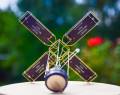


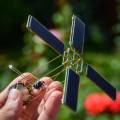


Here is a second edition of the previous satellite sculpture based on the Attiny 25 low-power version and inspired by previous design of Mohit Bhoite (https://www.bhoite.com).
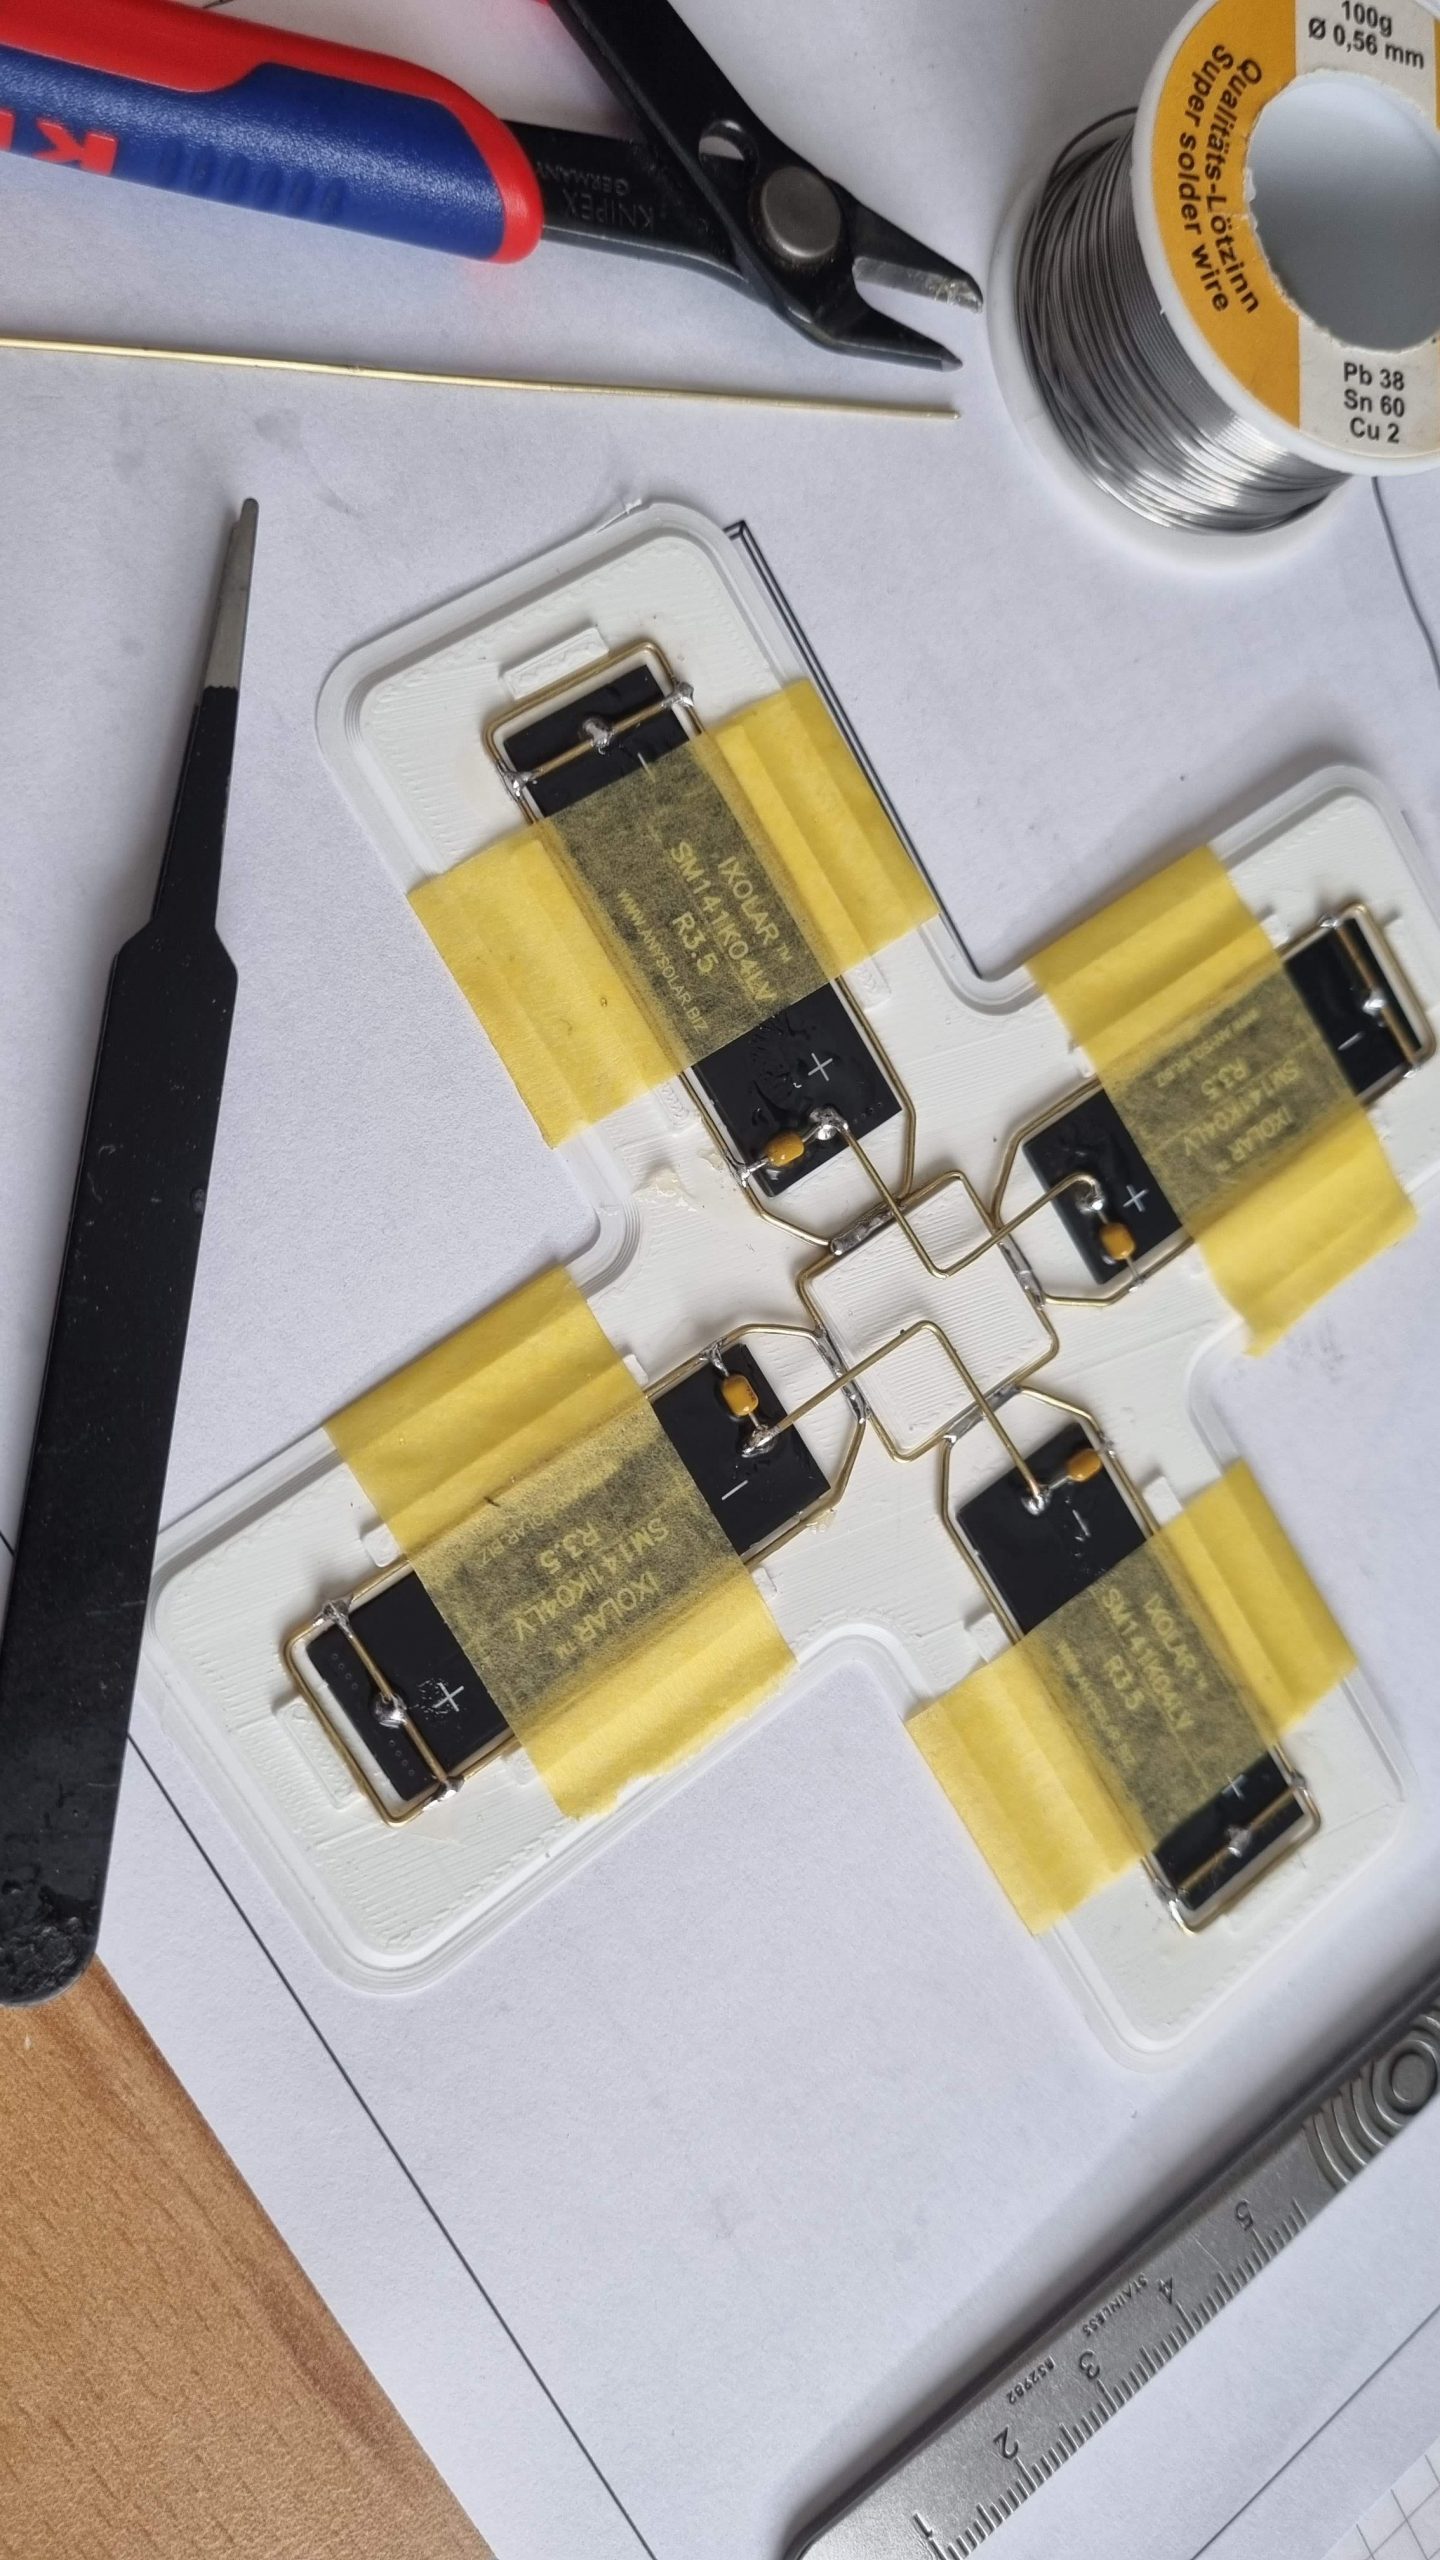
Since last time I struggled to manage symmetry and consistency with the bent brass wires, I decided this time to go with some additional help. For that, I designed some 3D-printed jigs that helped me hold the different parts in place and also bend the wires correctly so all the parts turned as they were supposed to be without having to struggle with unexpected results. I also wanted to ensure that the process was repeatable.
Contents
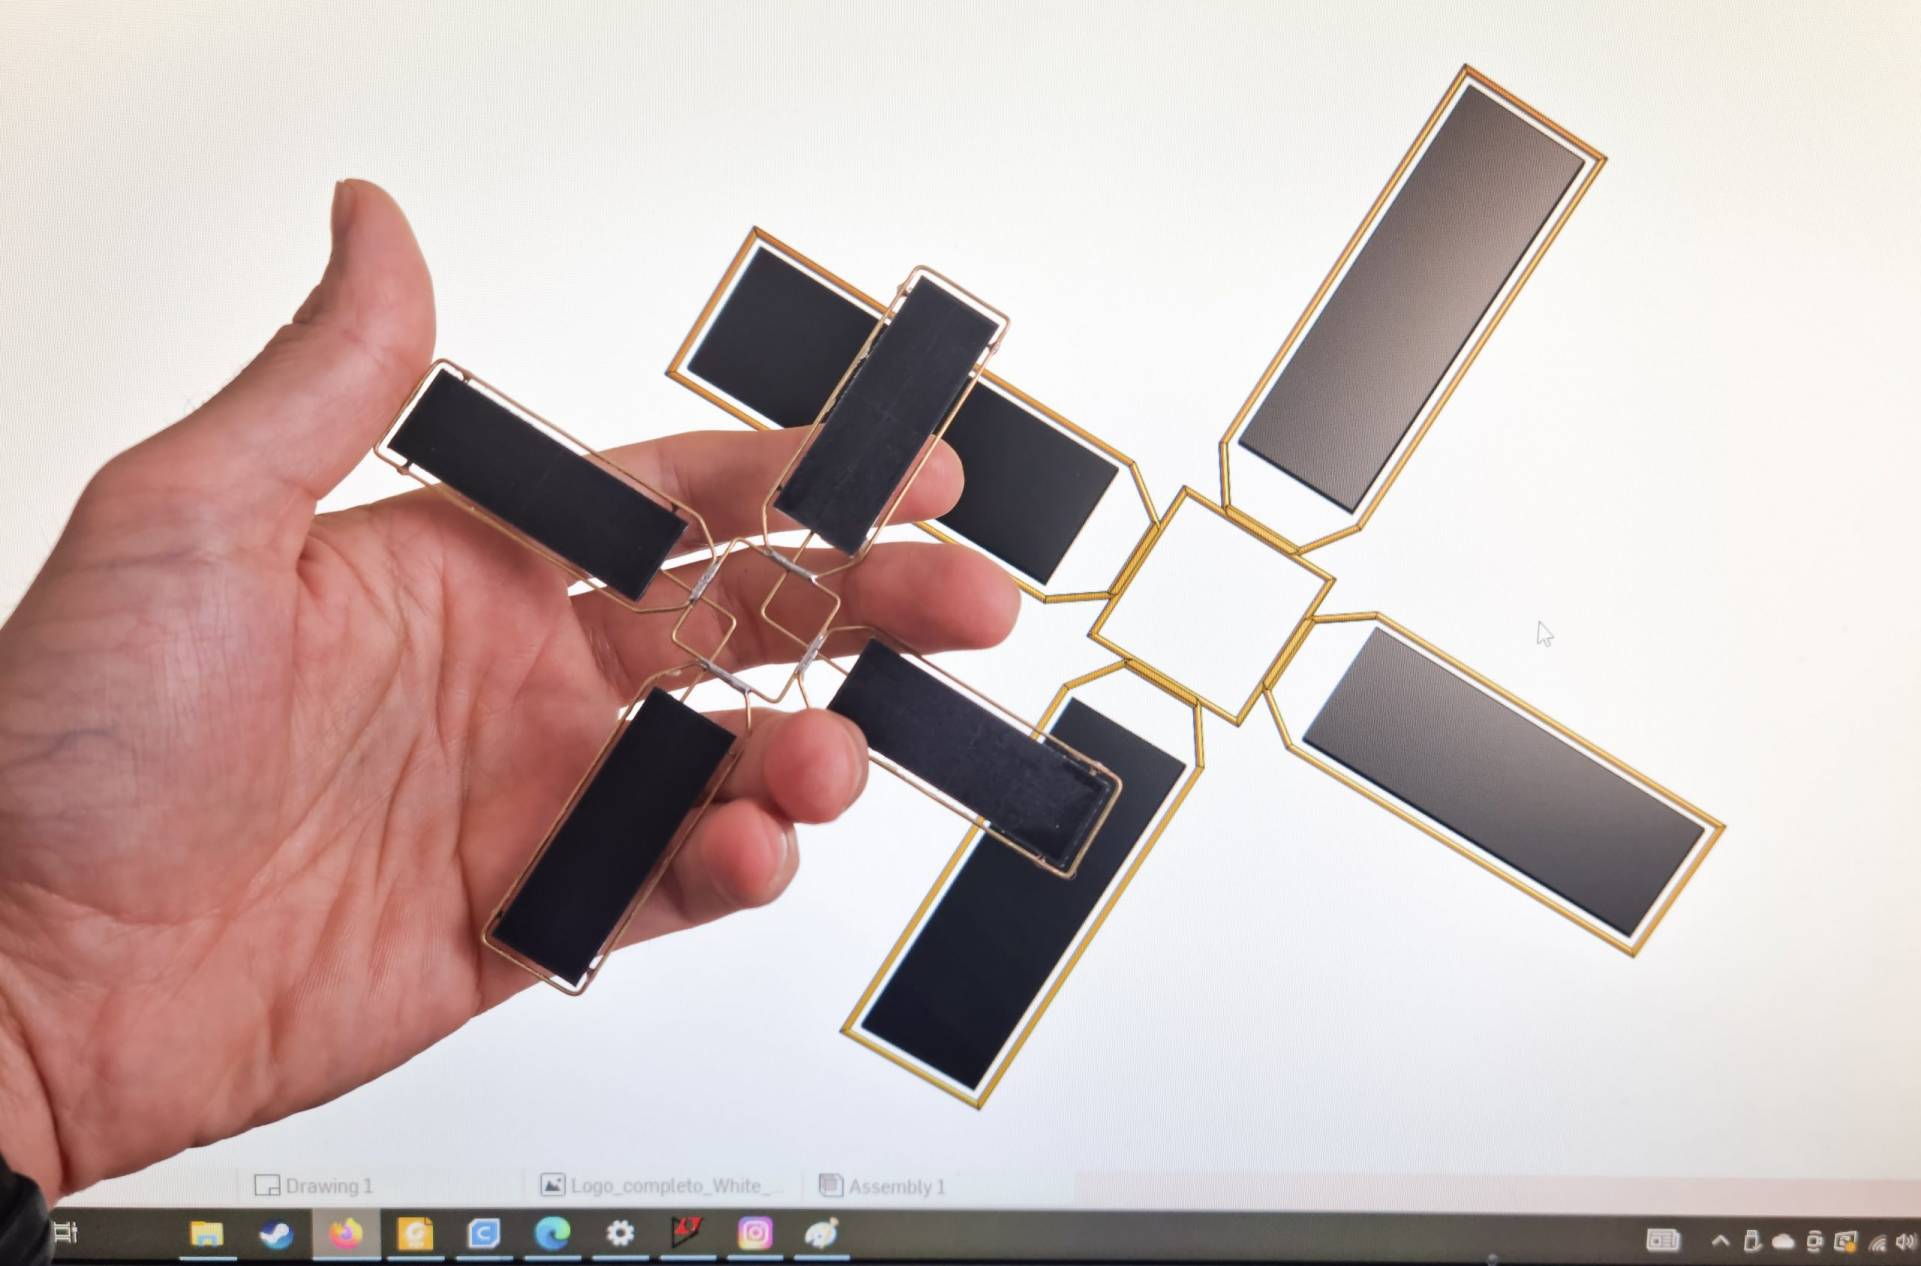
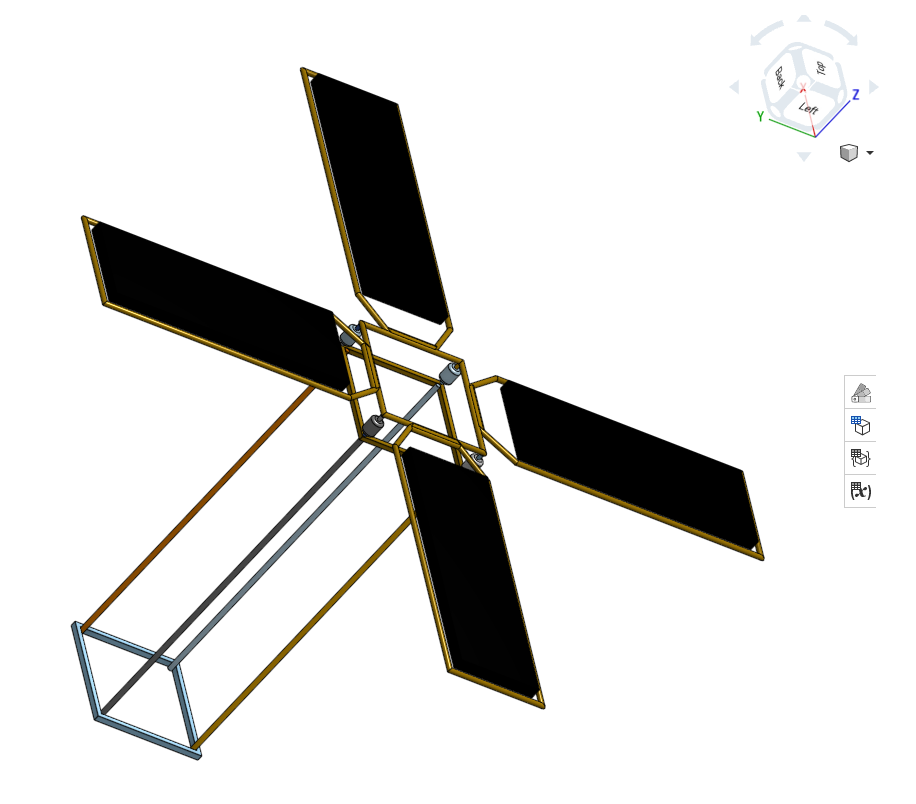
The design process
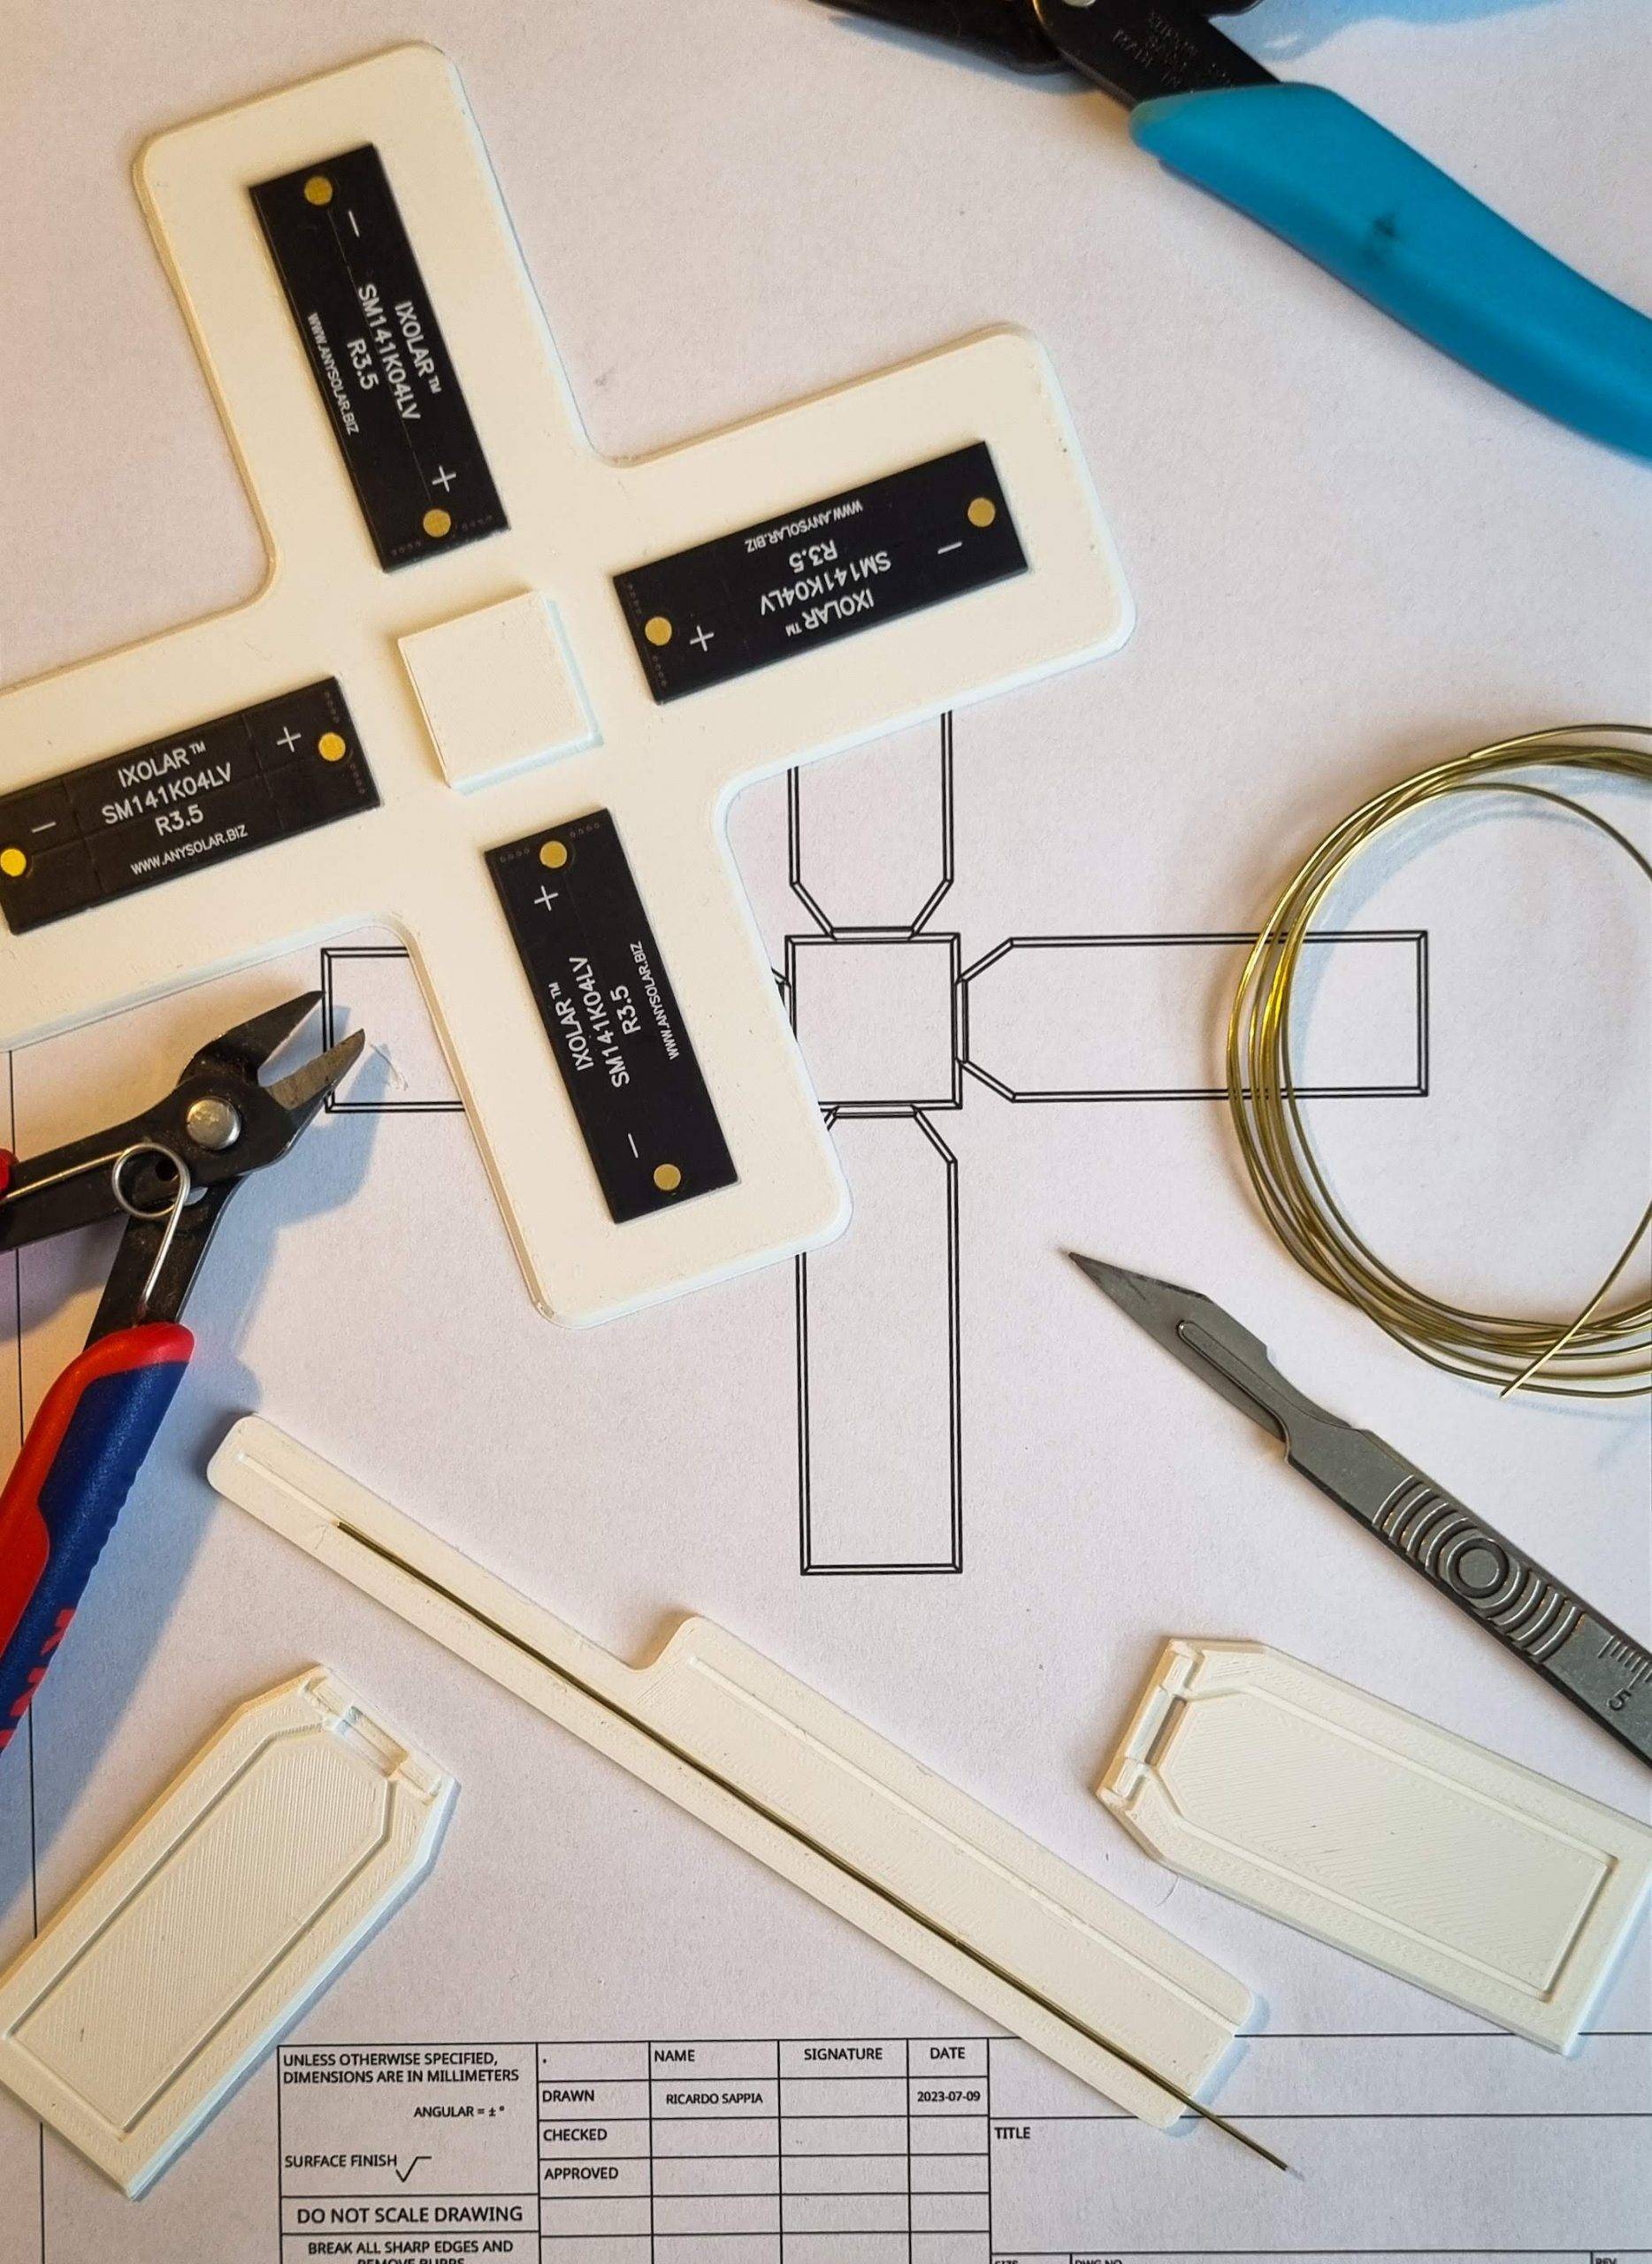
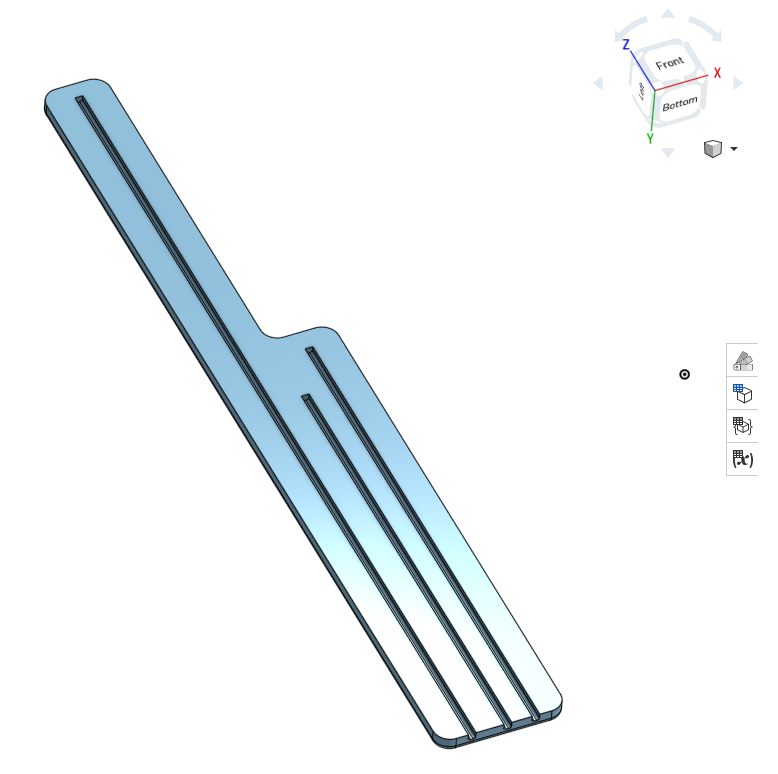
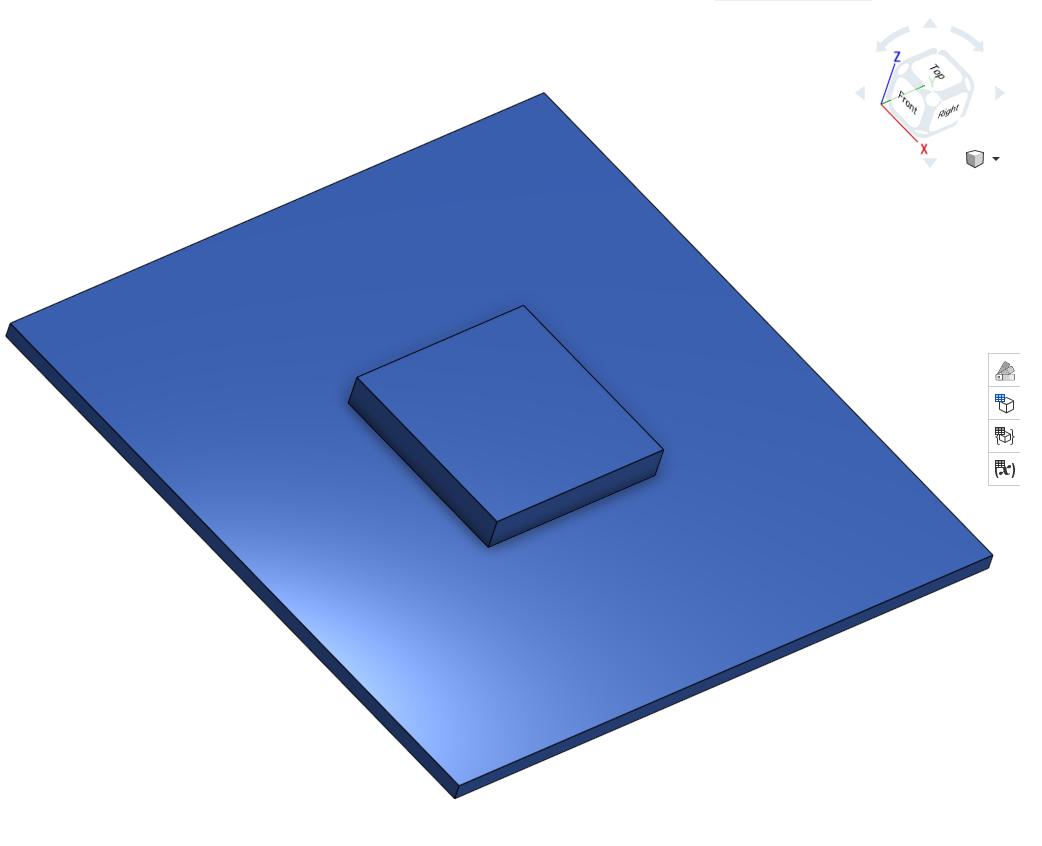
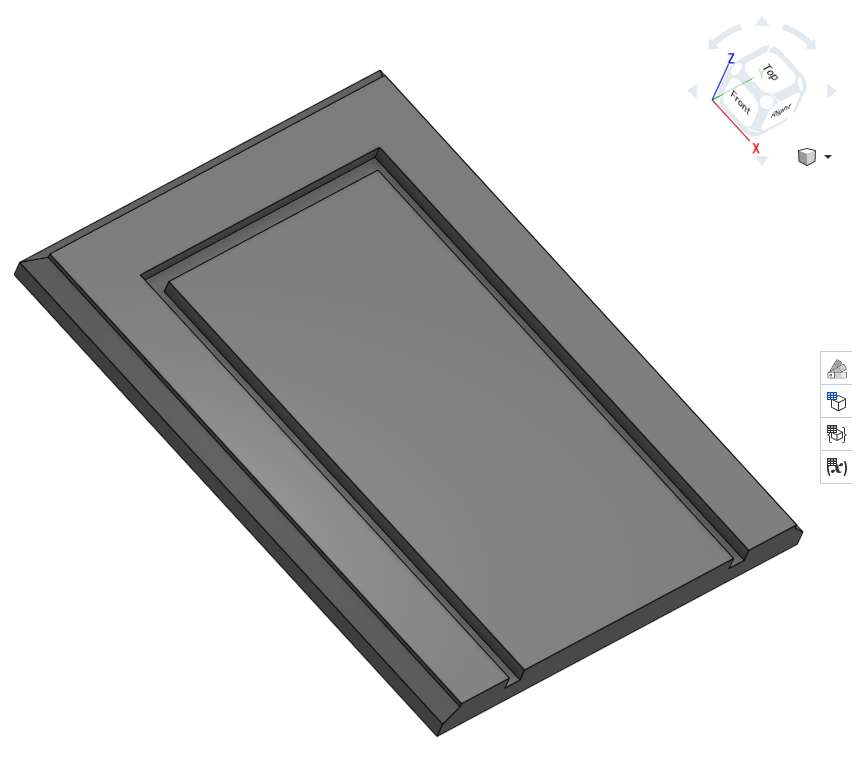
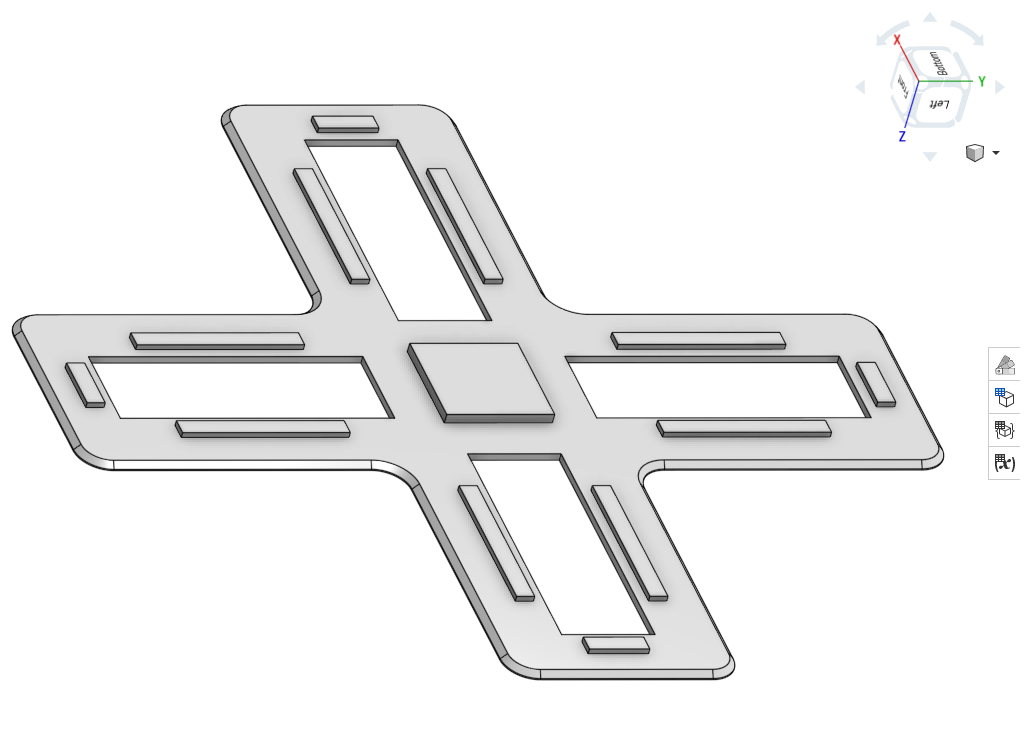
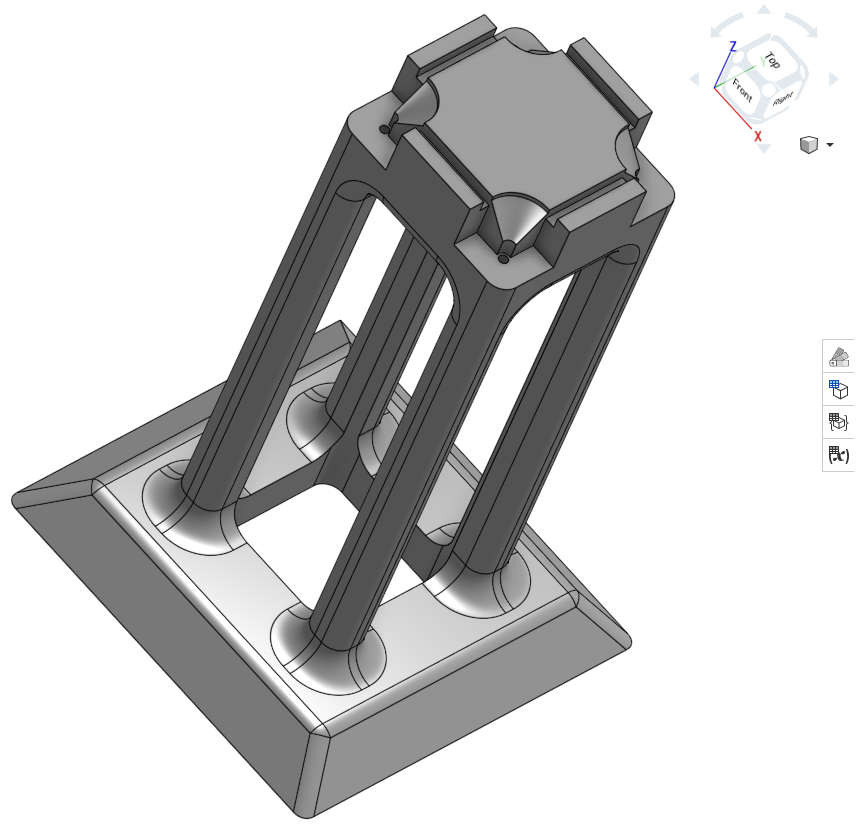
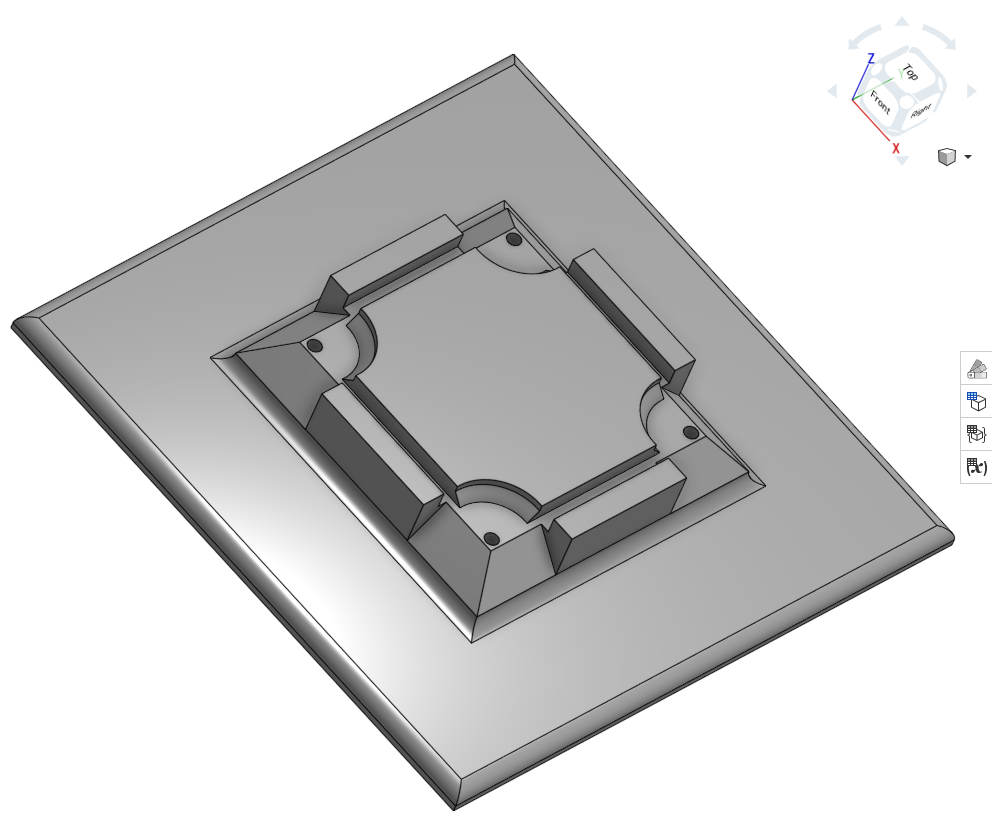
As a first step, I draw in OnShape how the satellite structure should look like, having in mind the solar-cells dimensions and the final size I was aiming for. Almost all of the dimensions are related to the solar cells size and implemented as variables so in case a different solar cell form factor is needed it only takes to change two values and the 3D design will update itself to allocate the new cells 🙂 I am planning to play with this in the near future and do a micro version variant without having to go through the whole process again. The jigs are also automatically calculated and generated!
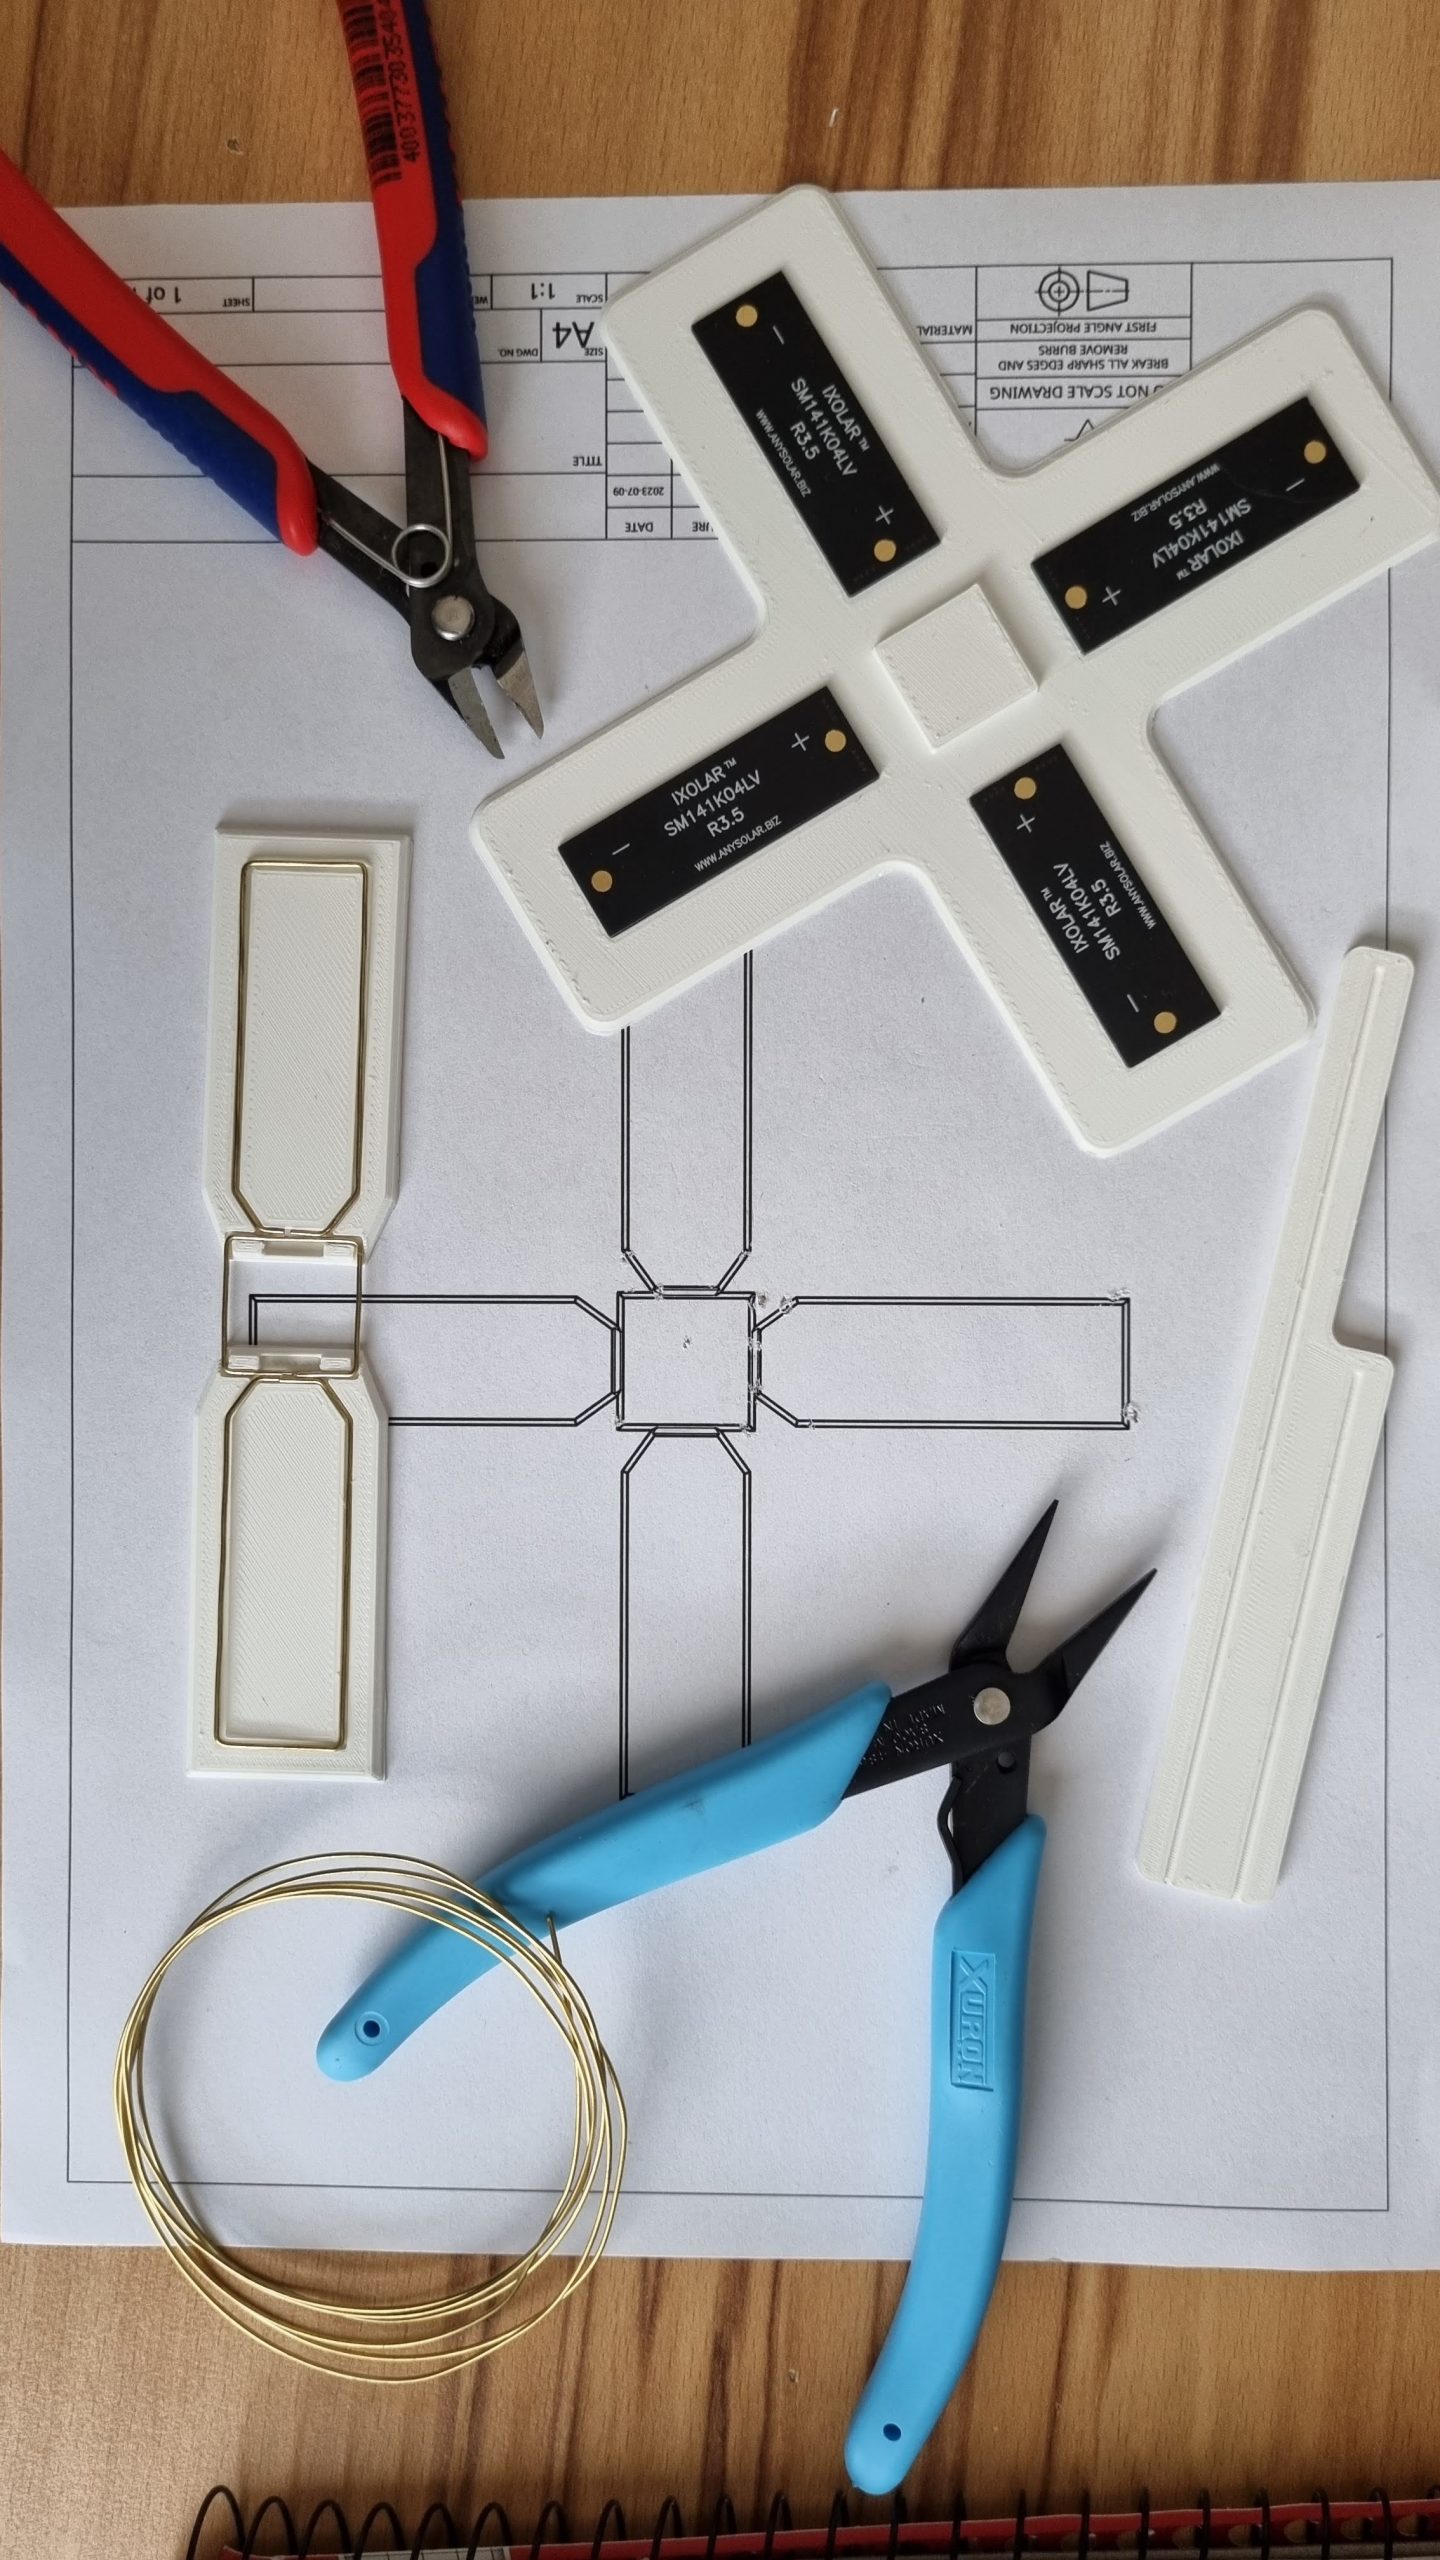
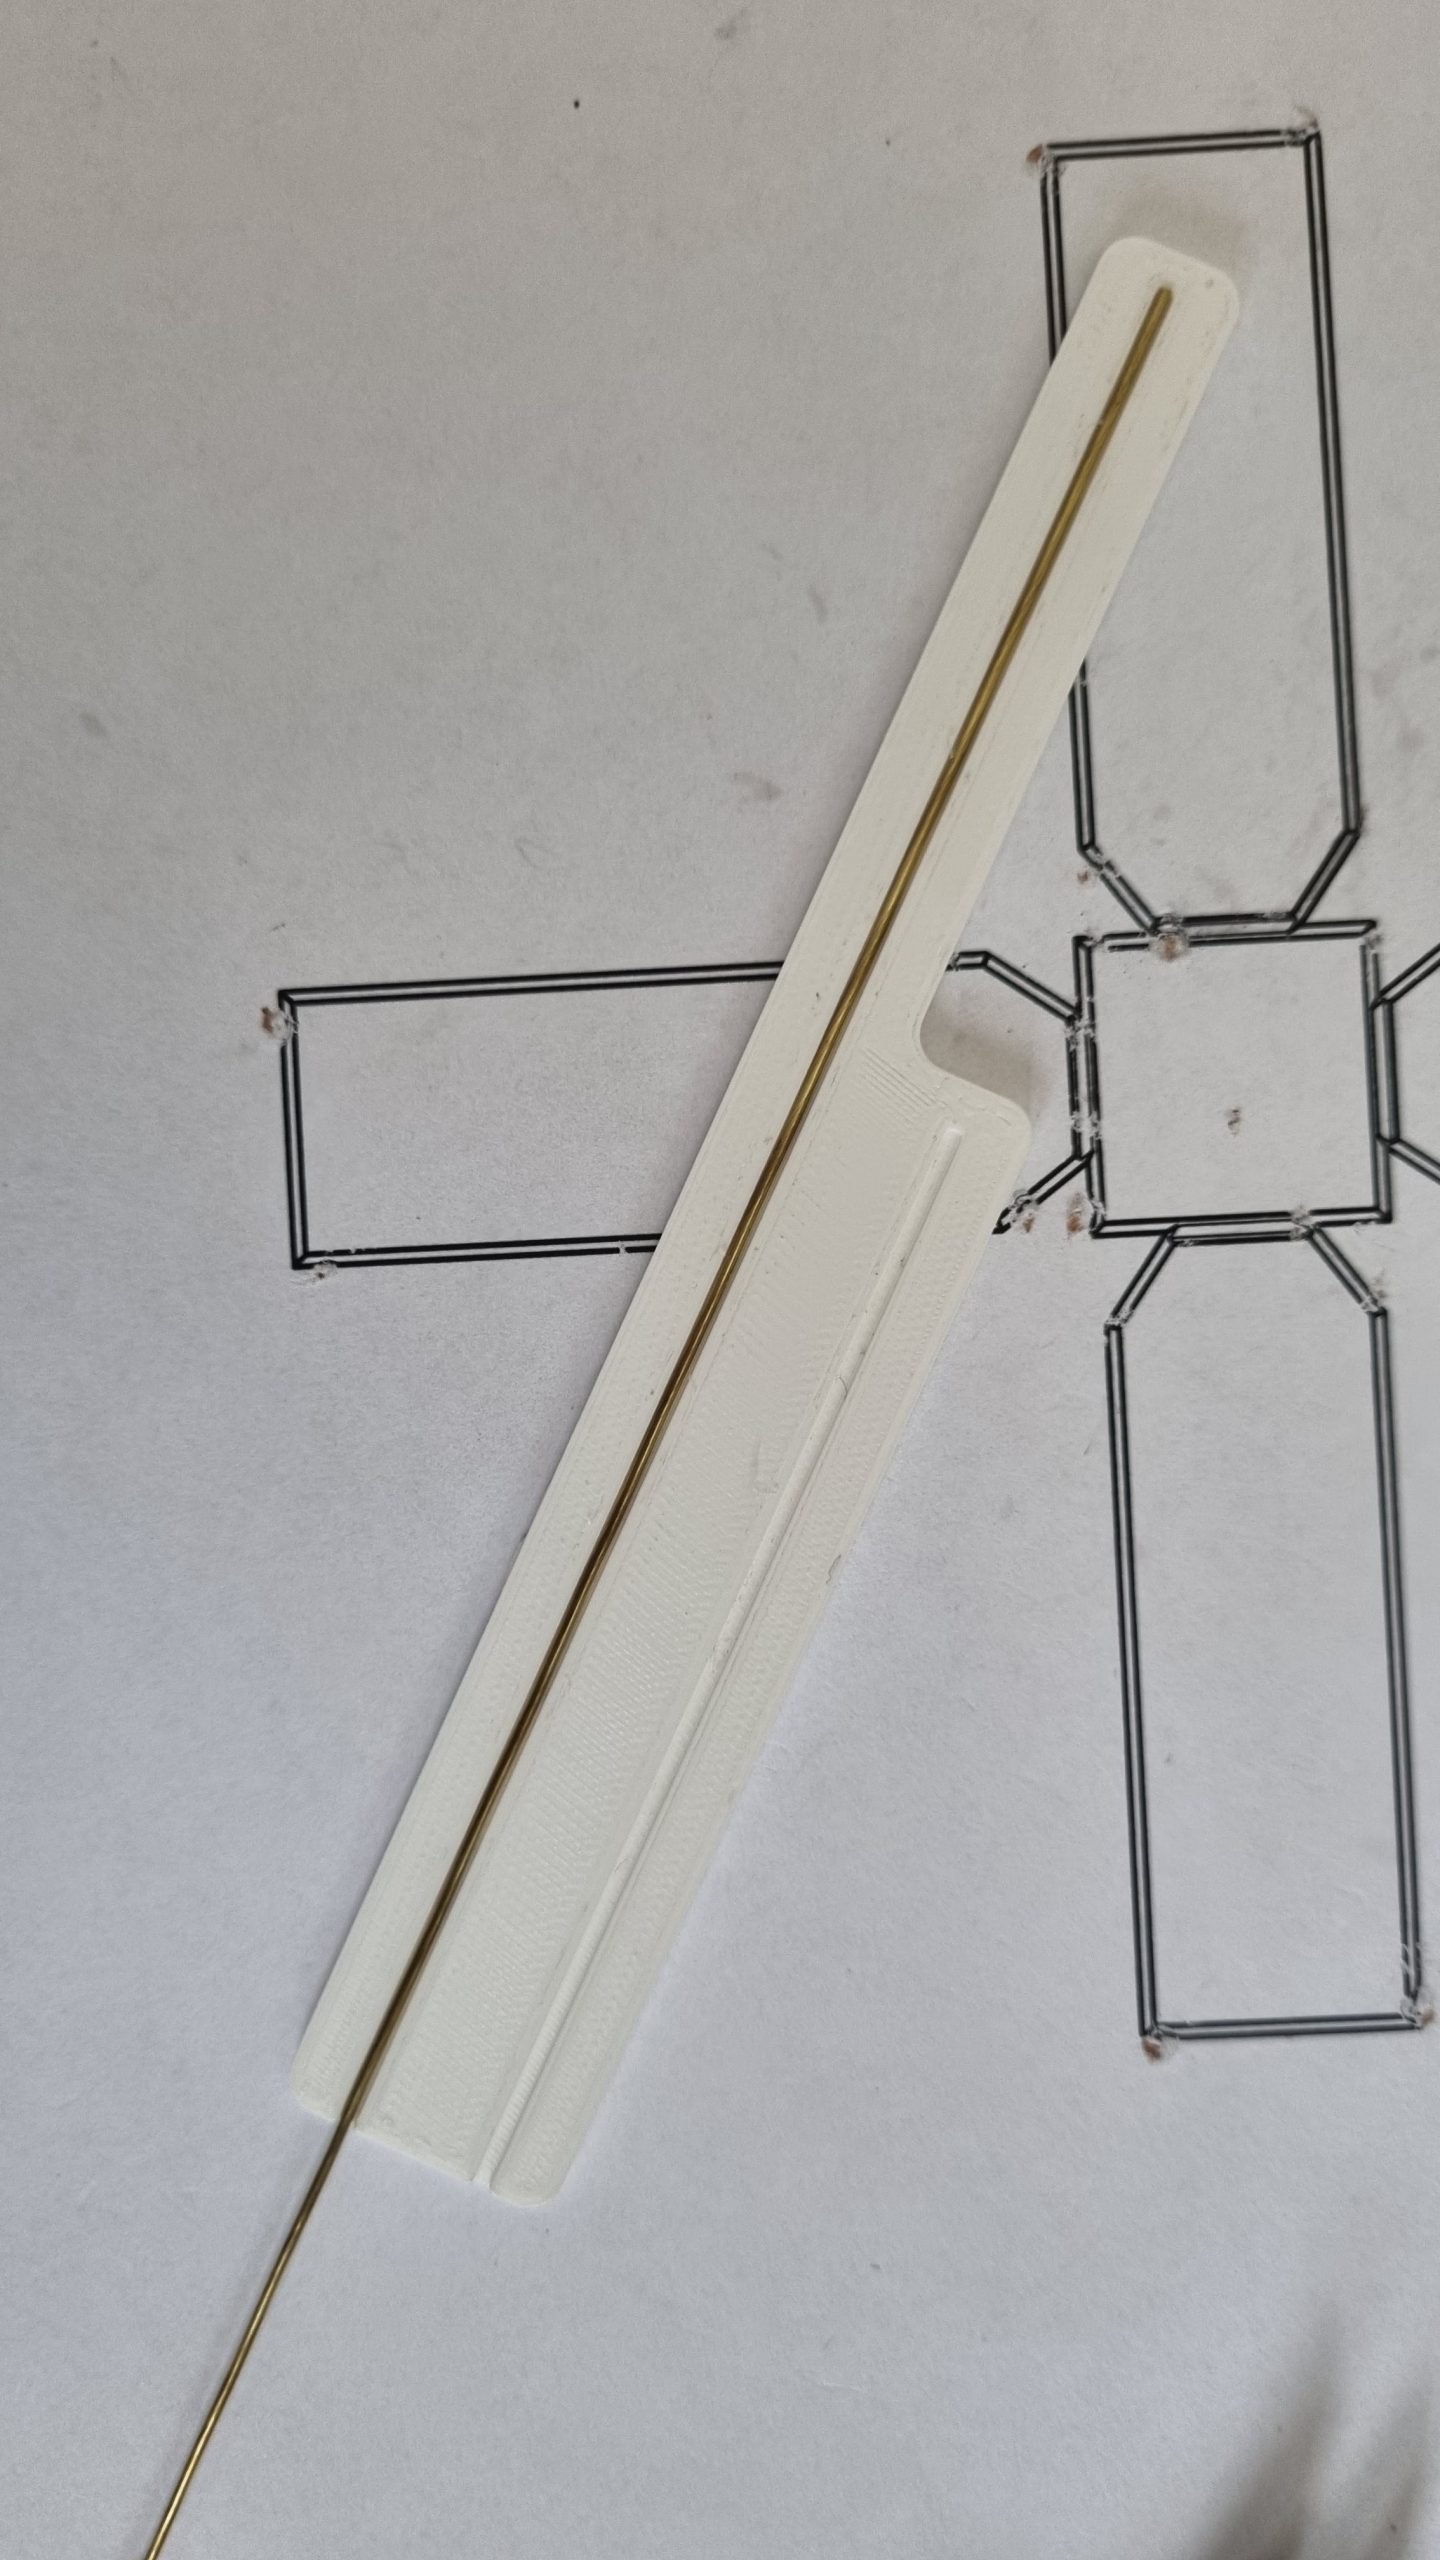
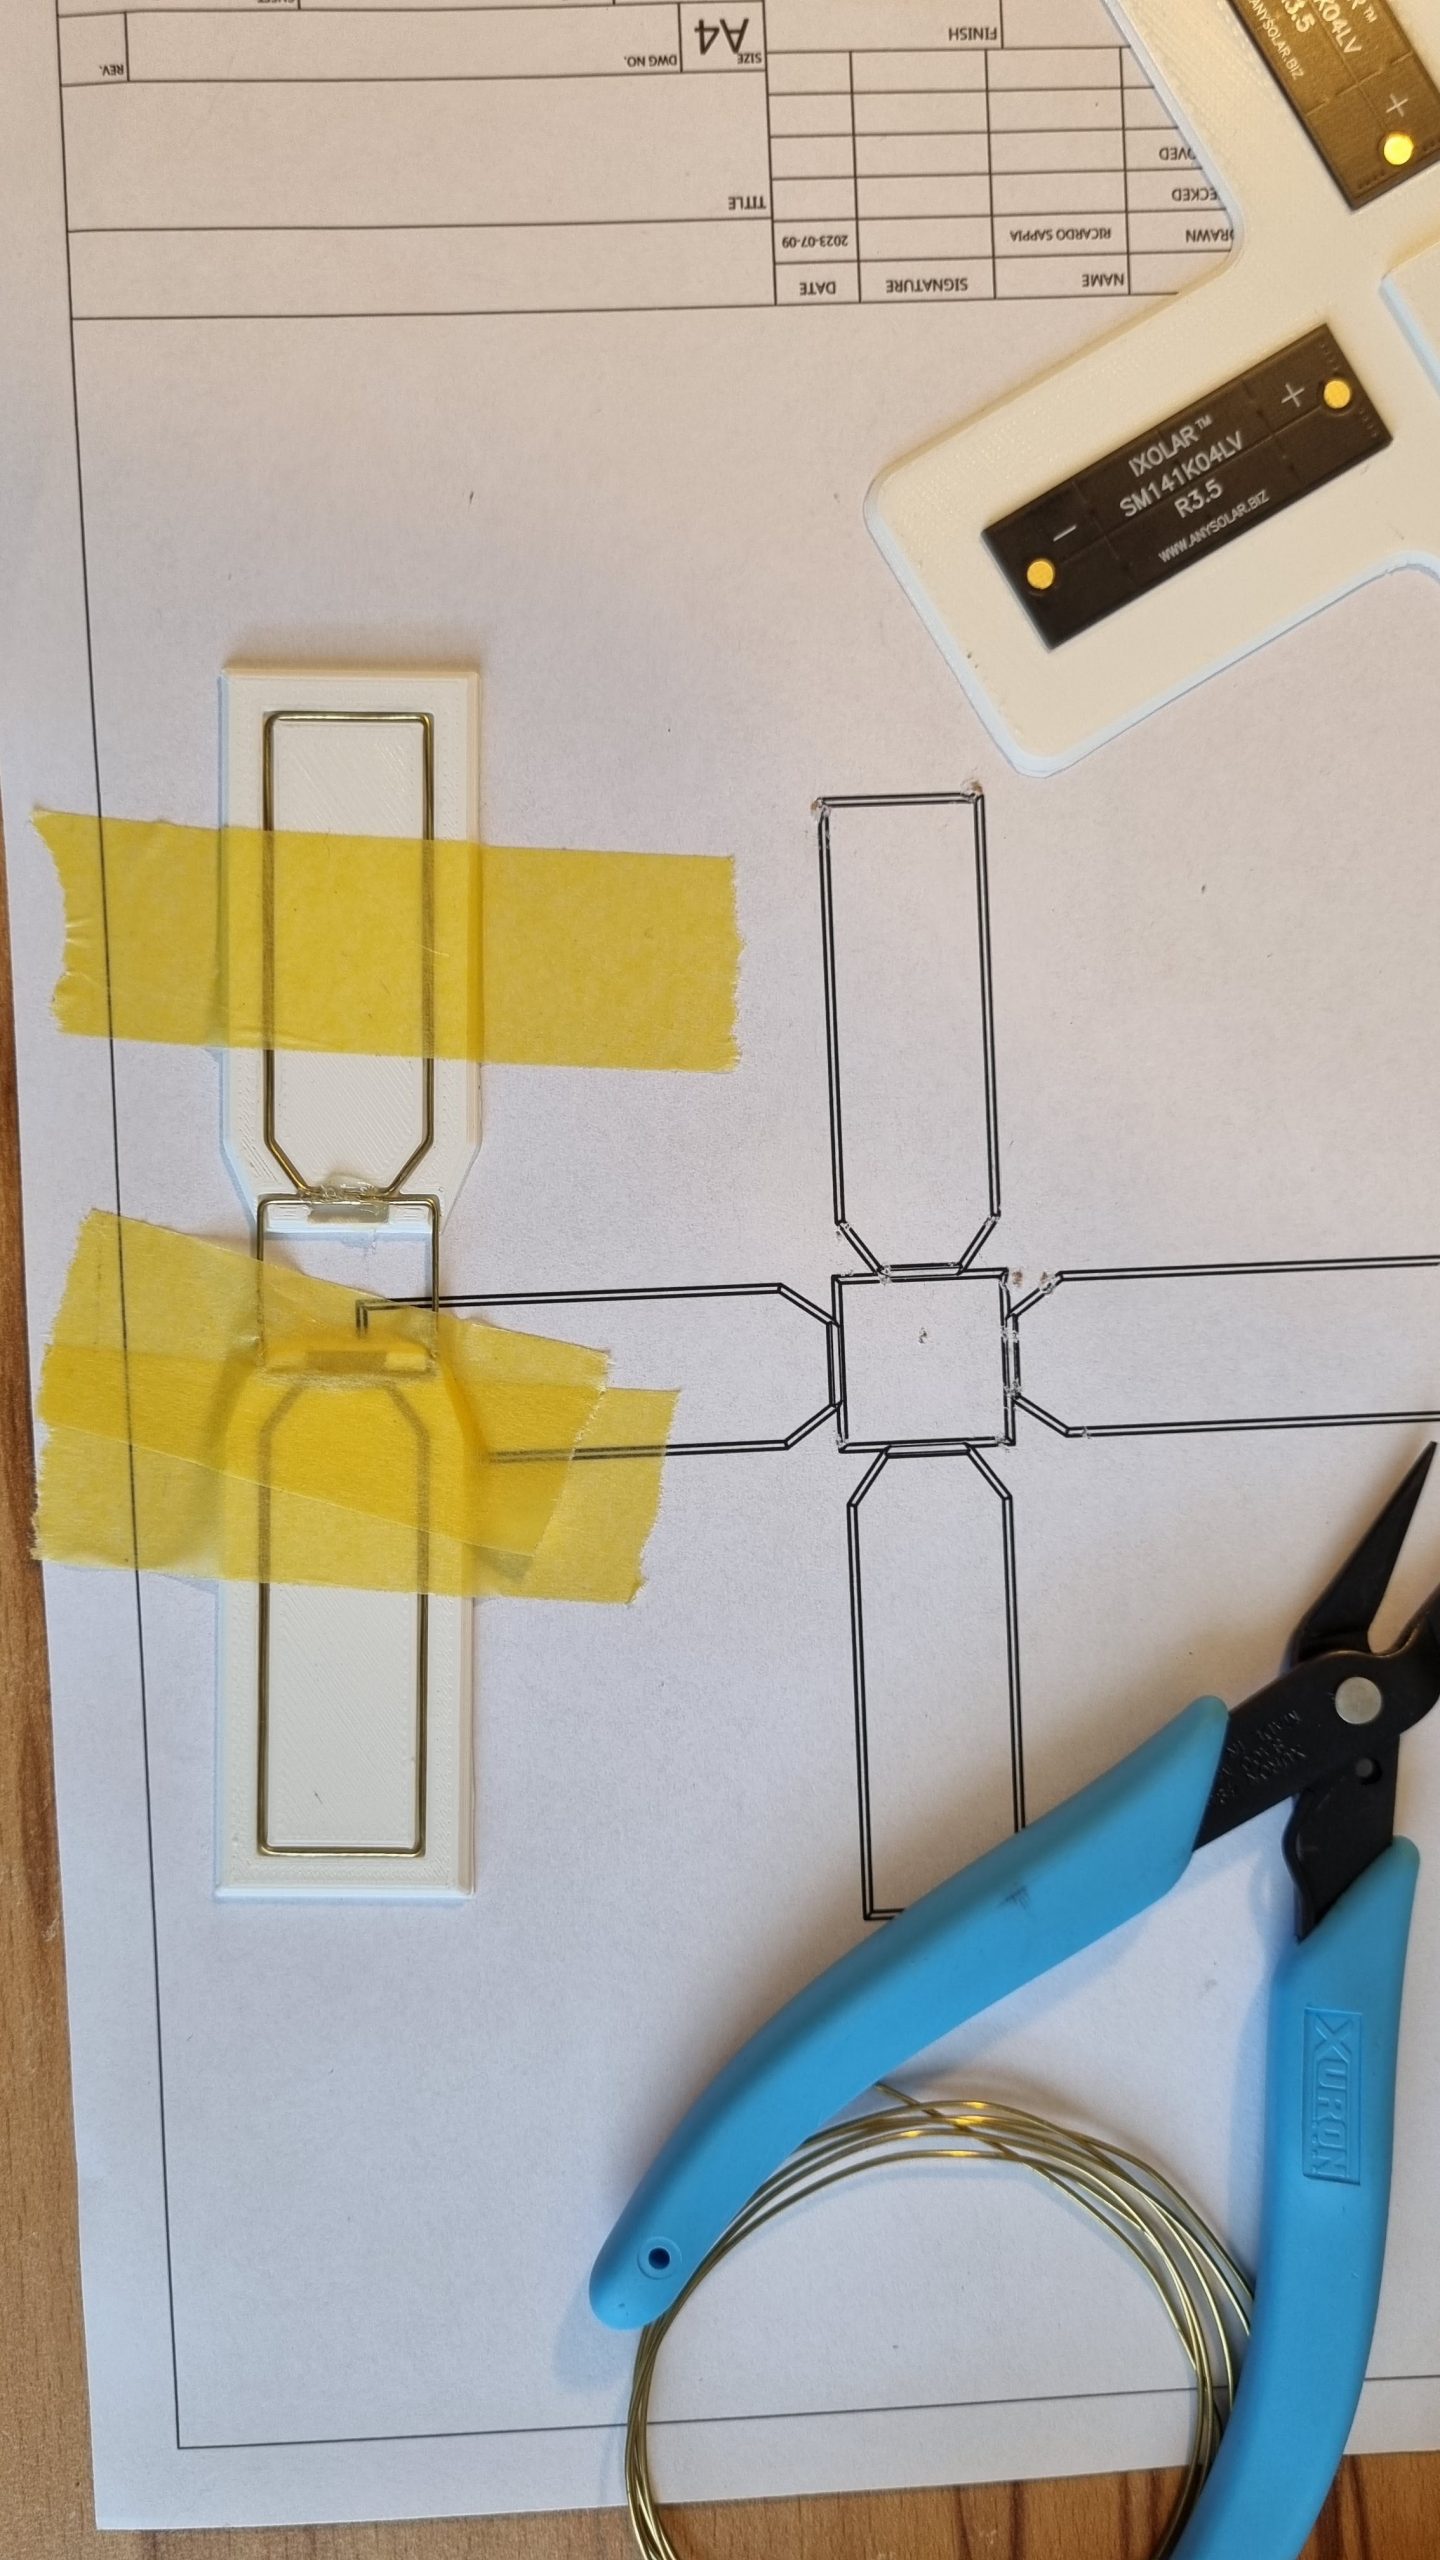
A PDF is included under the Thingiverse files section. It can be used as a reference if printed at 1:1 scale.

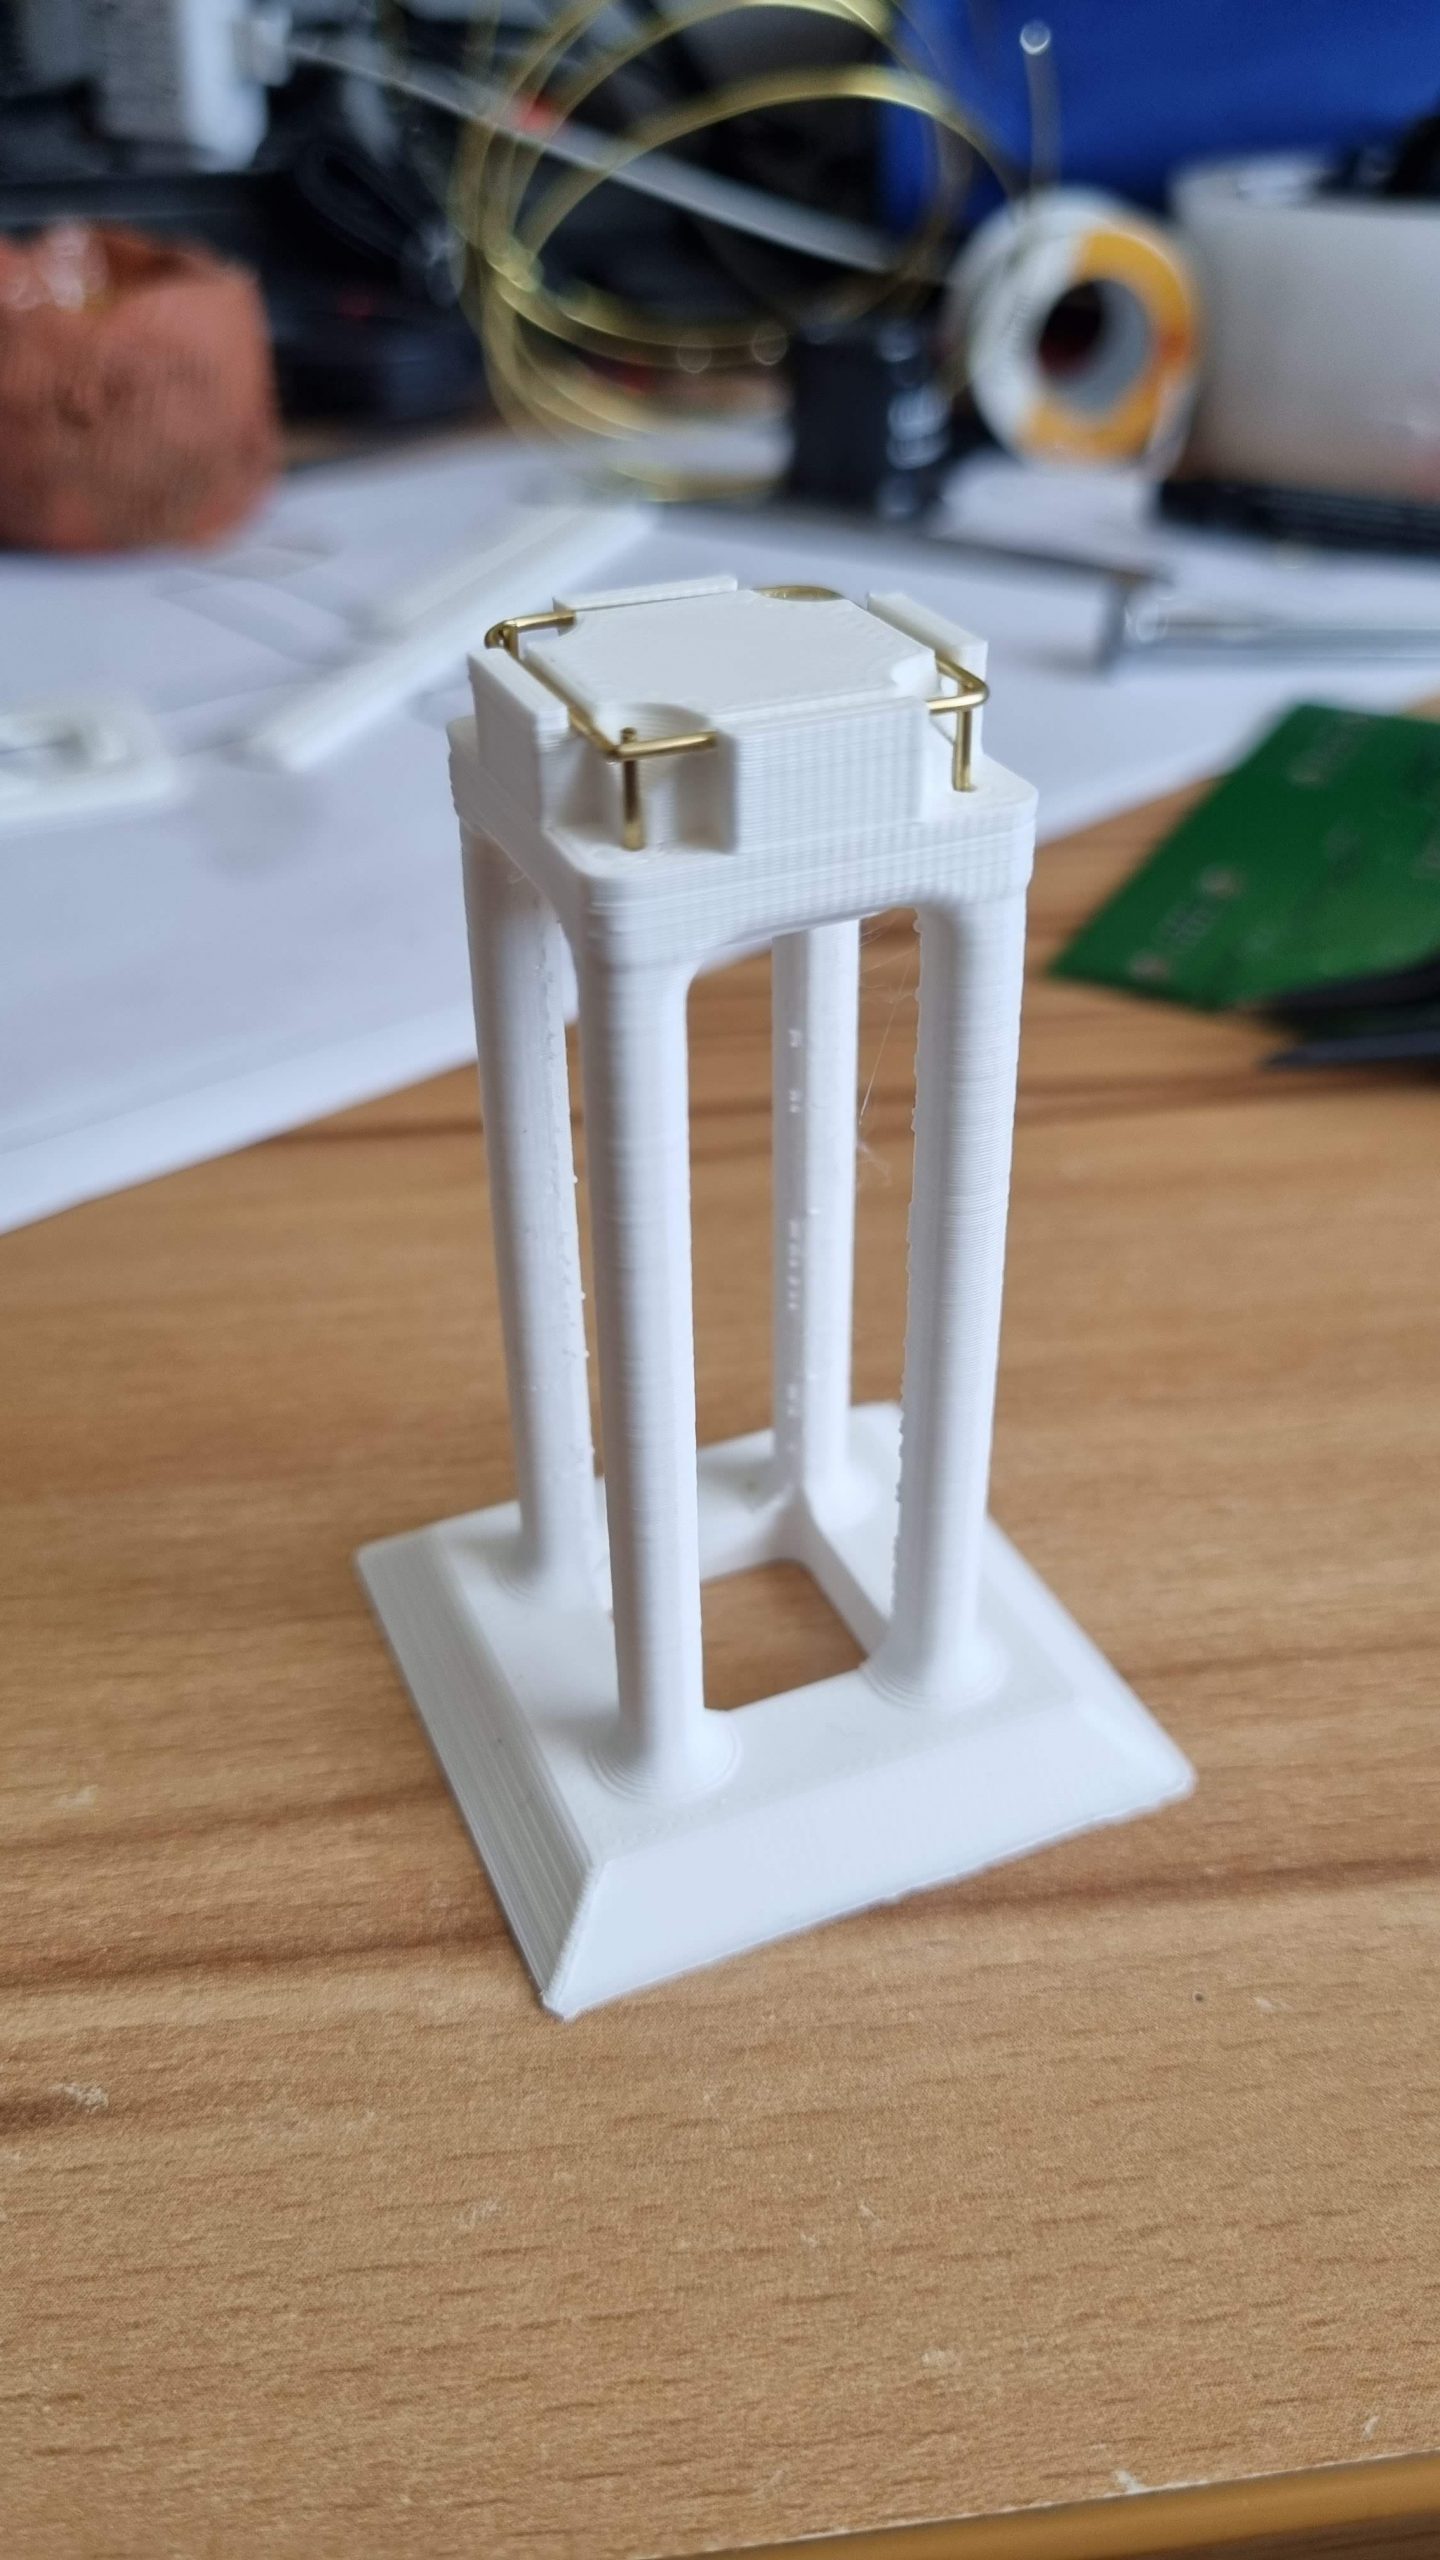
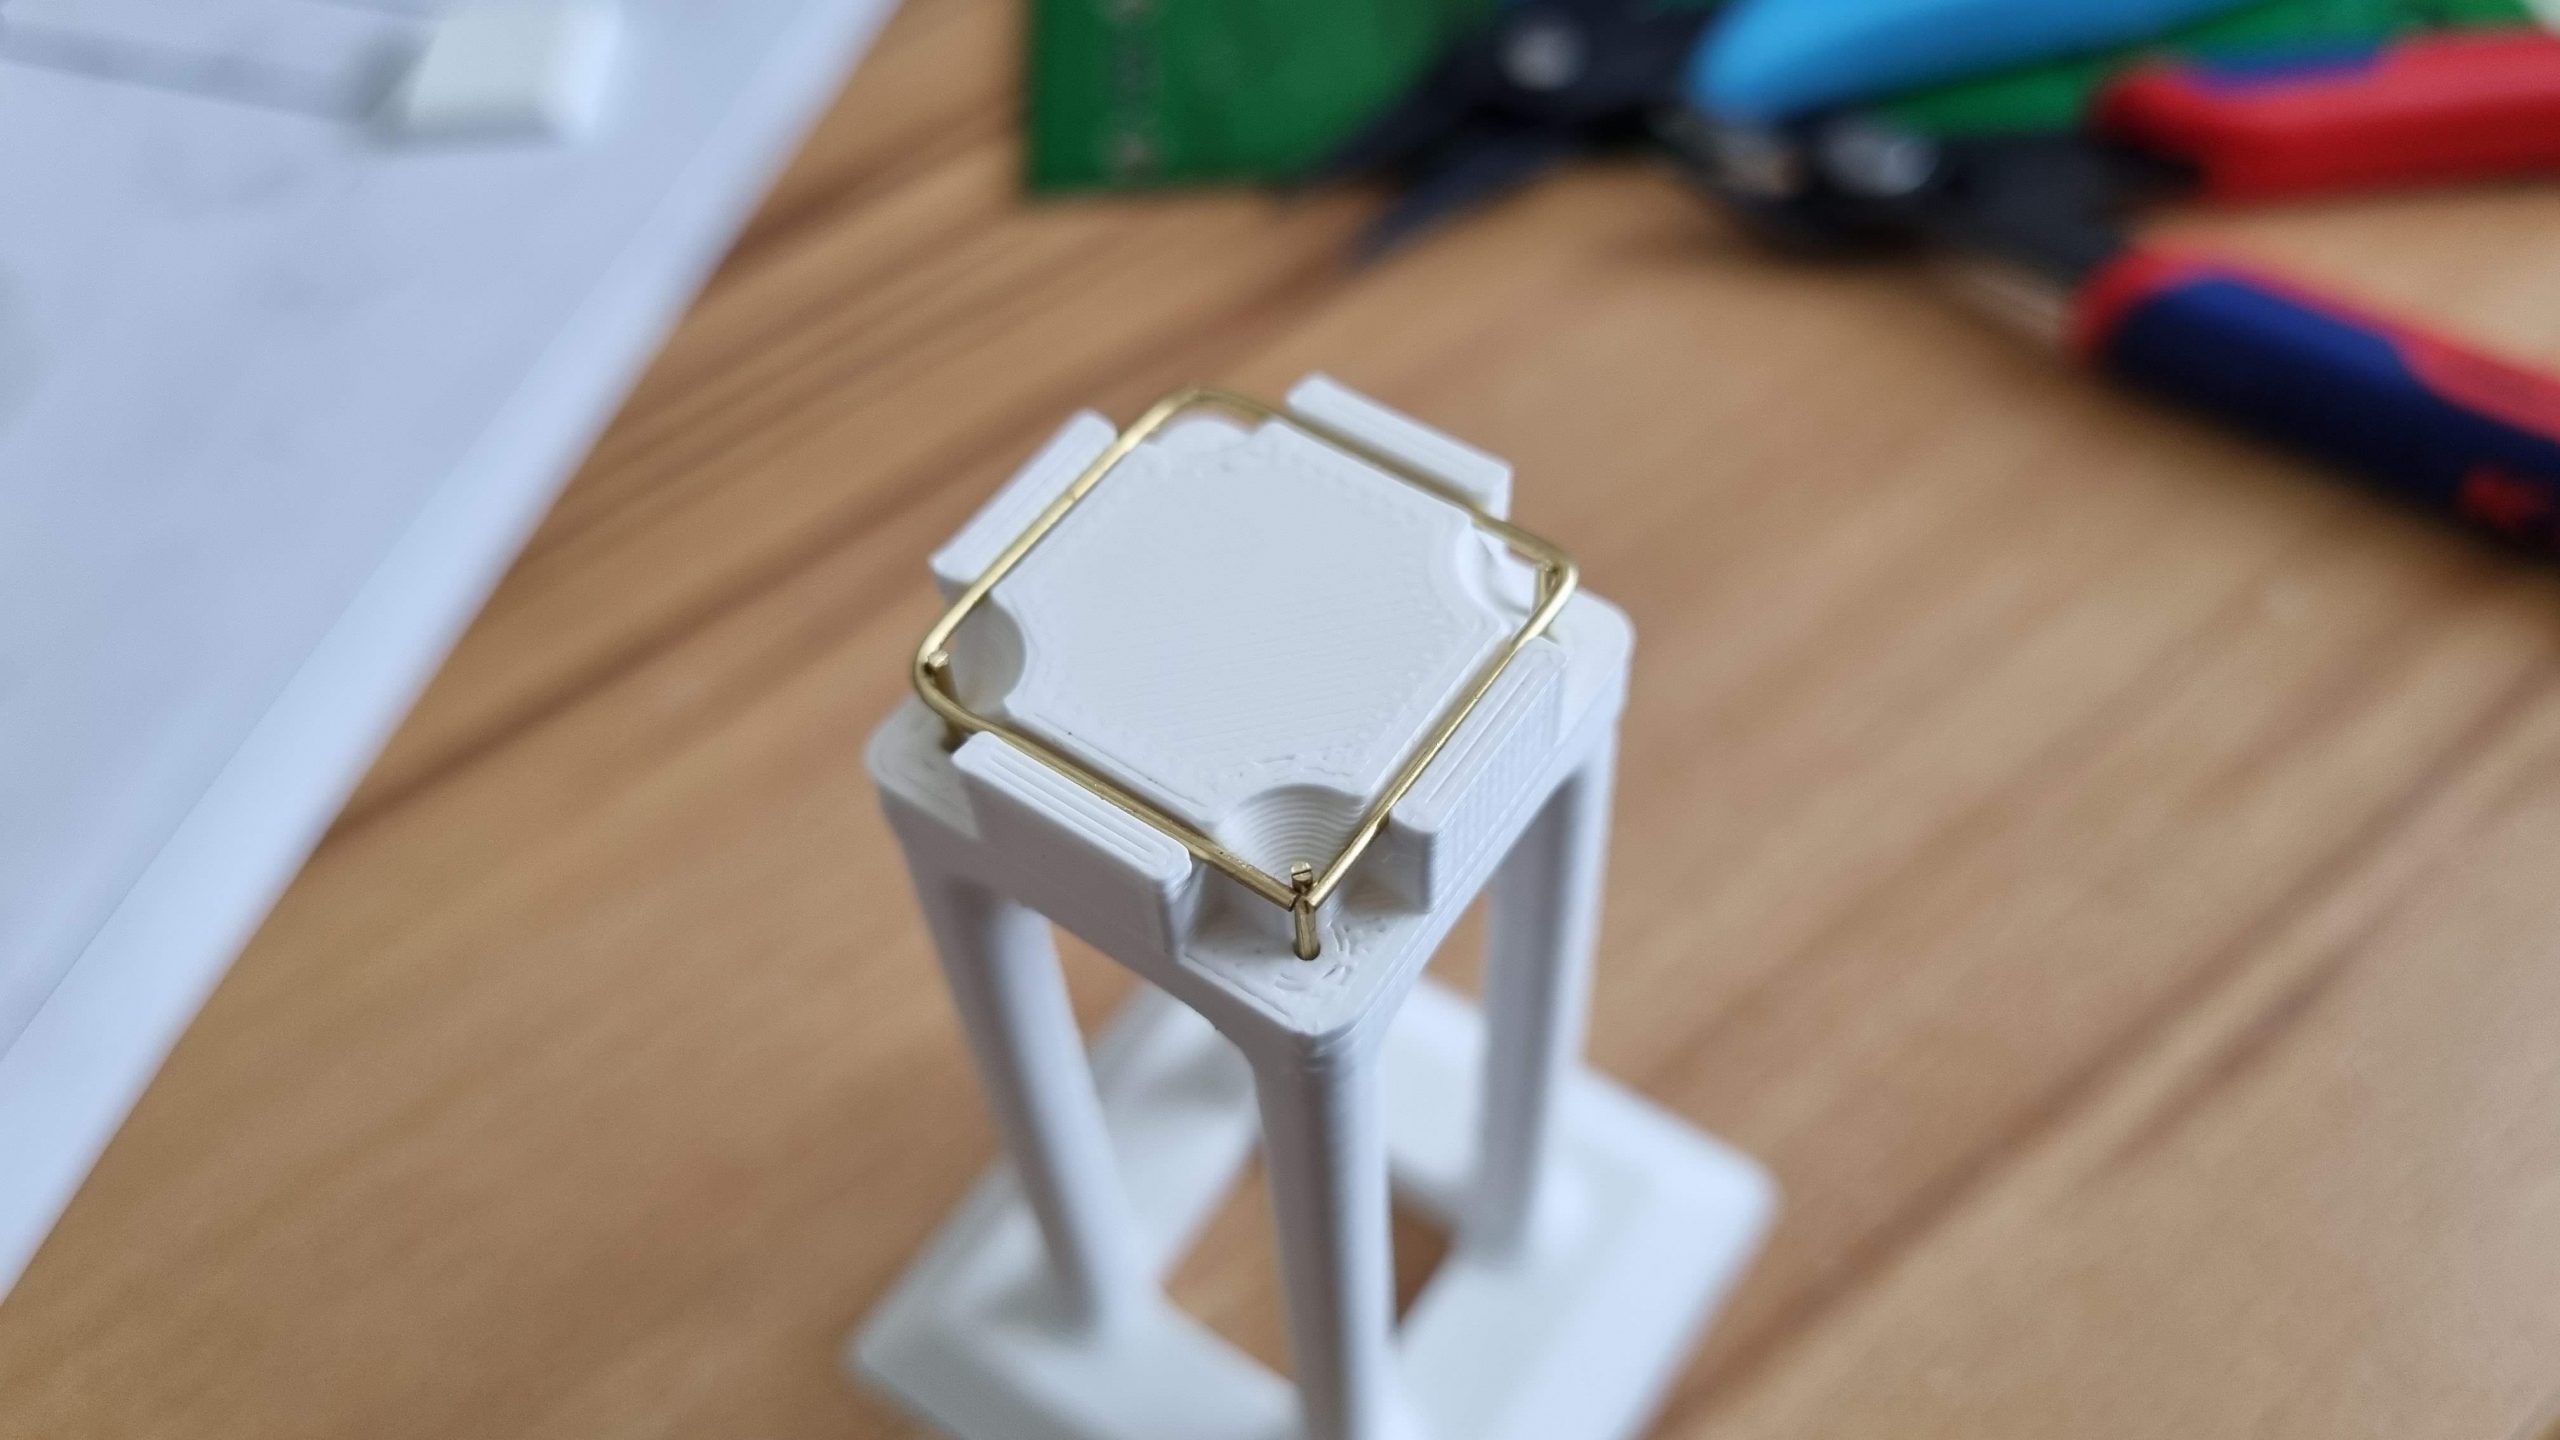
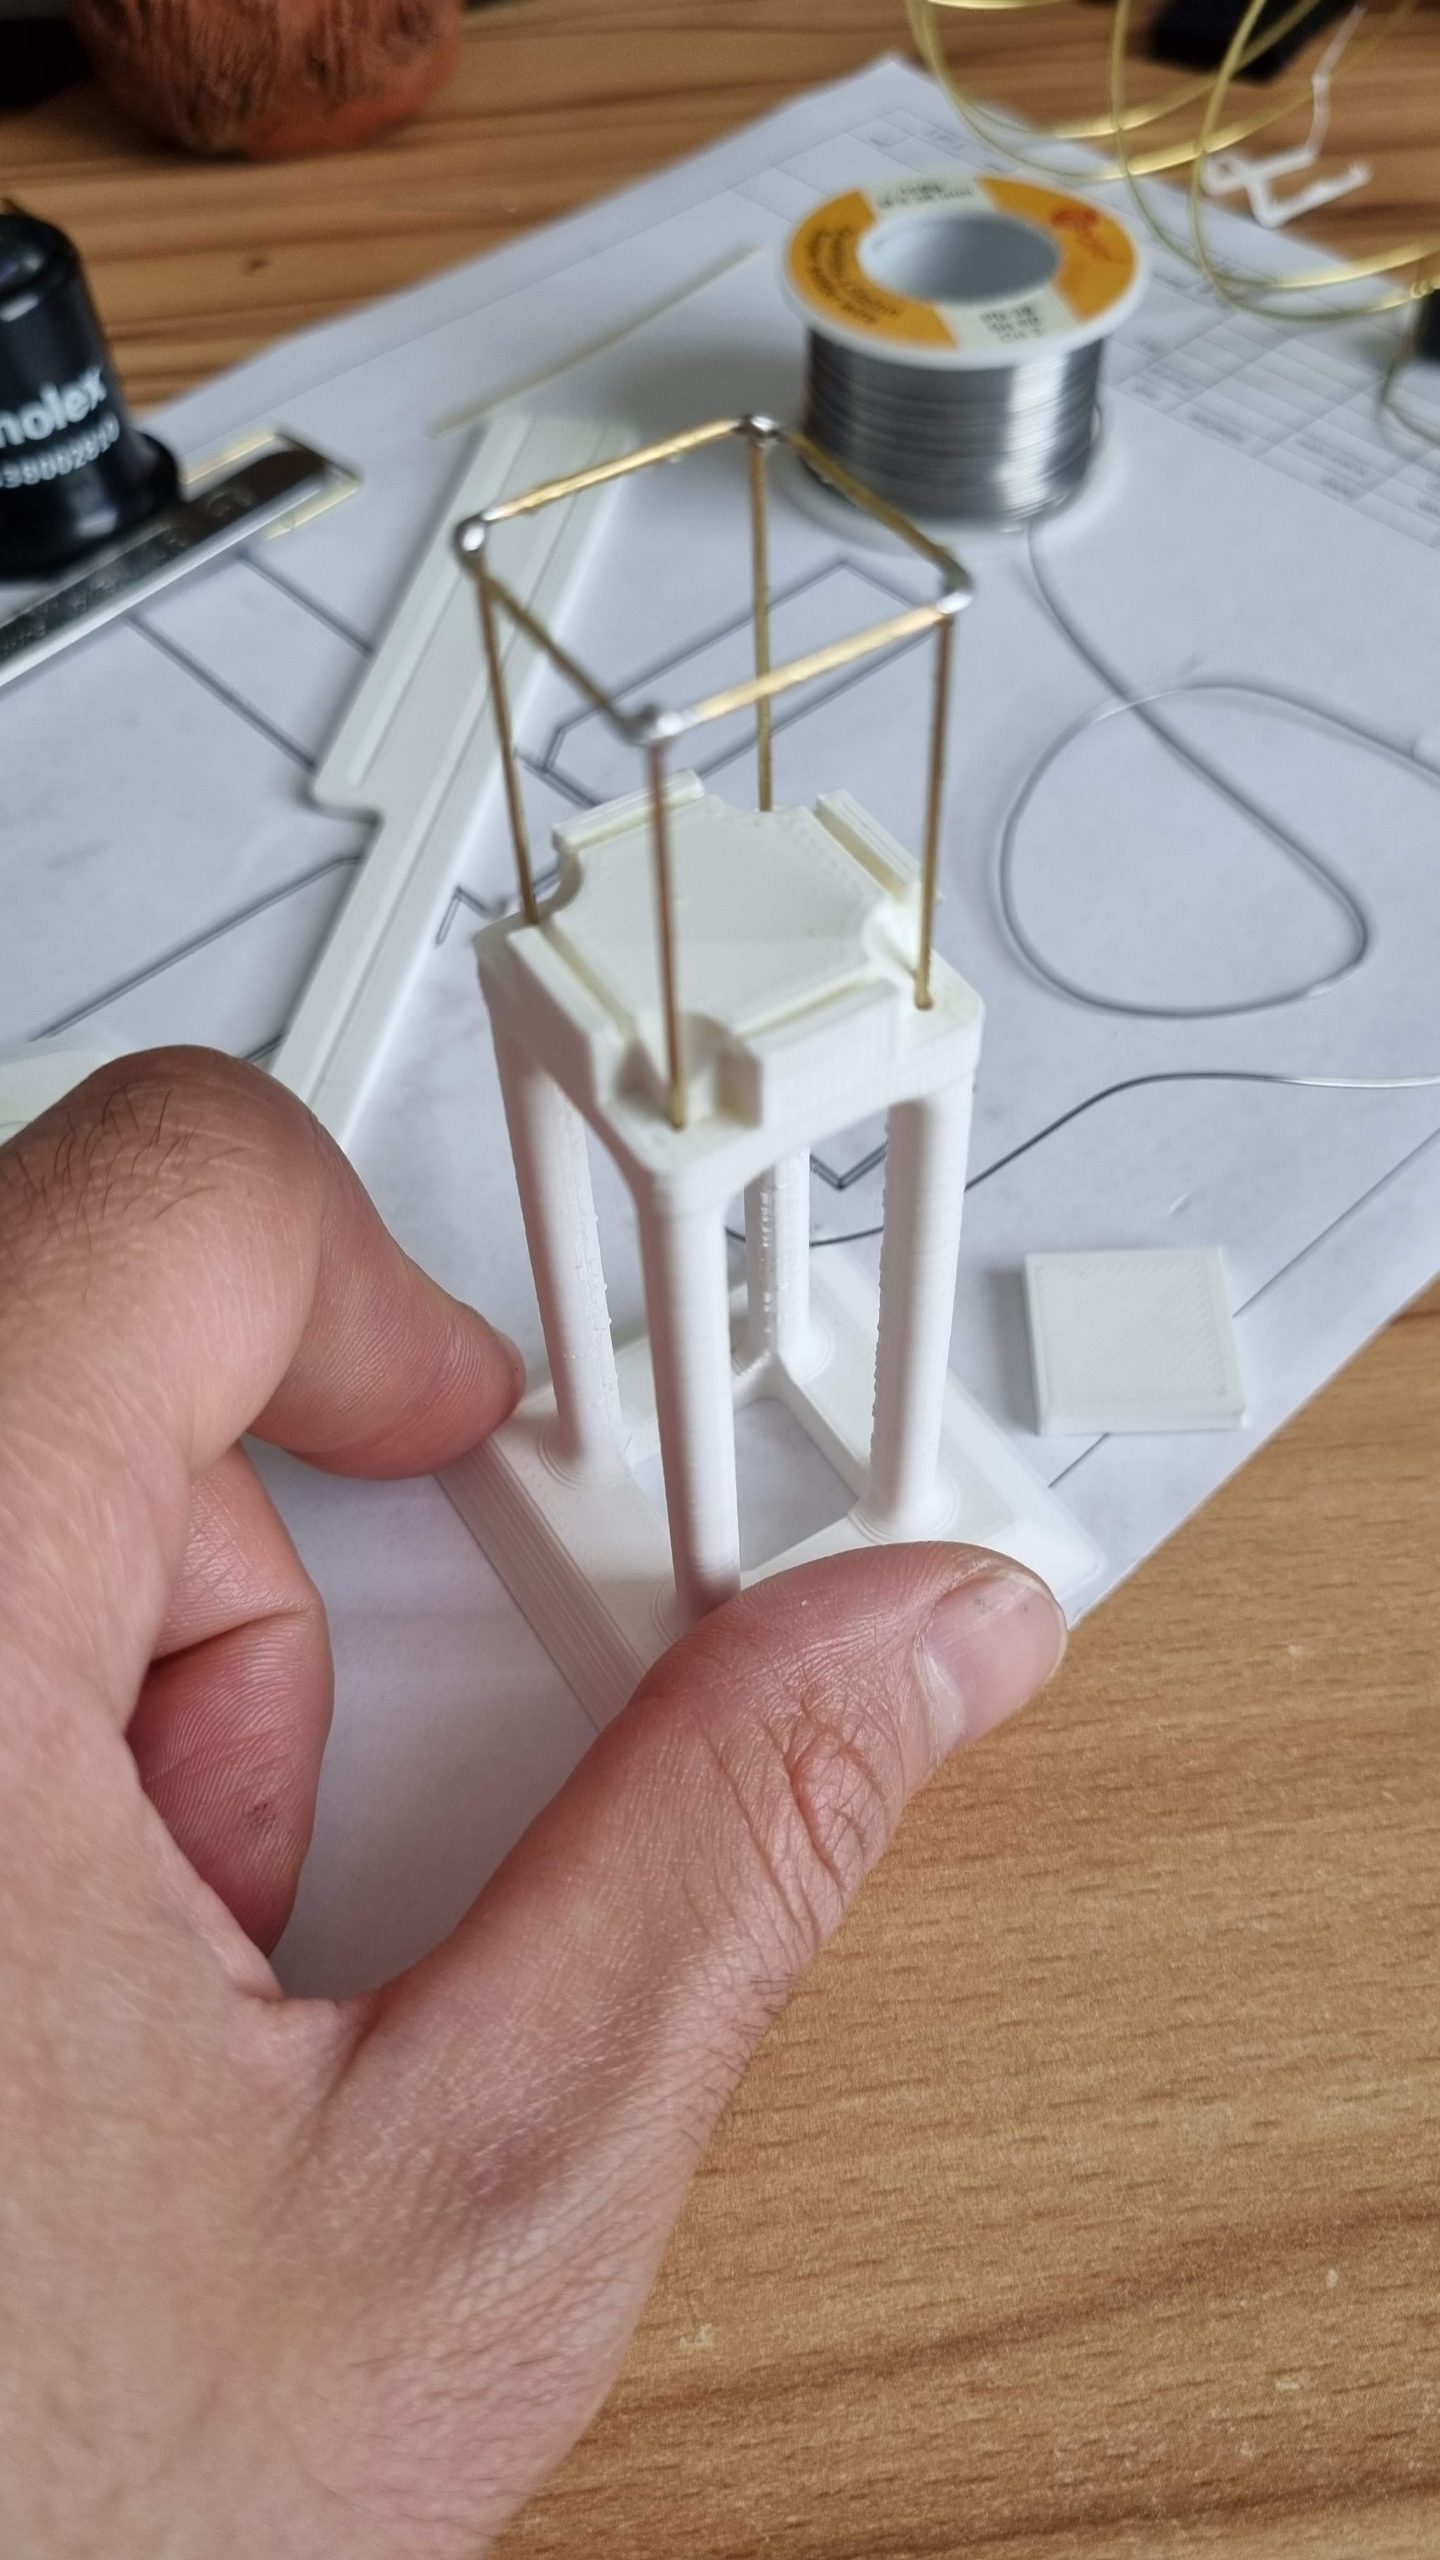
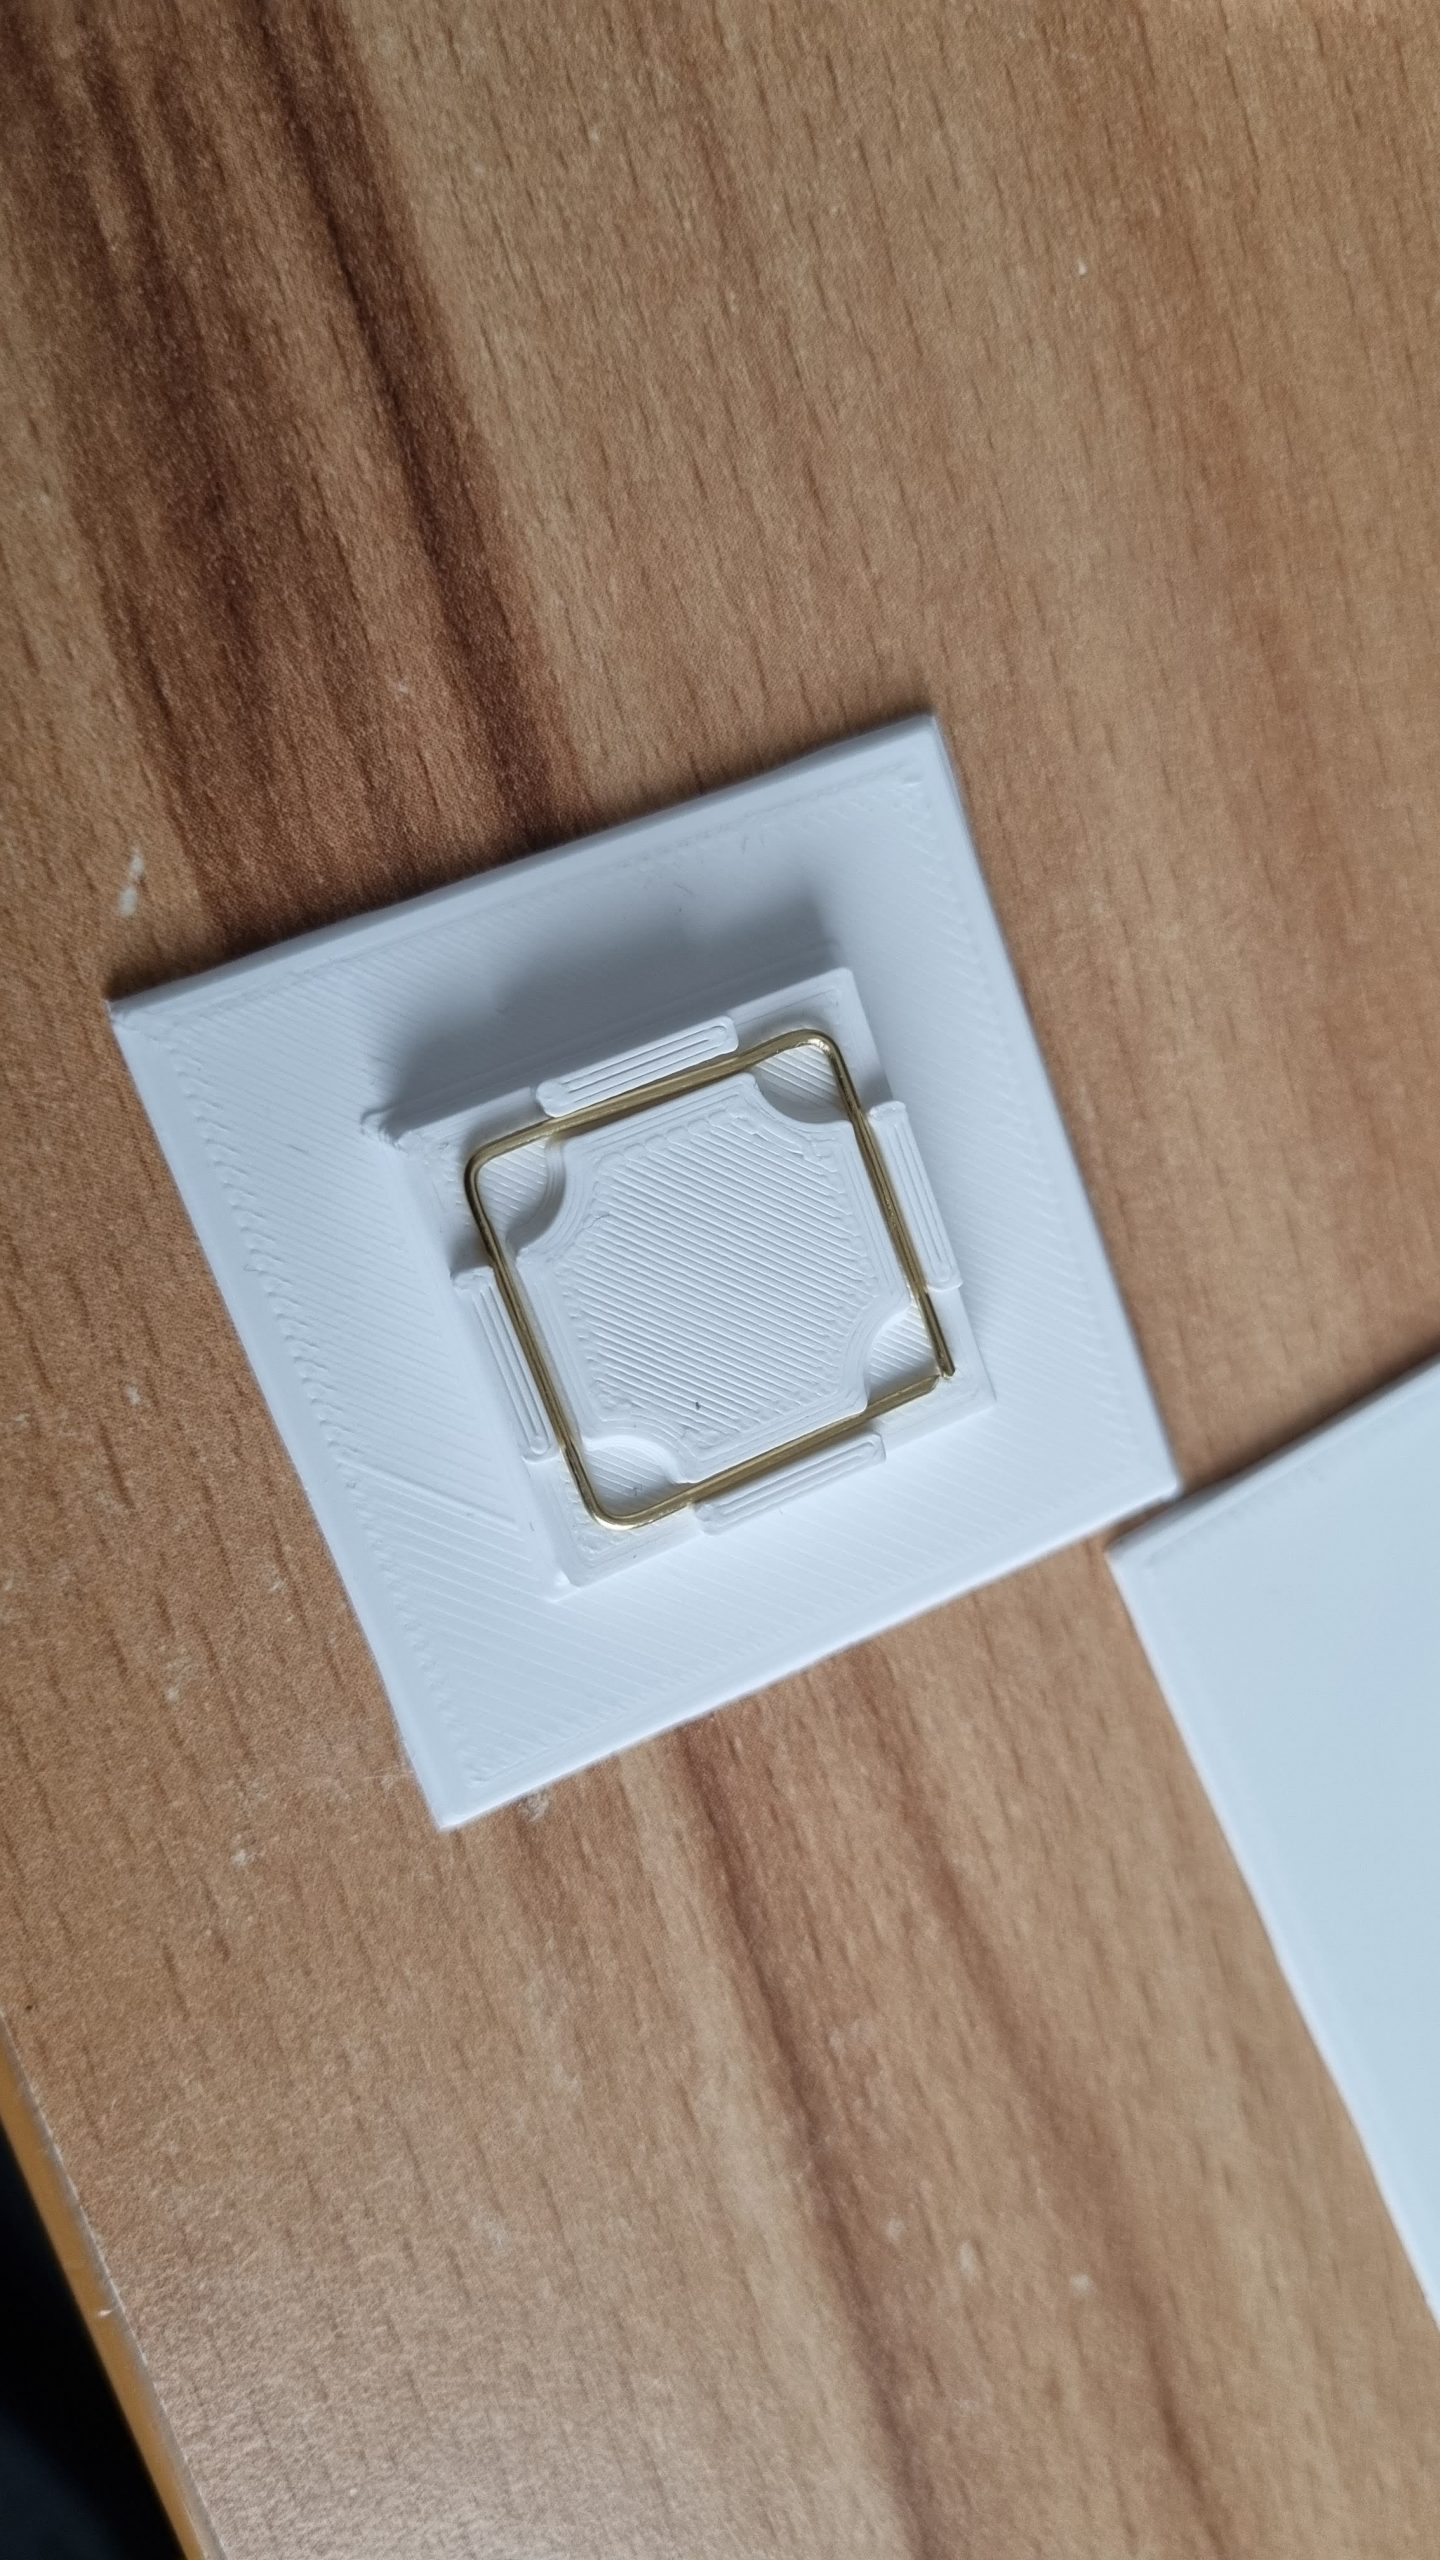
Jigs in action
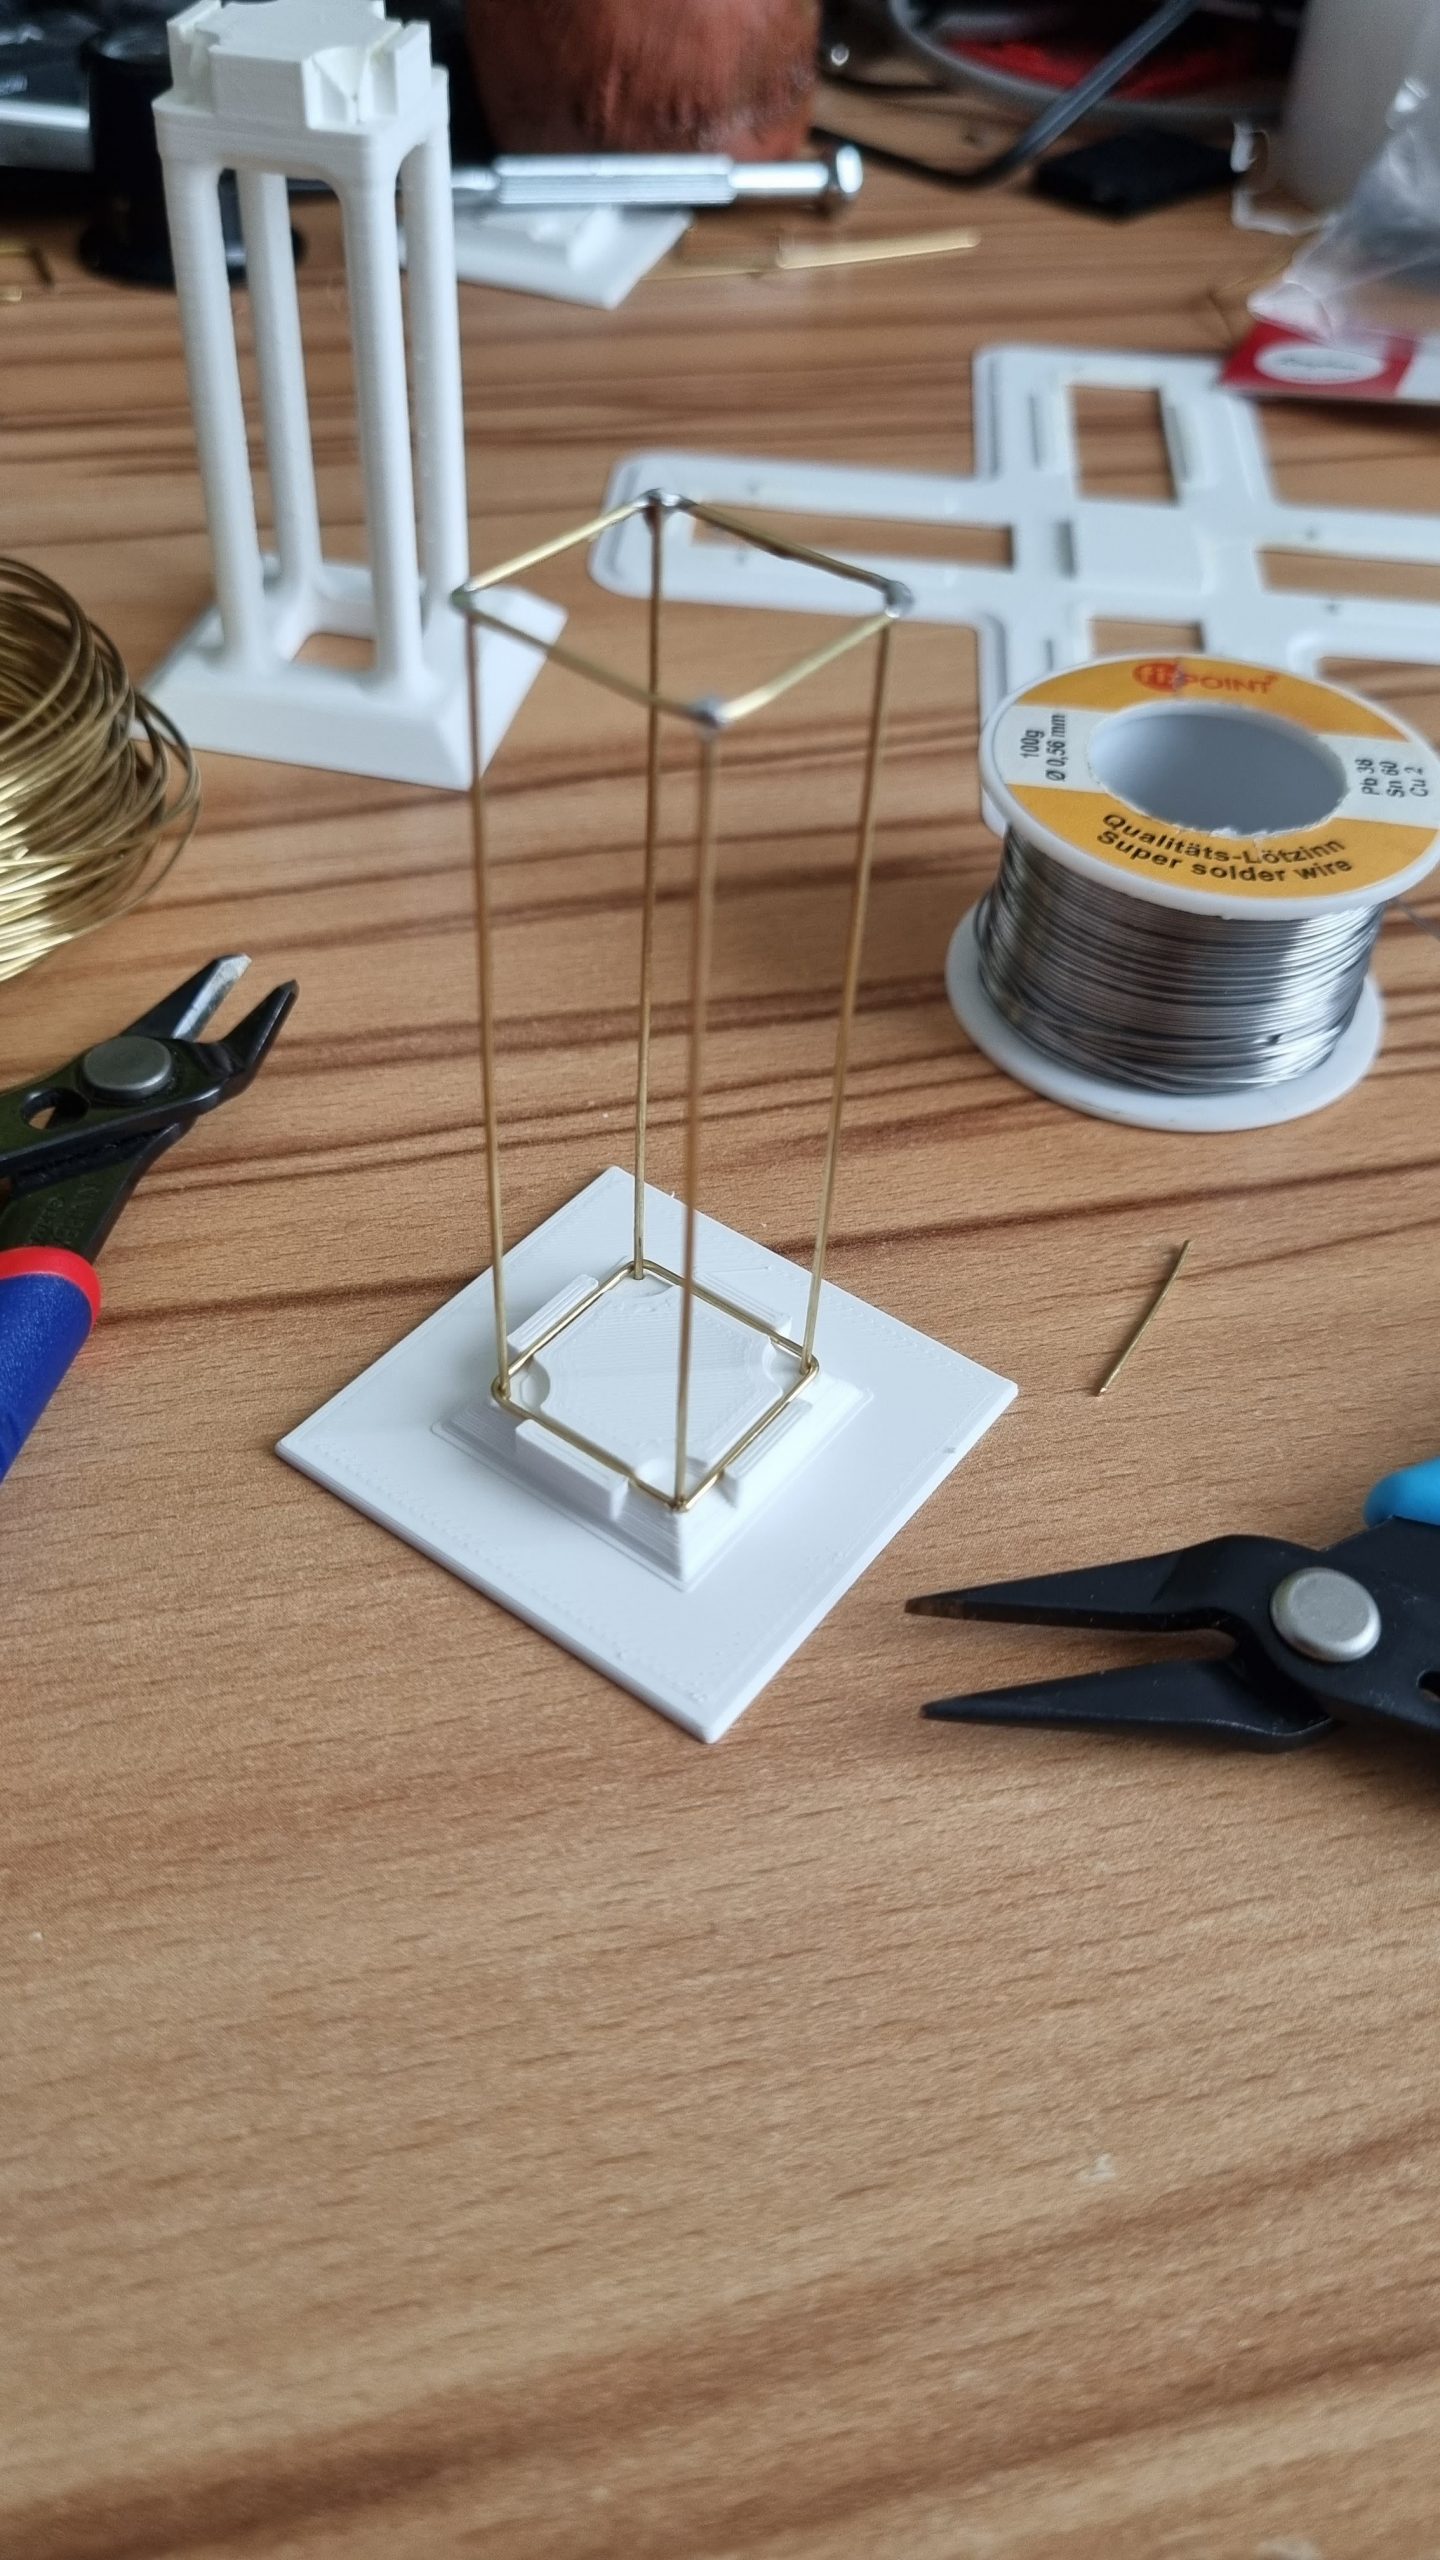
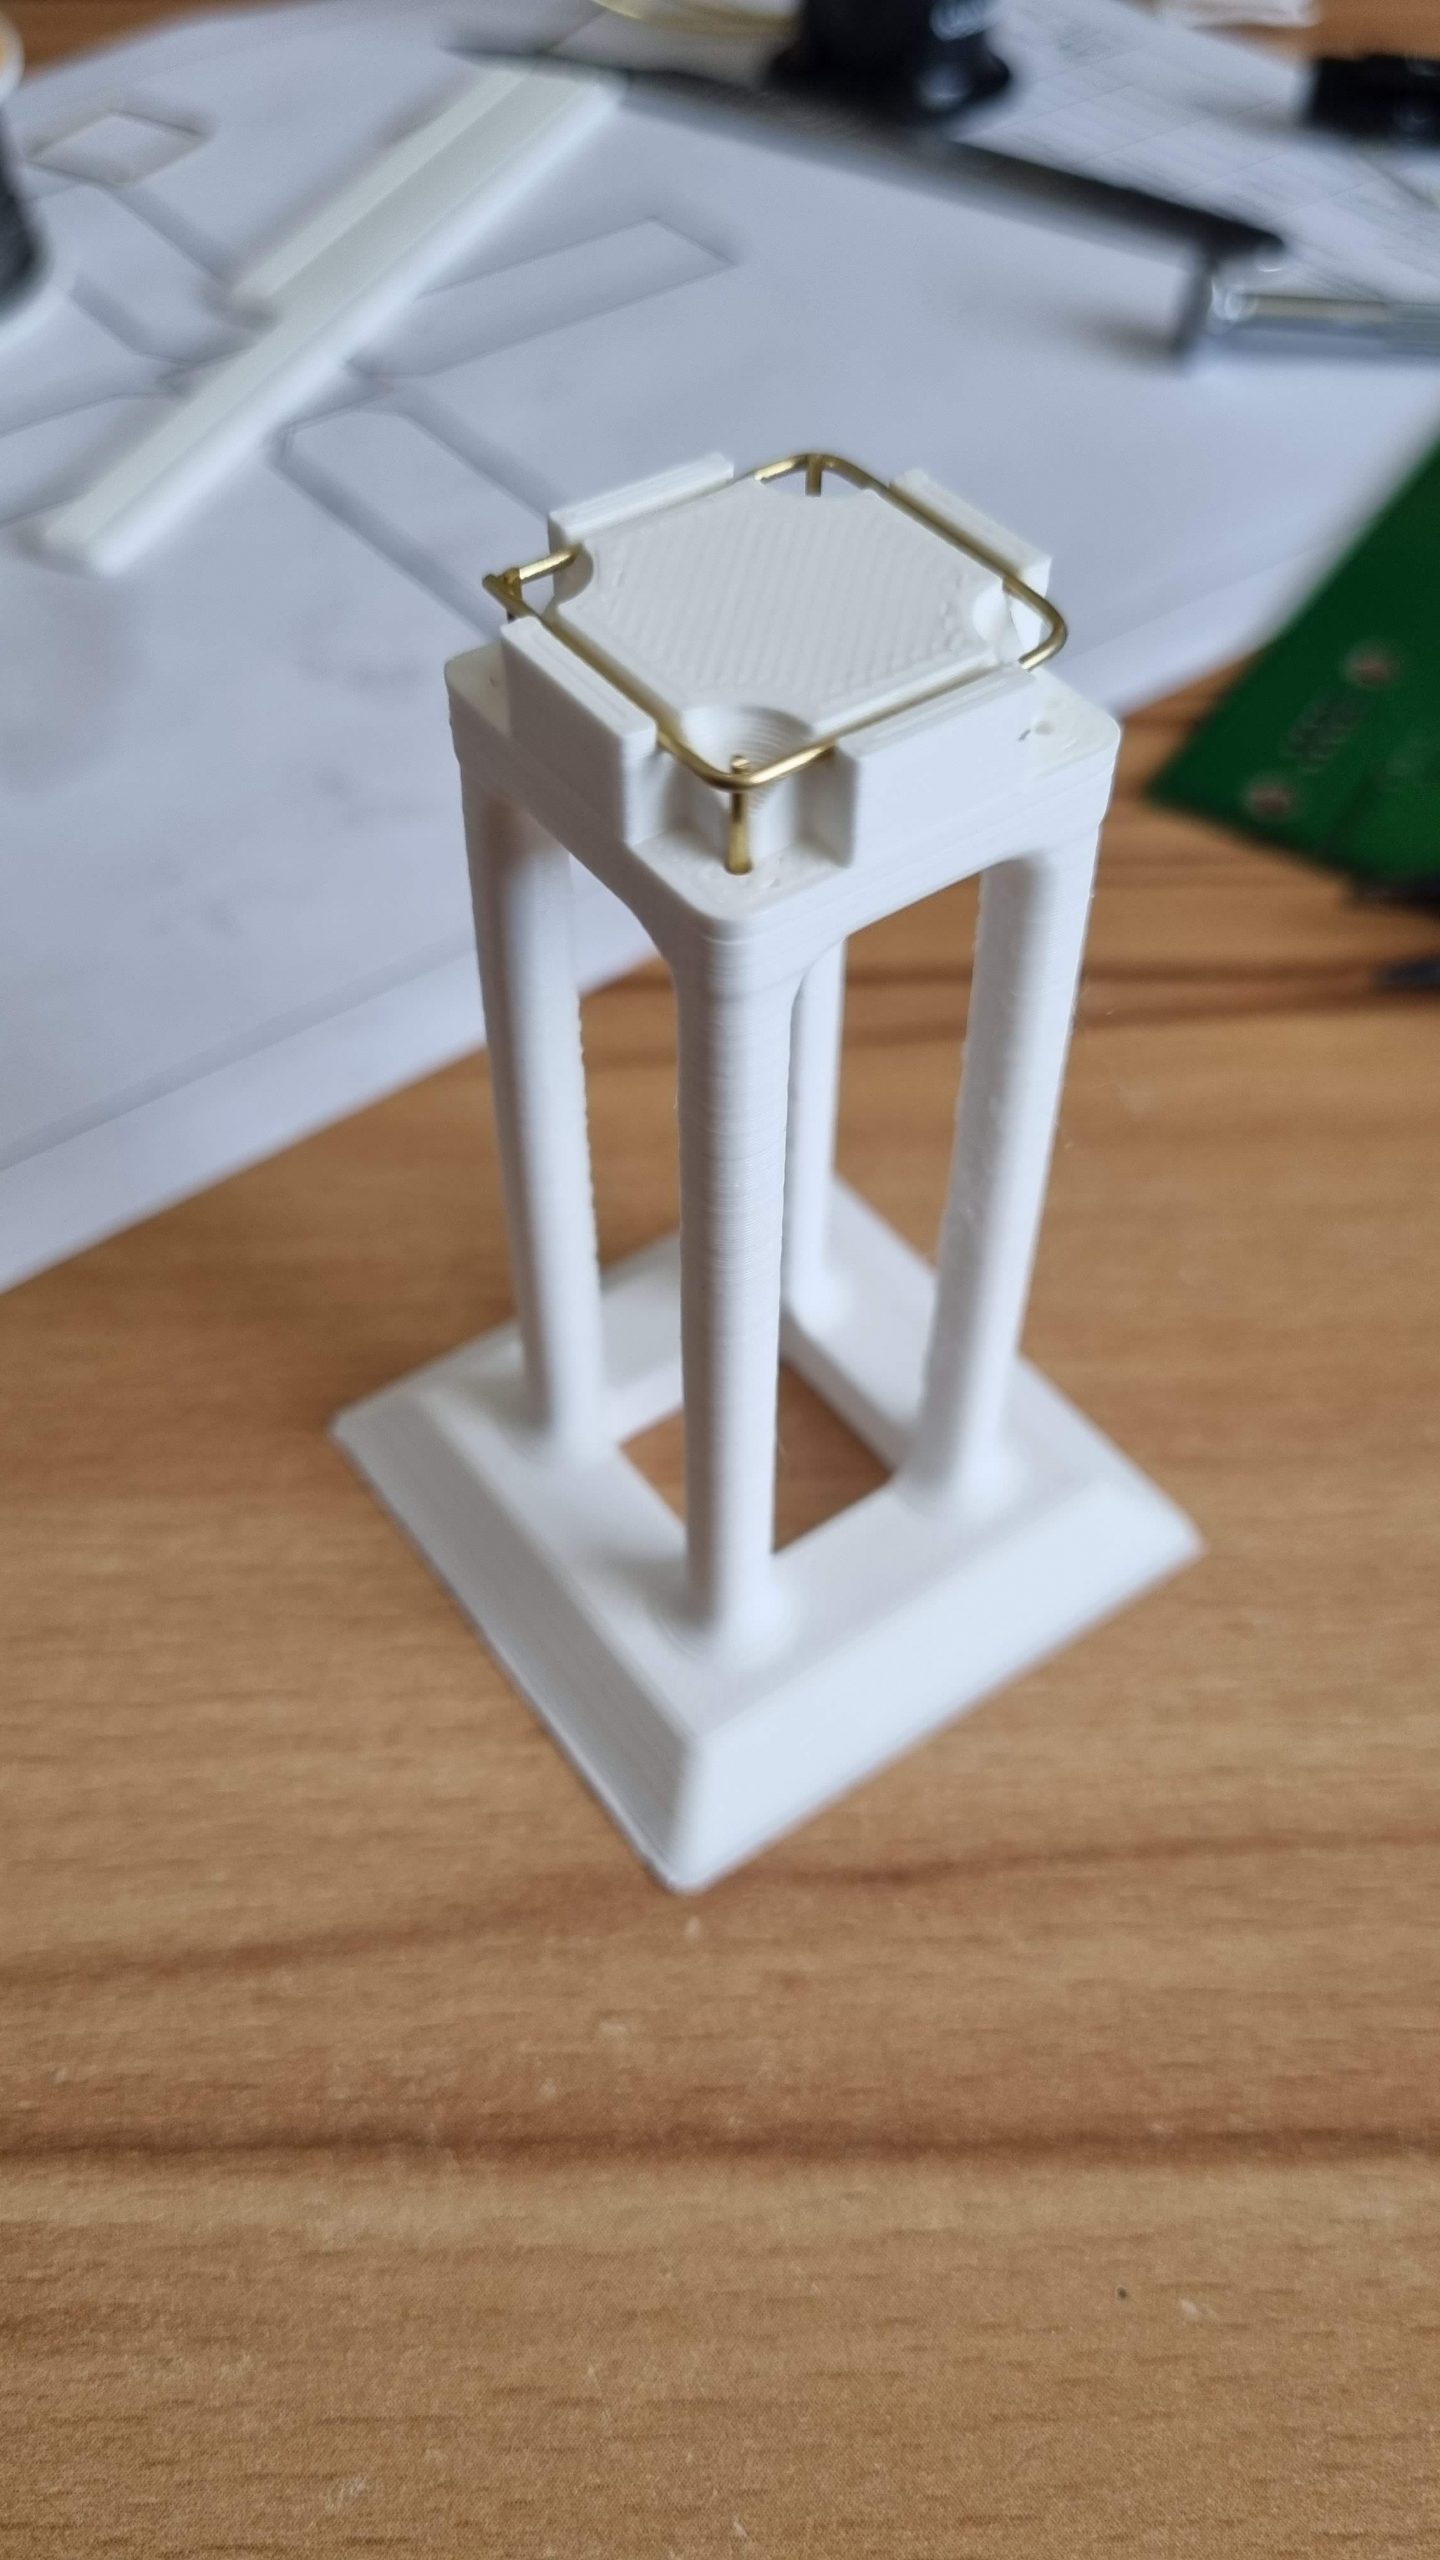
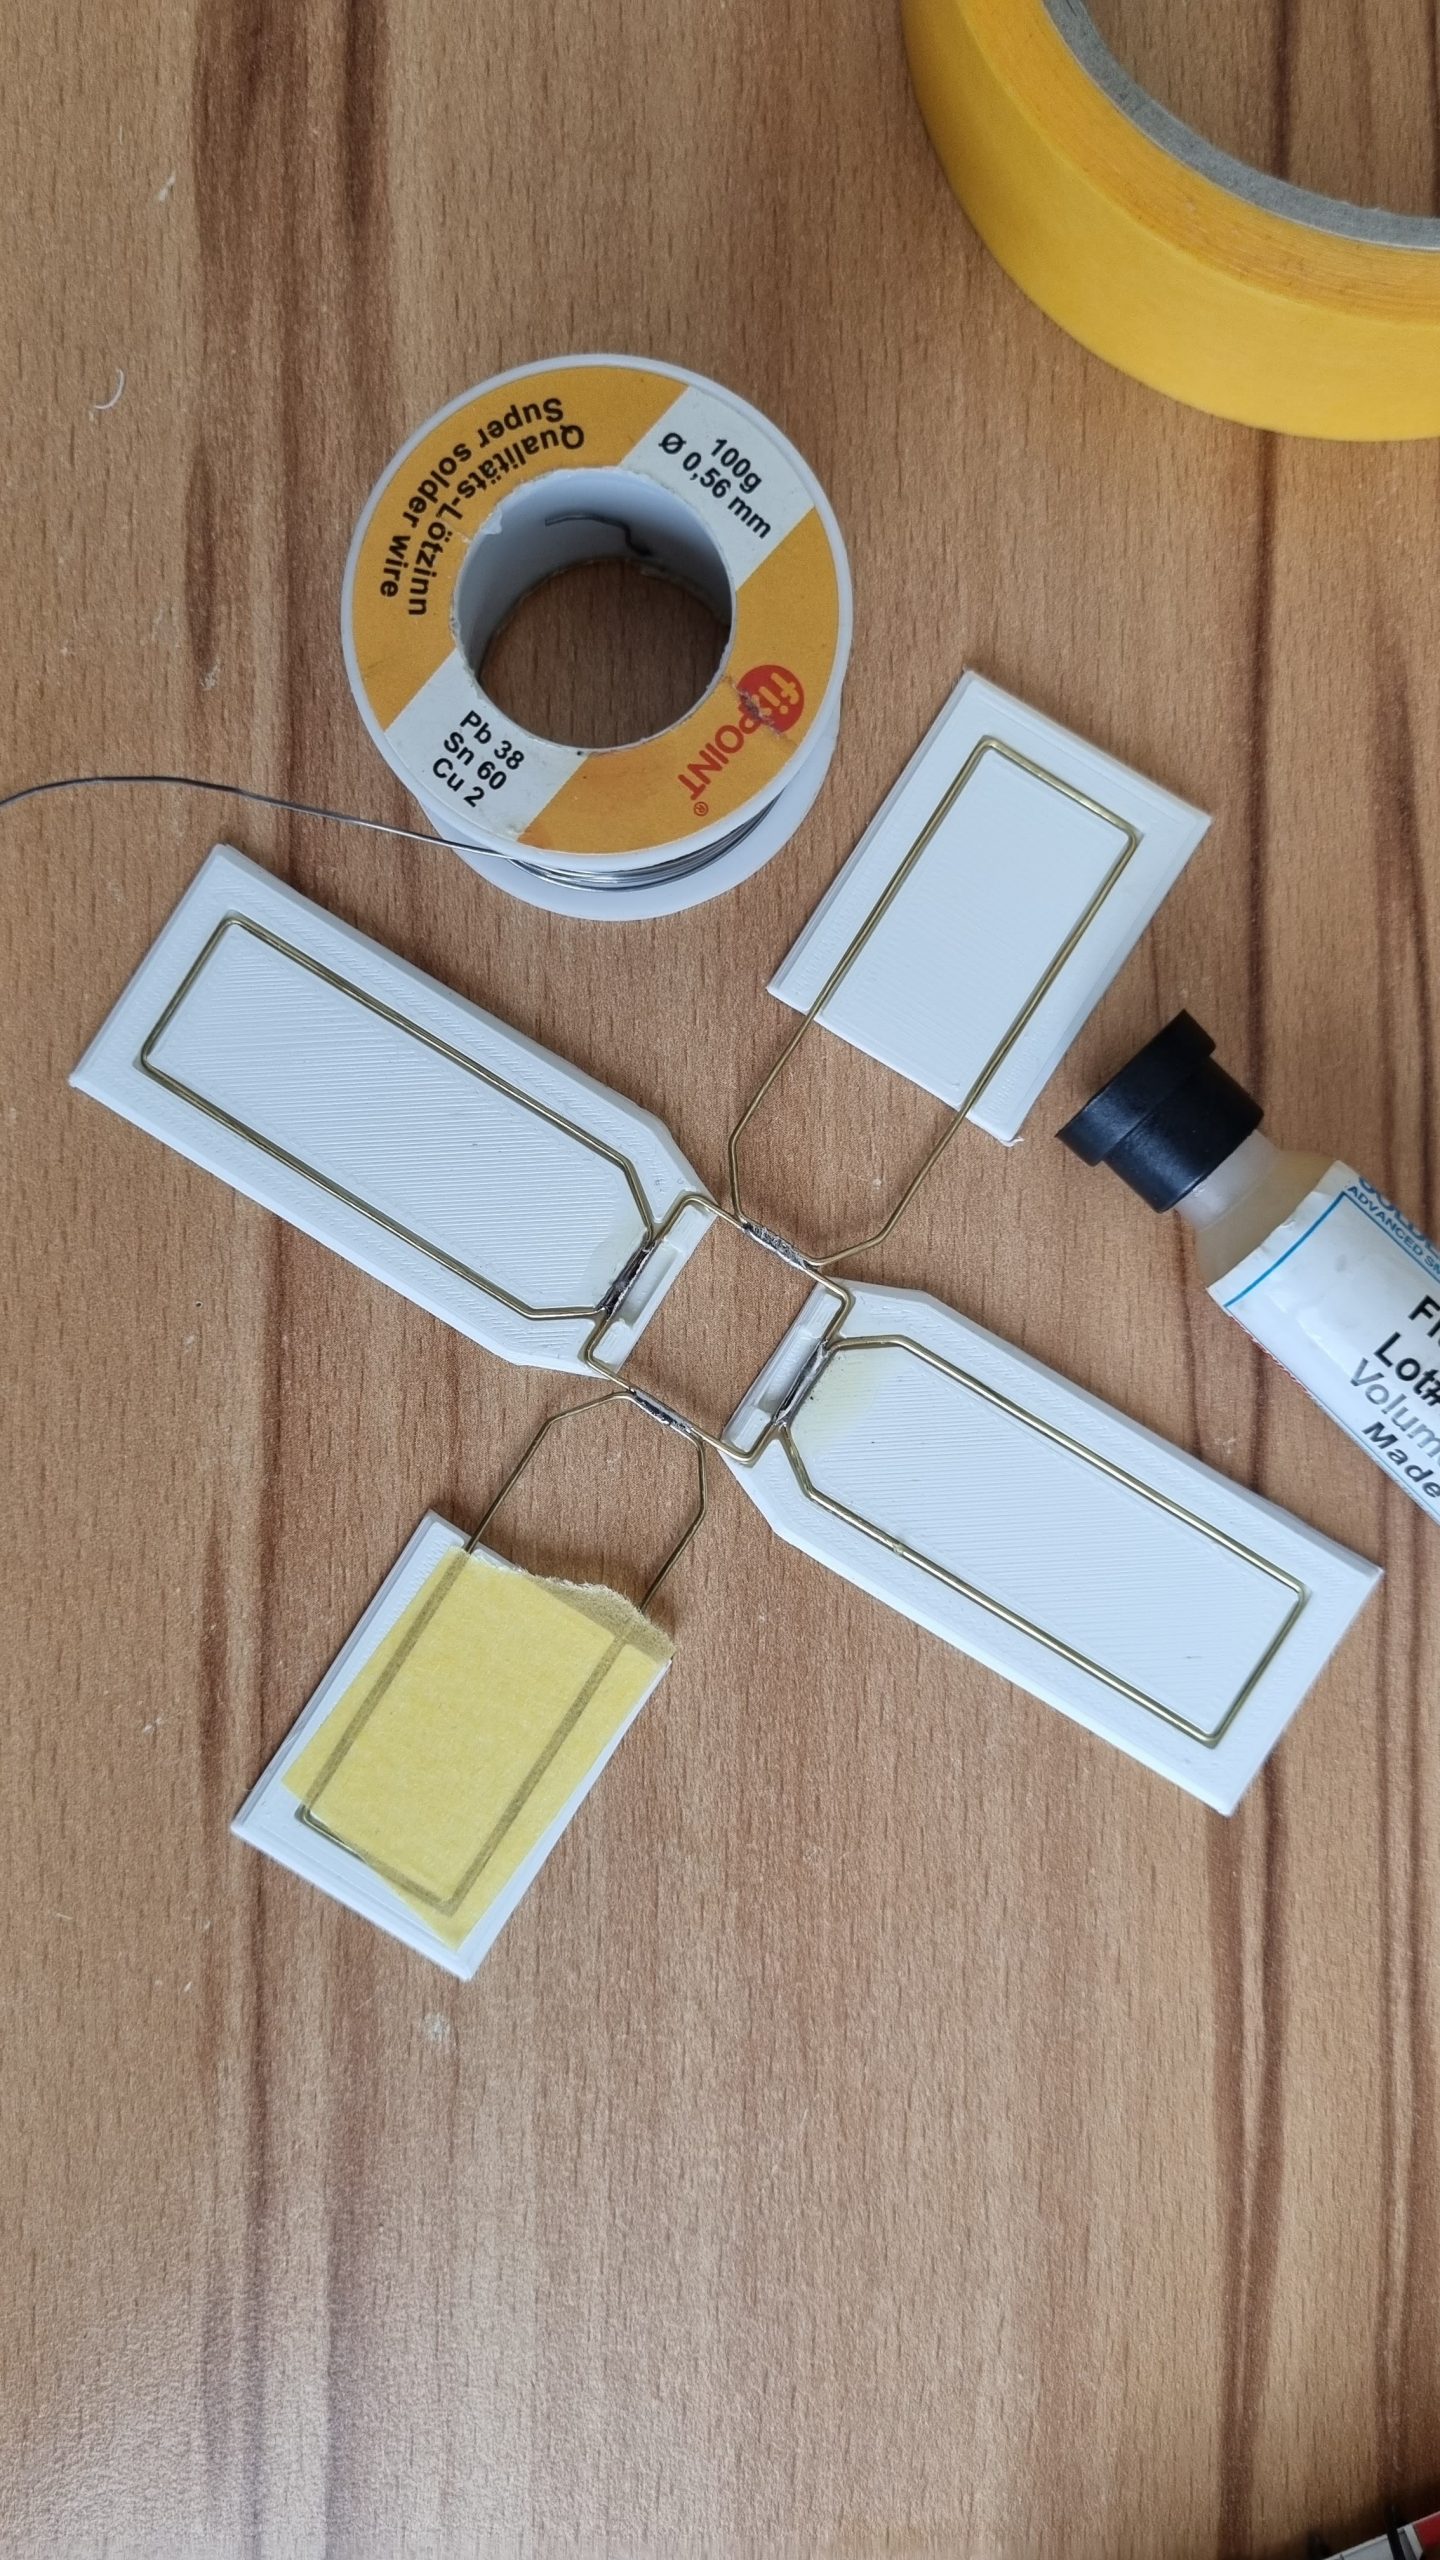
Having the structure of the sculpture as 3D-model, I started to develop the jigs that would help me to go through the building process.
All jigs can be found under the following link in Thingiverse: Freeform Satellite Sculpture – sAttiny 2.0 Jigs
Wire_Jig: It has the three main lengths of wire needed for the project.
Side Jig: Used as a guide for the 4 sides that are going to hold the solar panels.
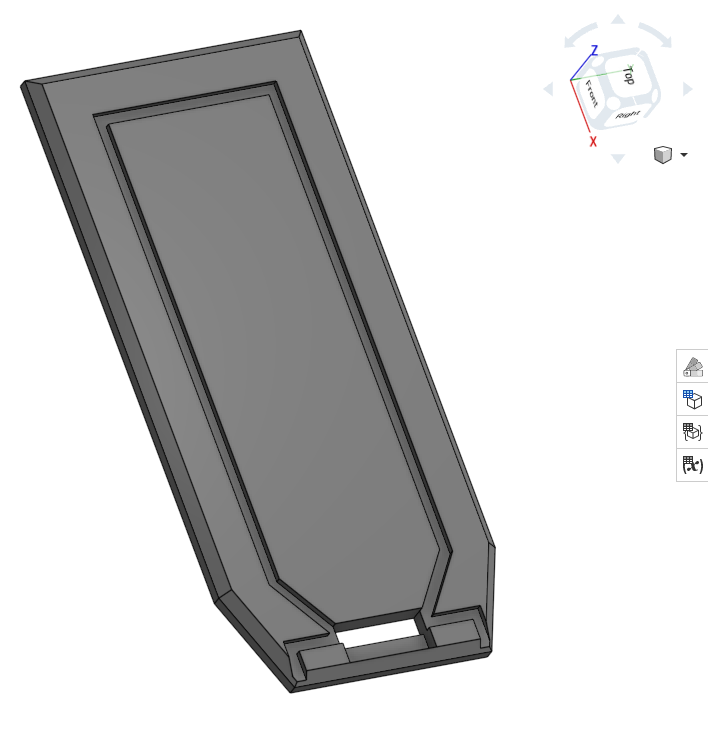
Square Jig: Used to create the three squares that belong to the main body structure.
Side support Jig: Comes in handy when soldering the central square to the sides as support.
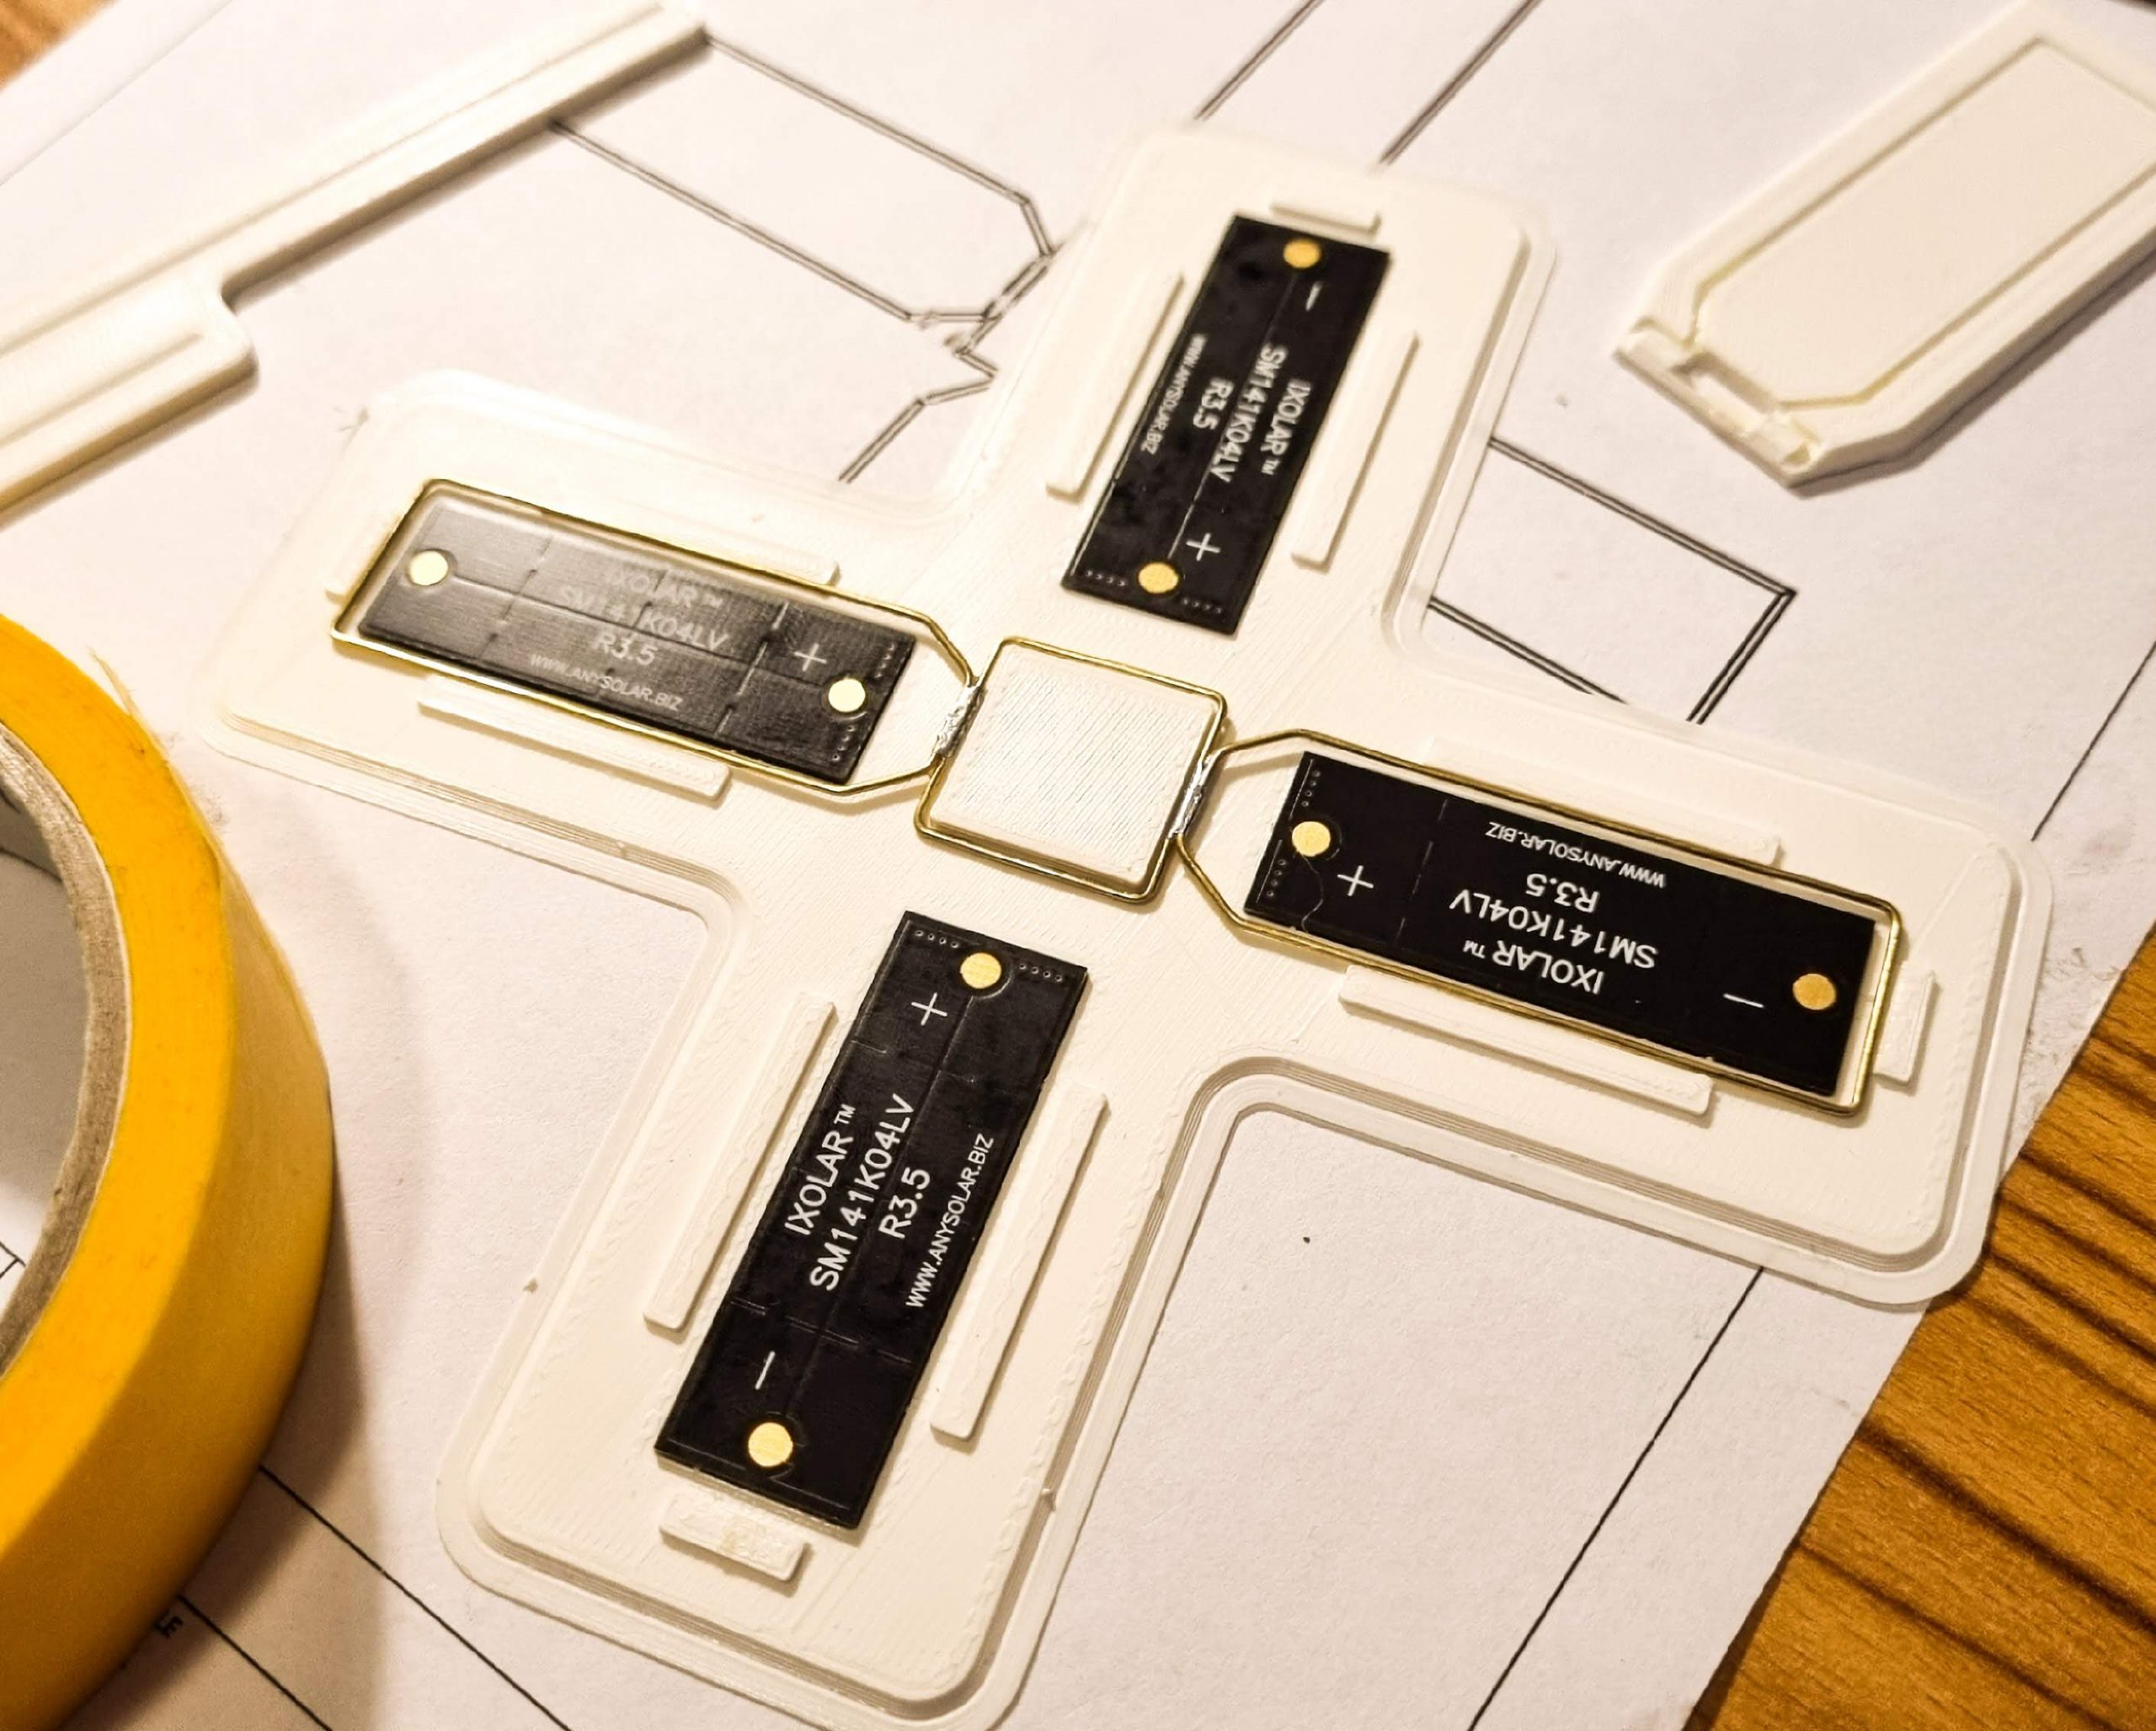
Panels Jig: This jig helps to get the frame in place with the right position so the solar cells can be soldered easily.
Body Jig 1: Provides the required support to solder the first part of the main body.

Body Jig 2: provides support for soldering the bottom side of the main body
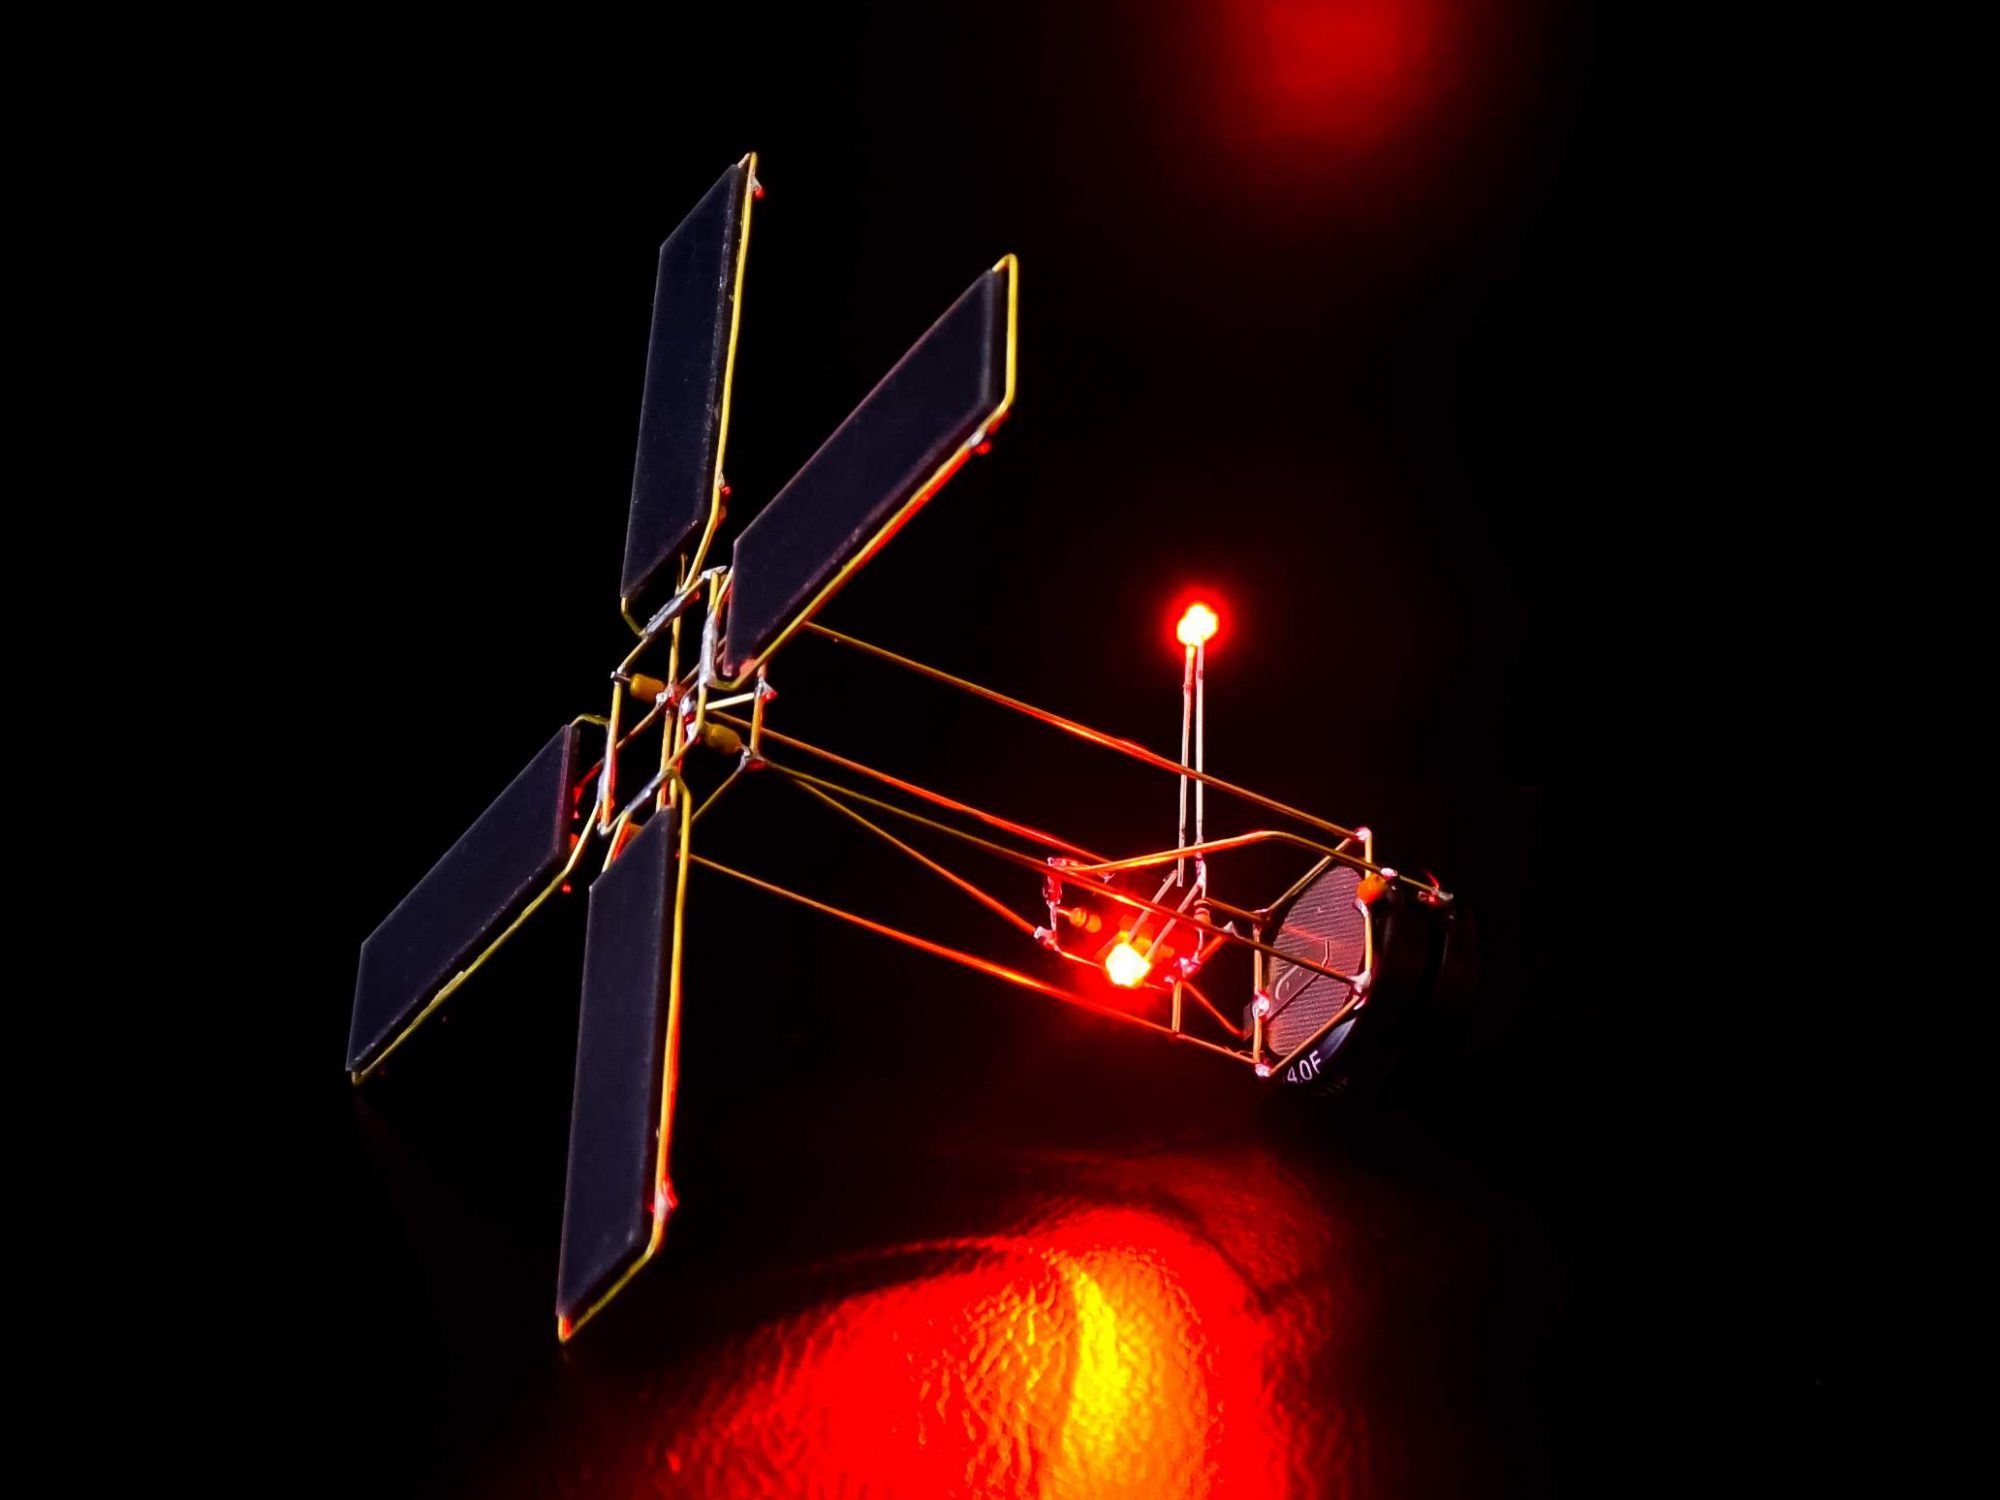
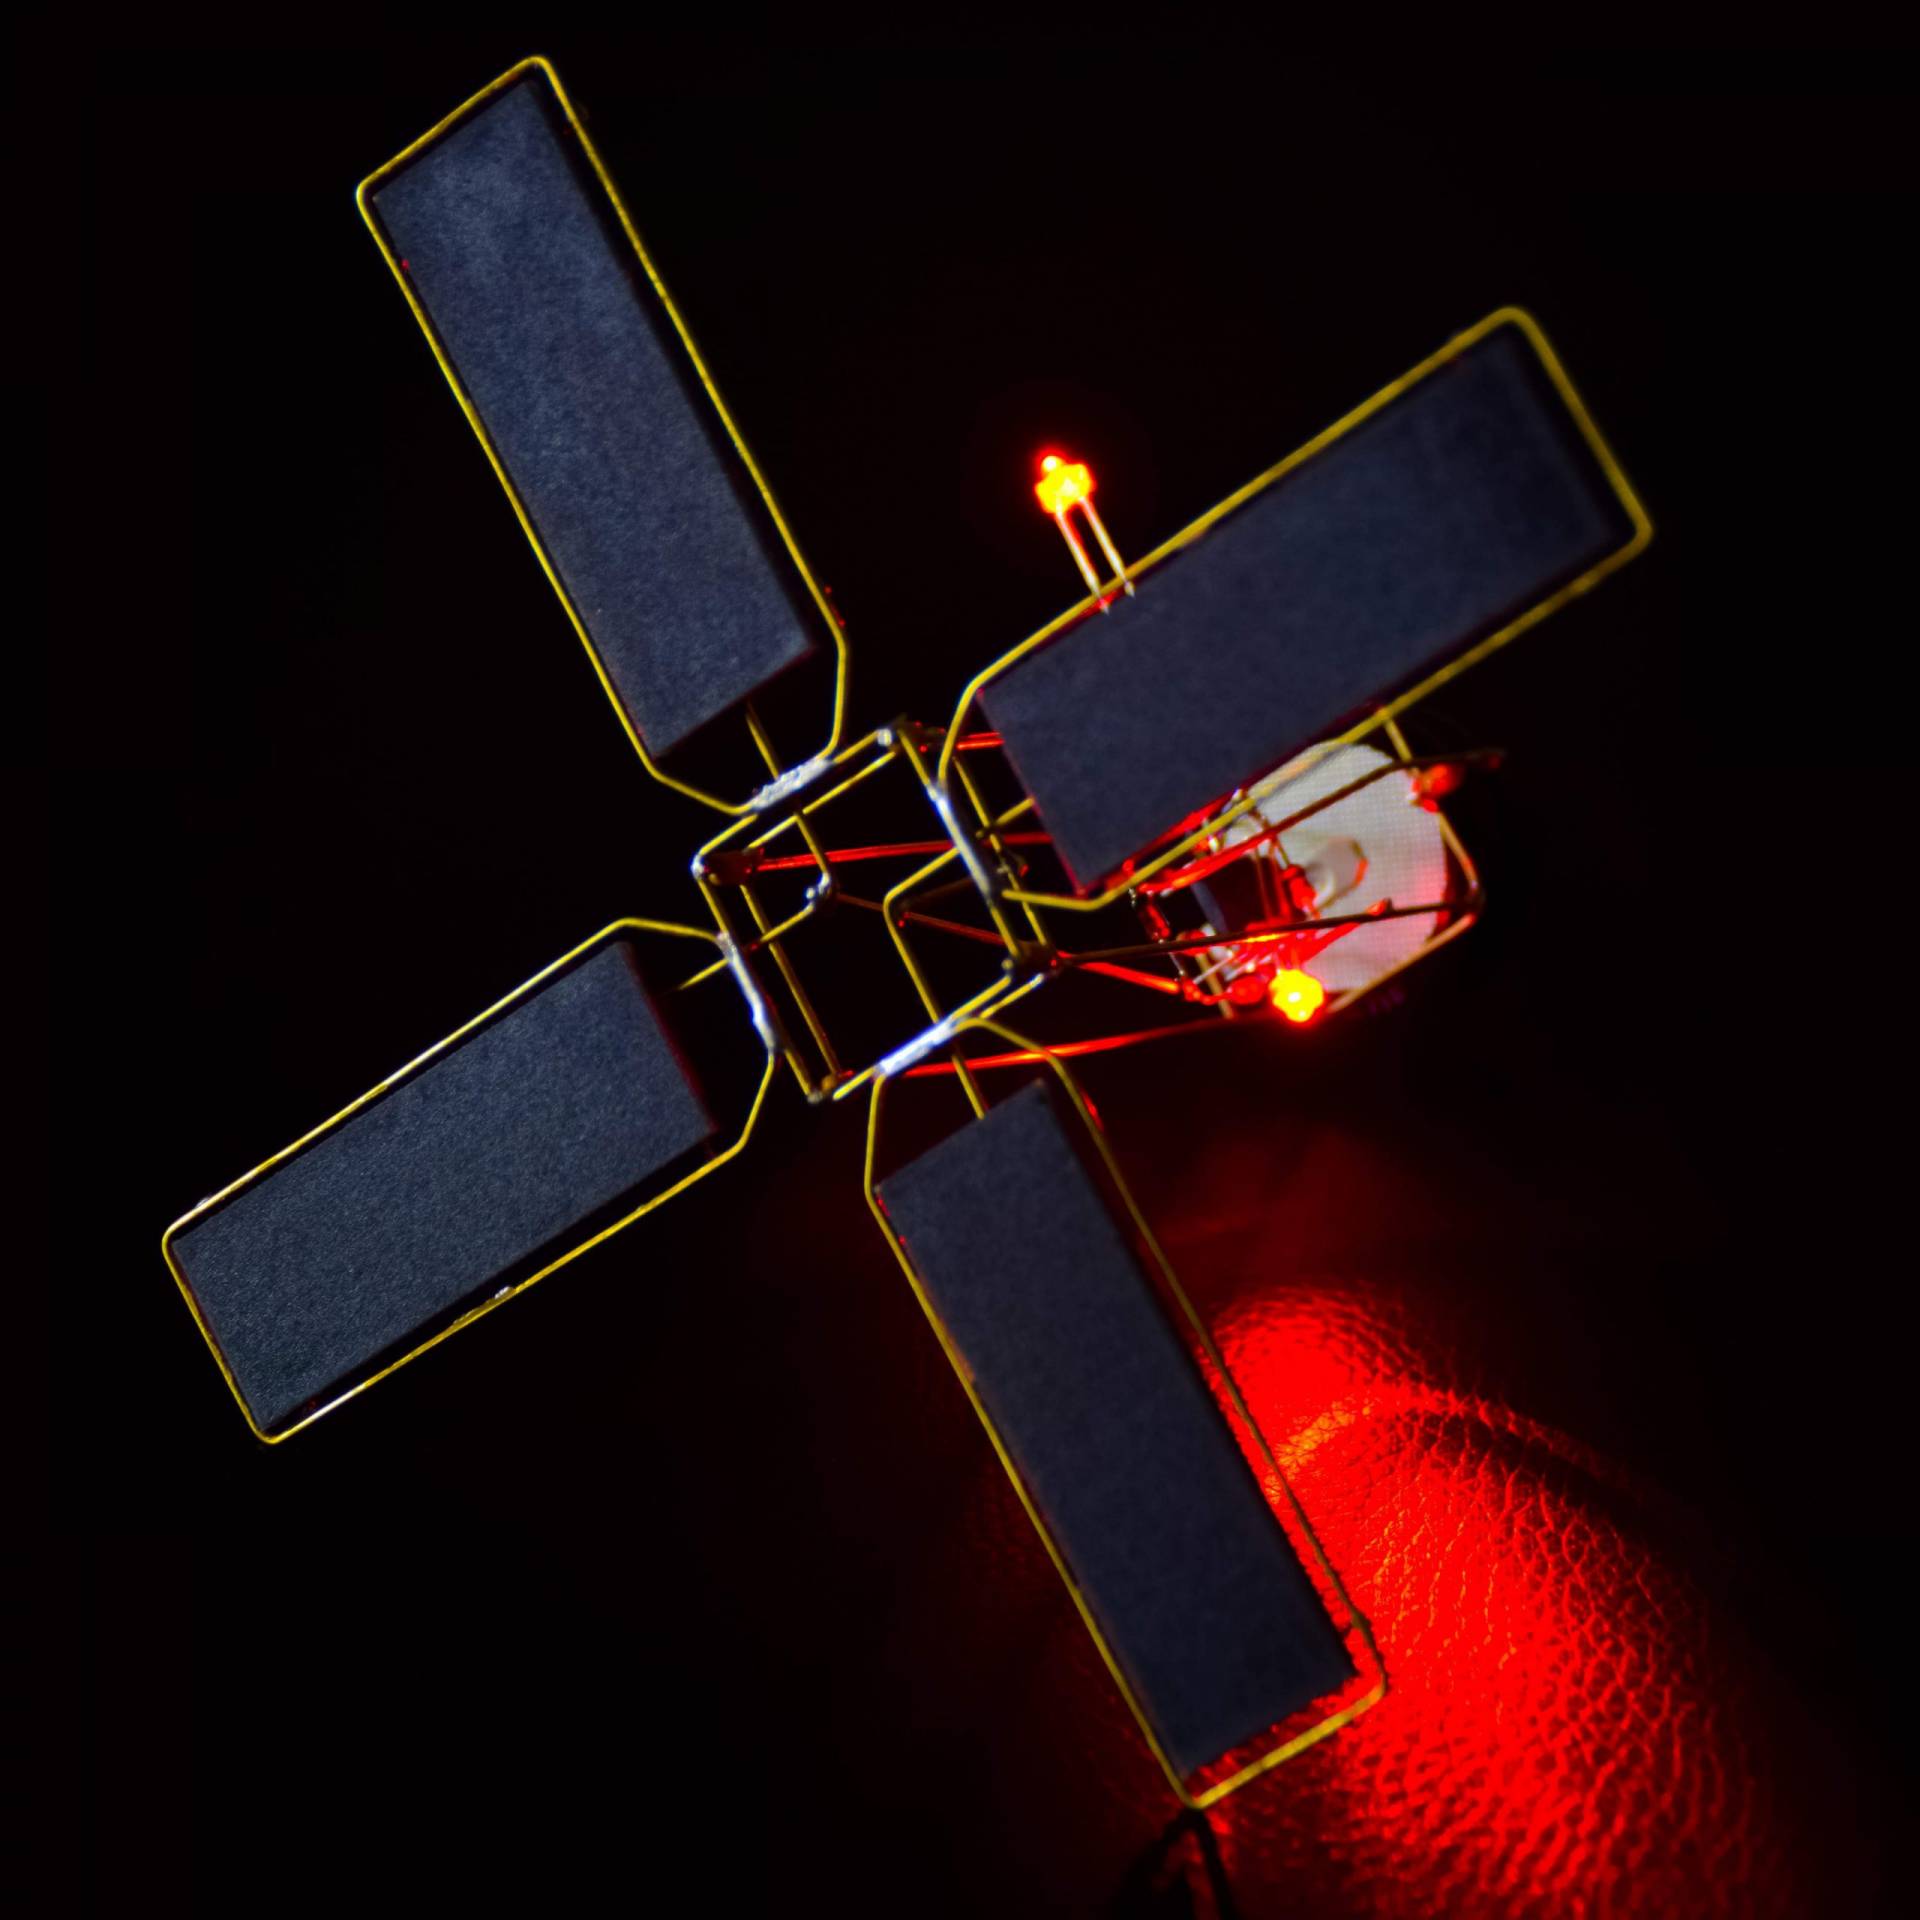
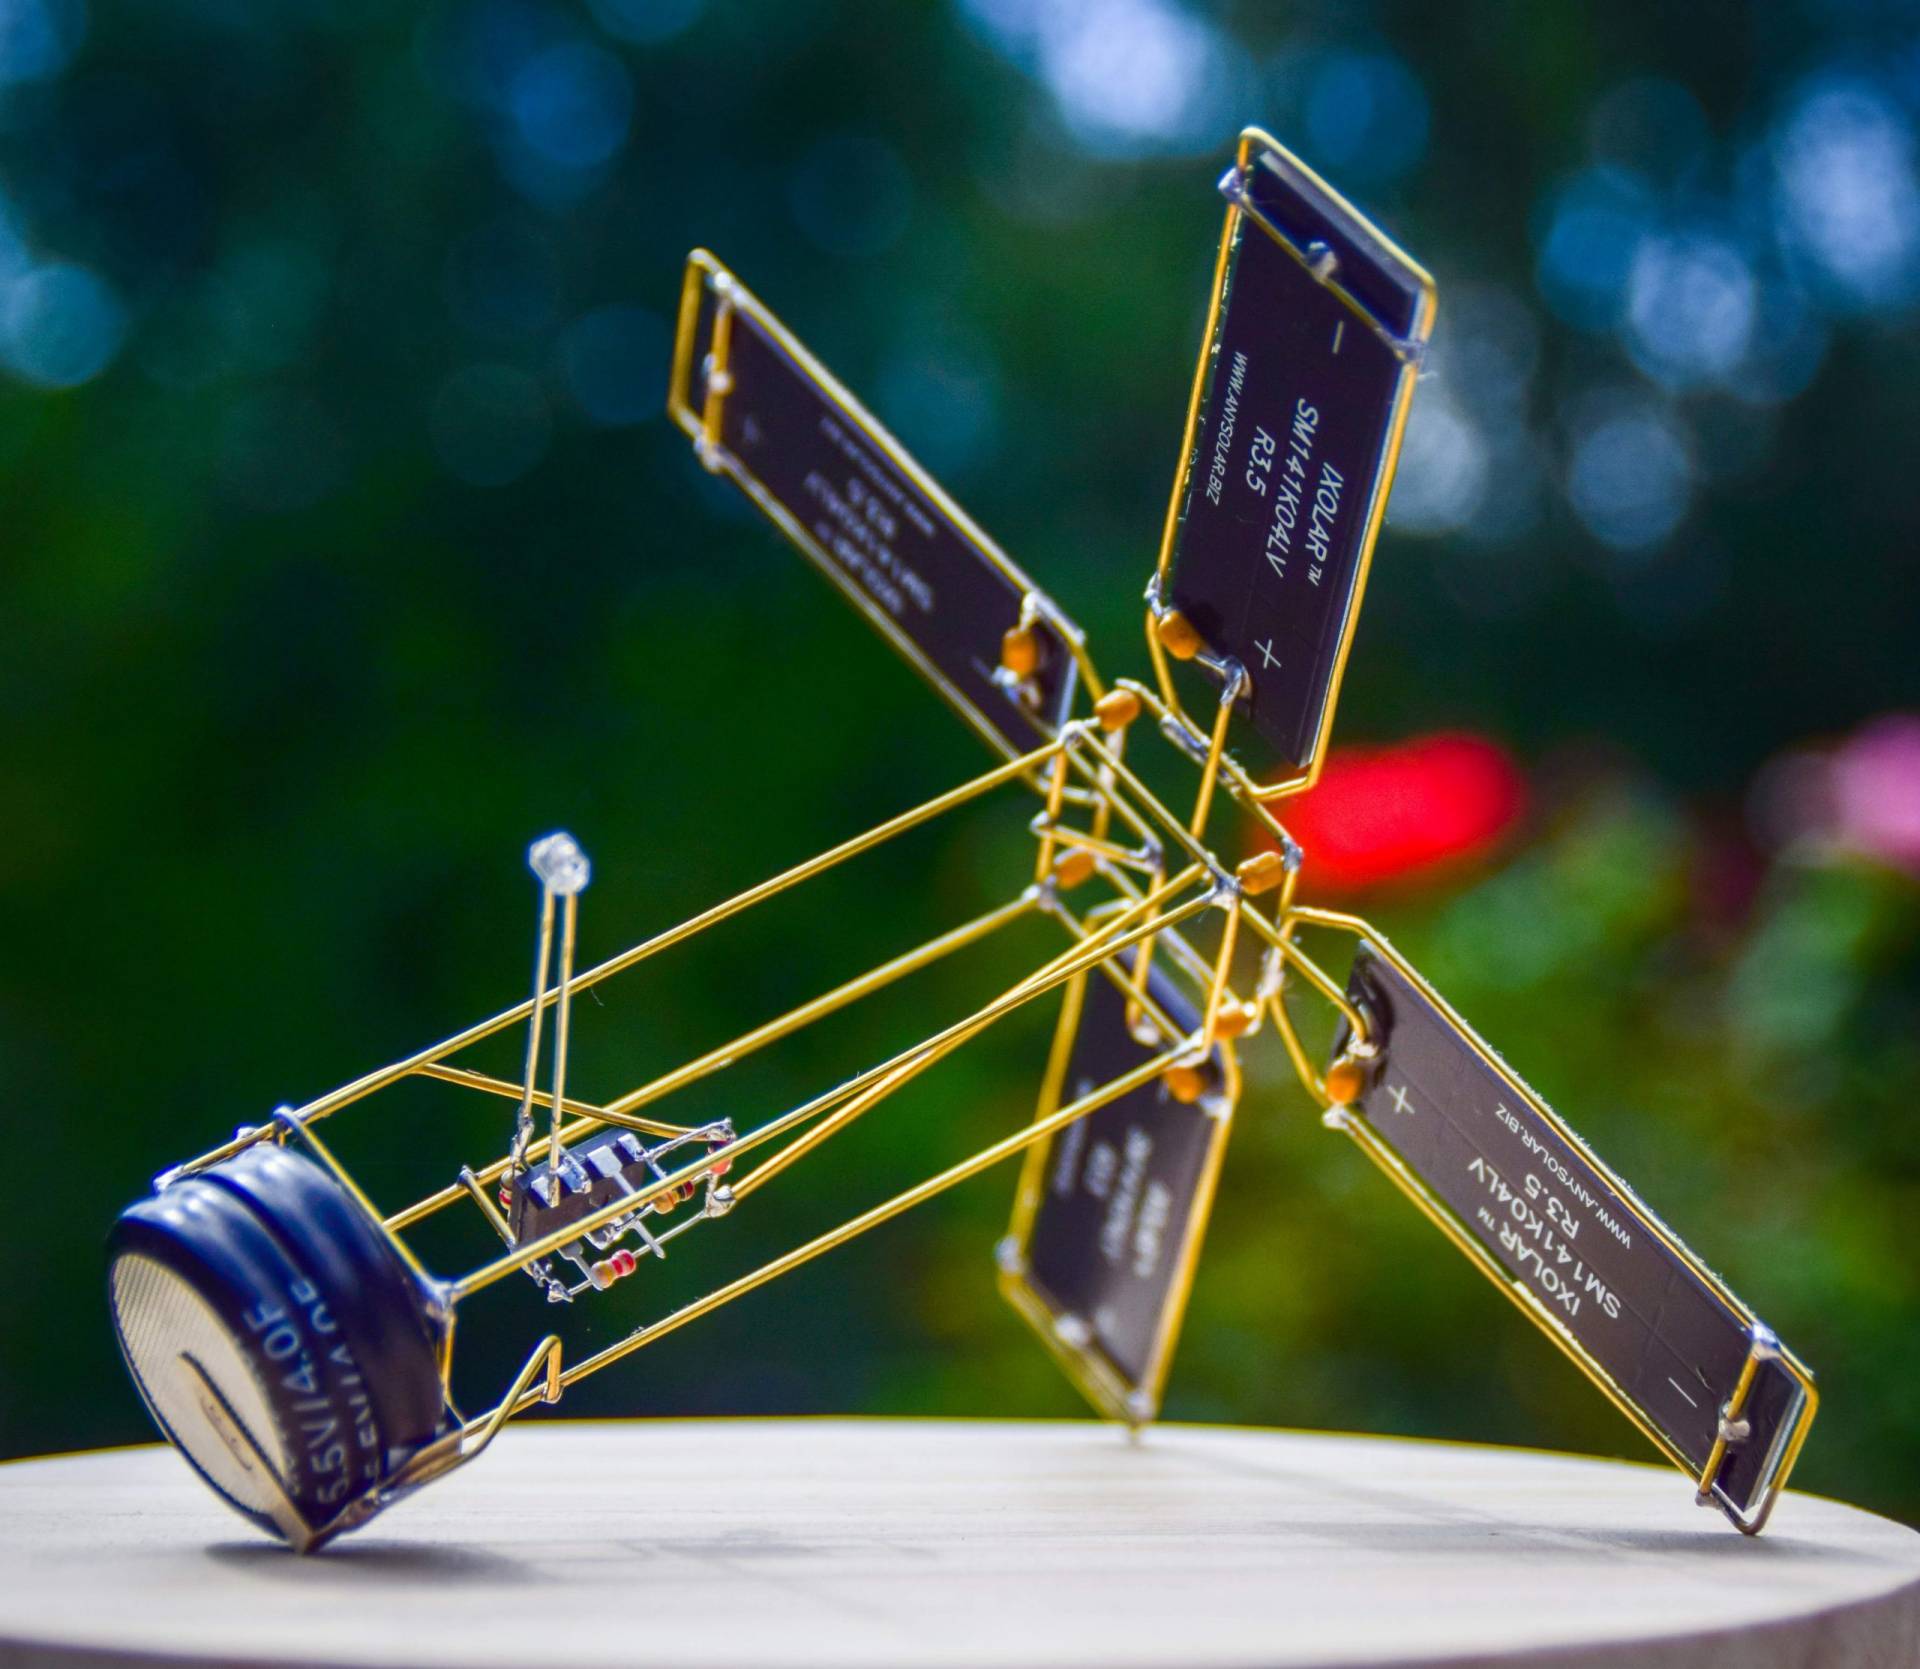
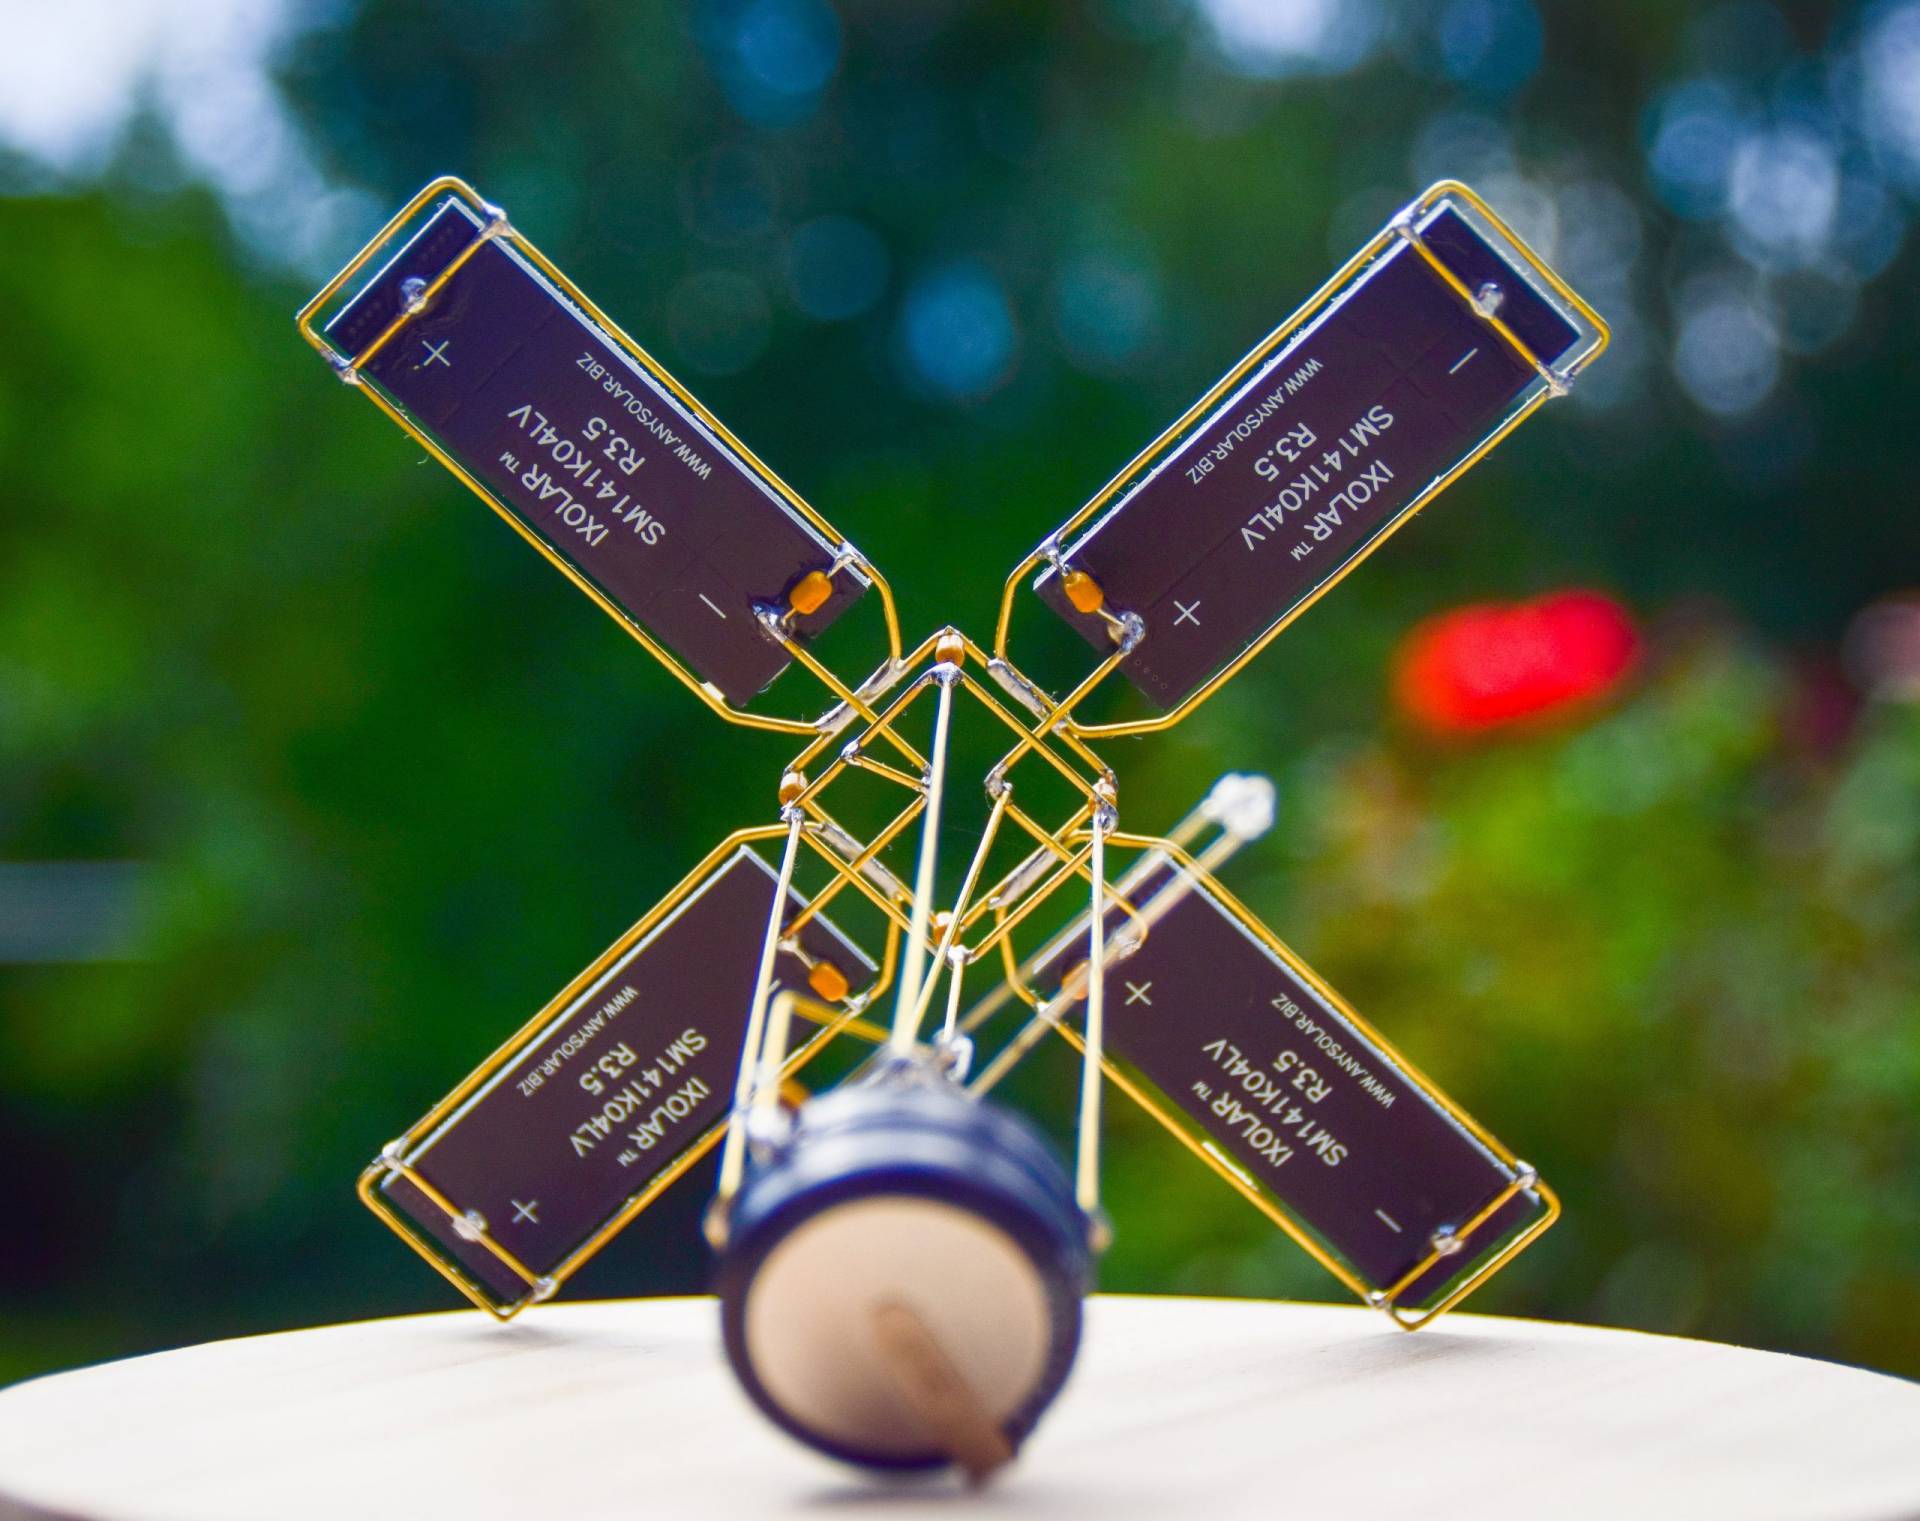
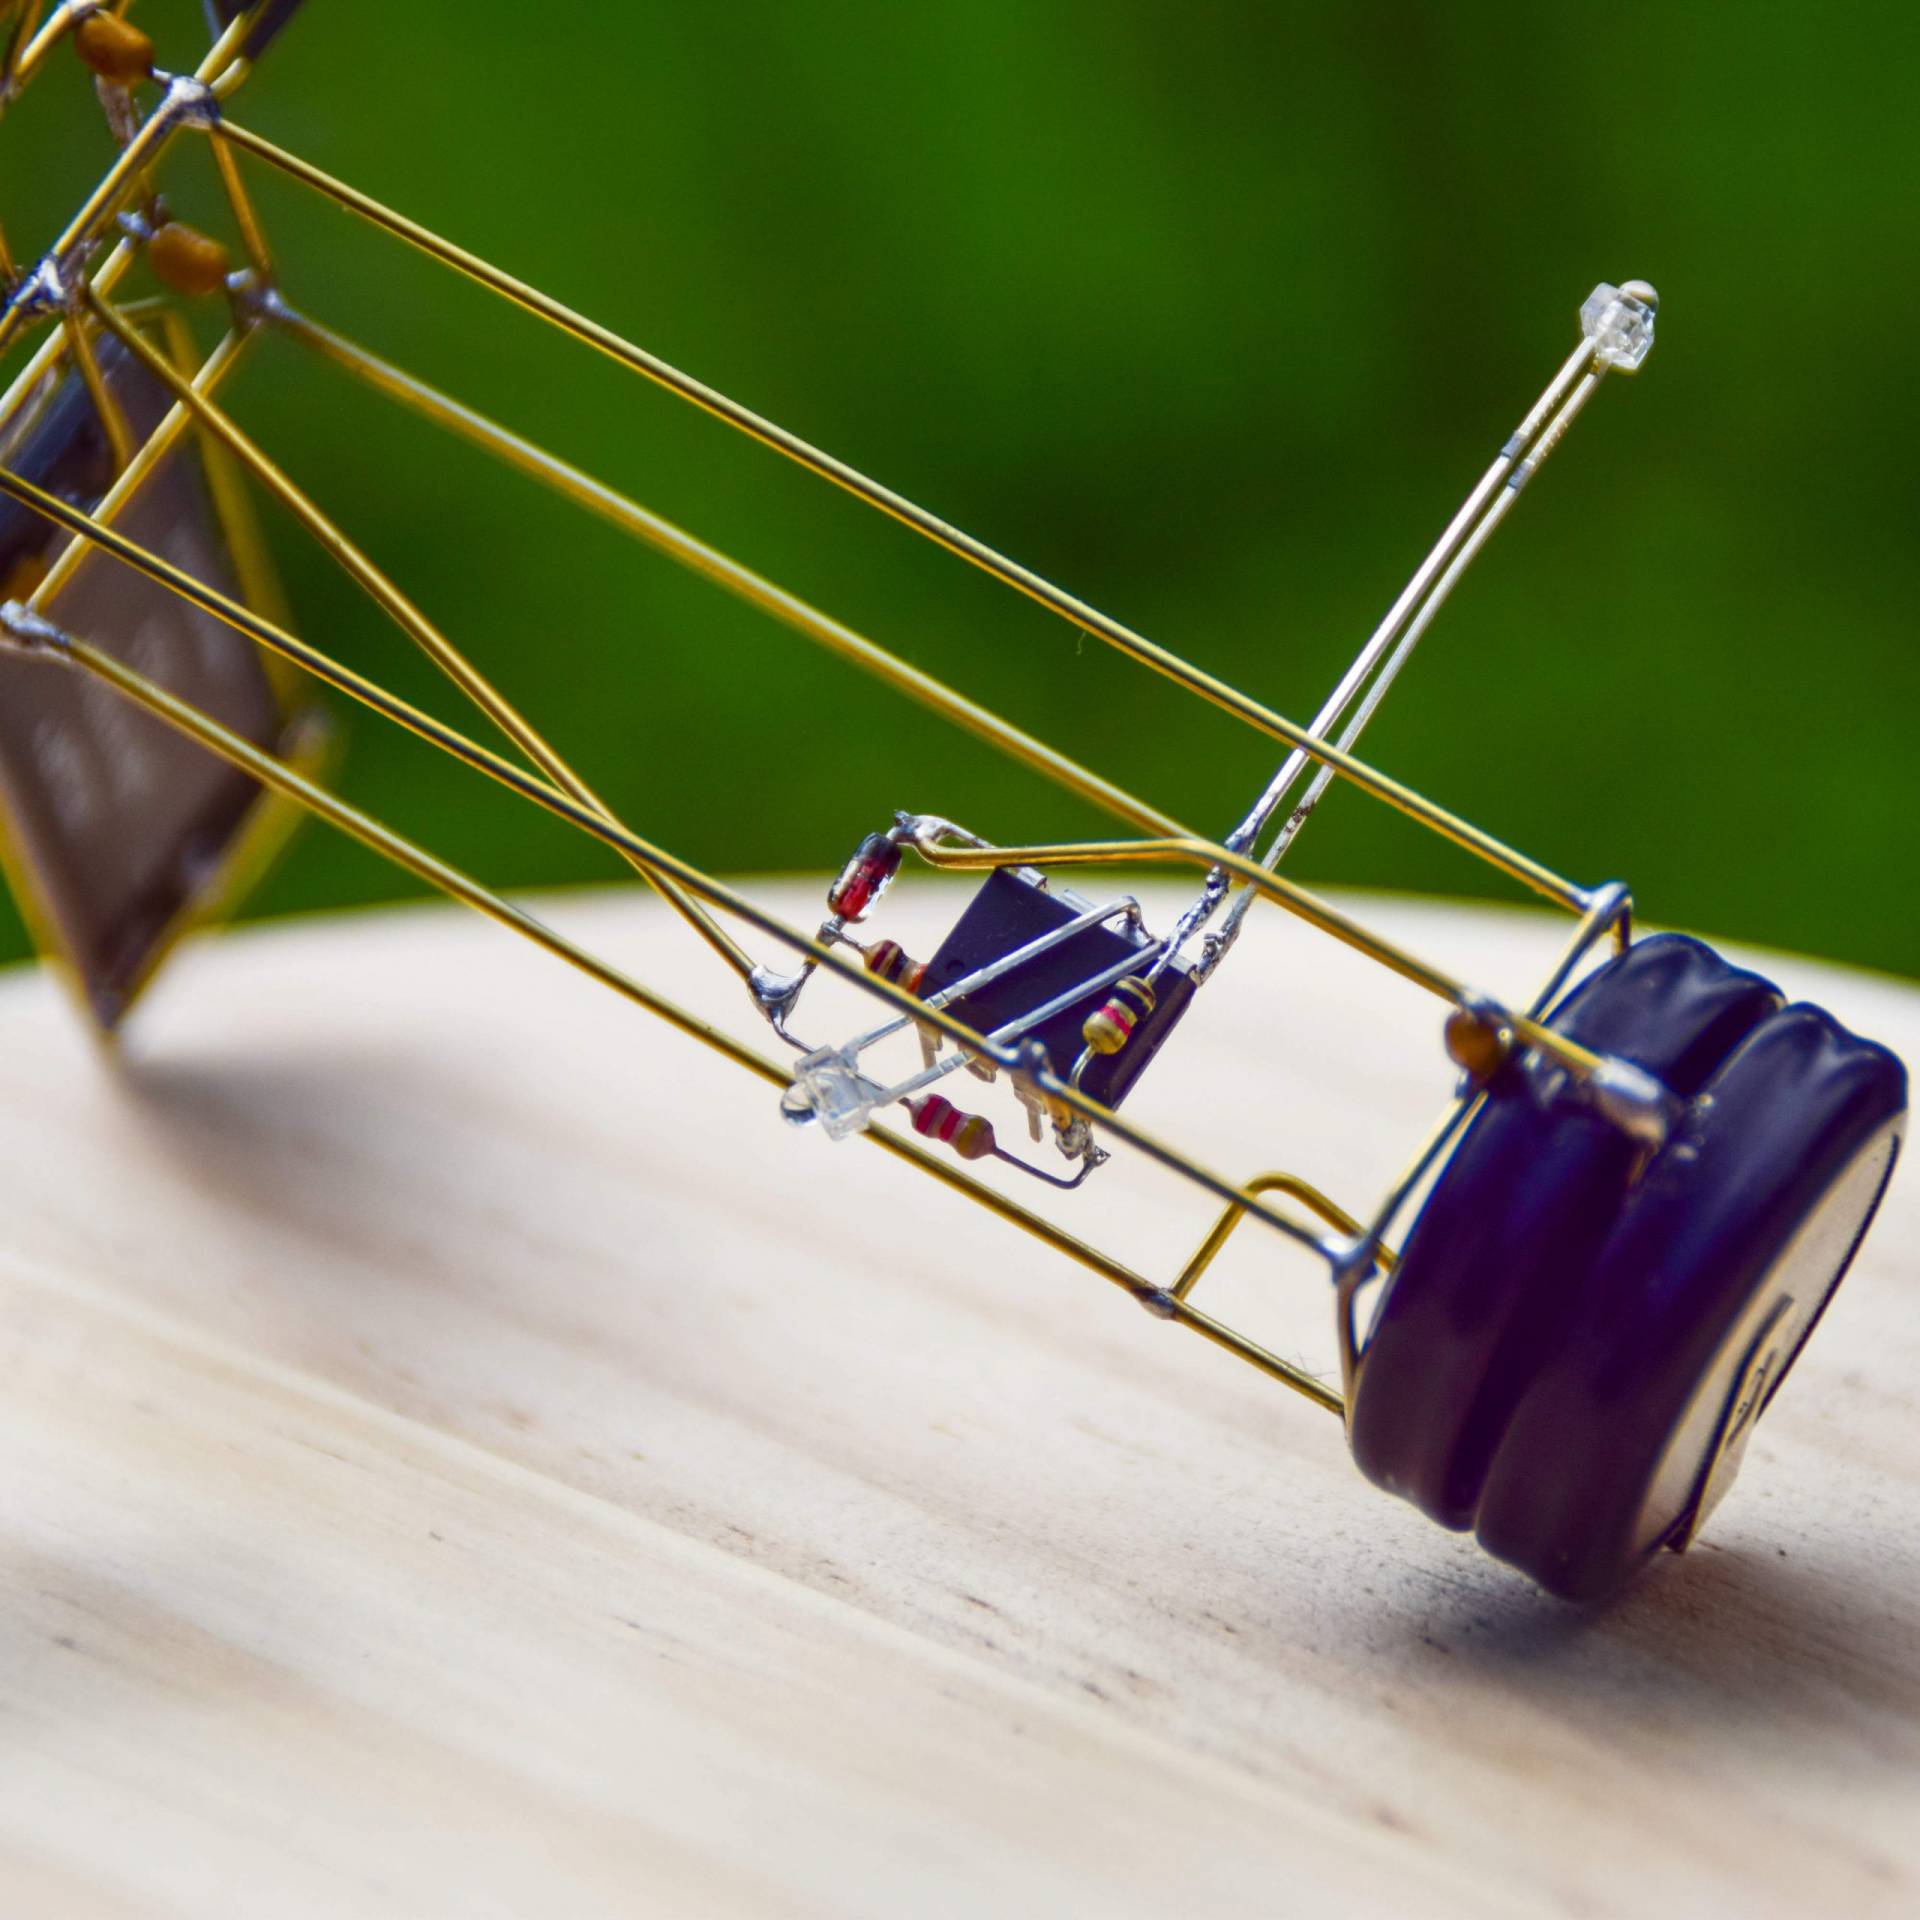
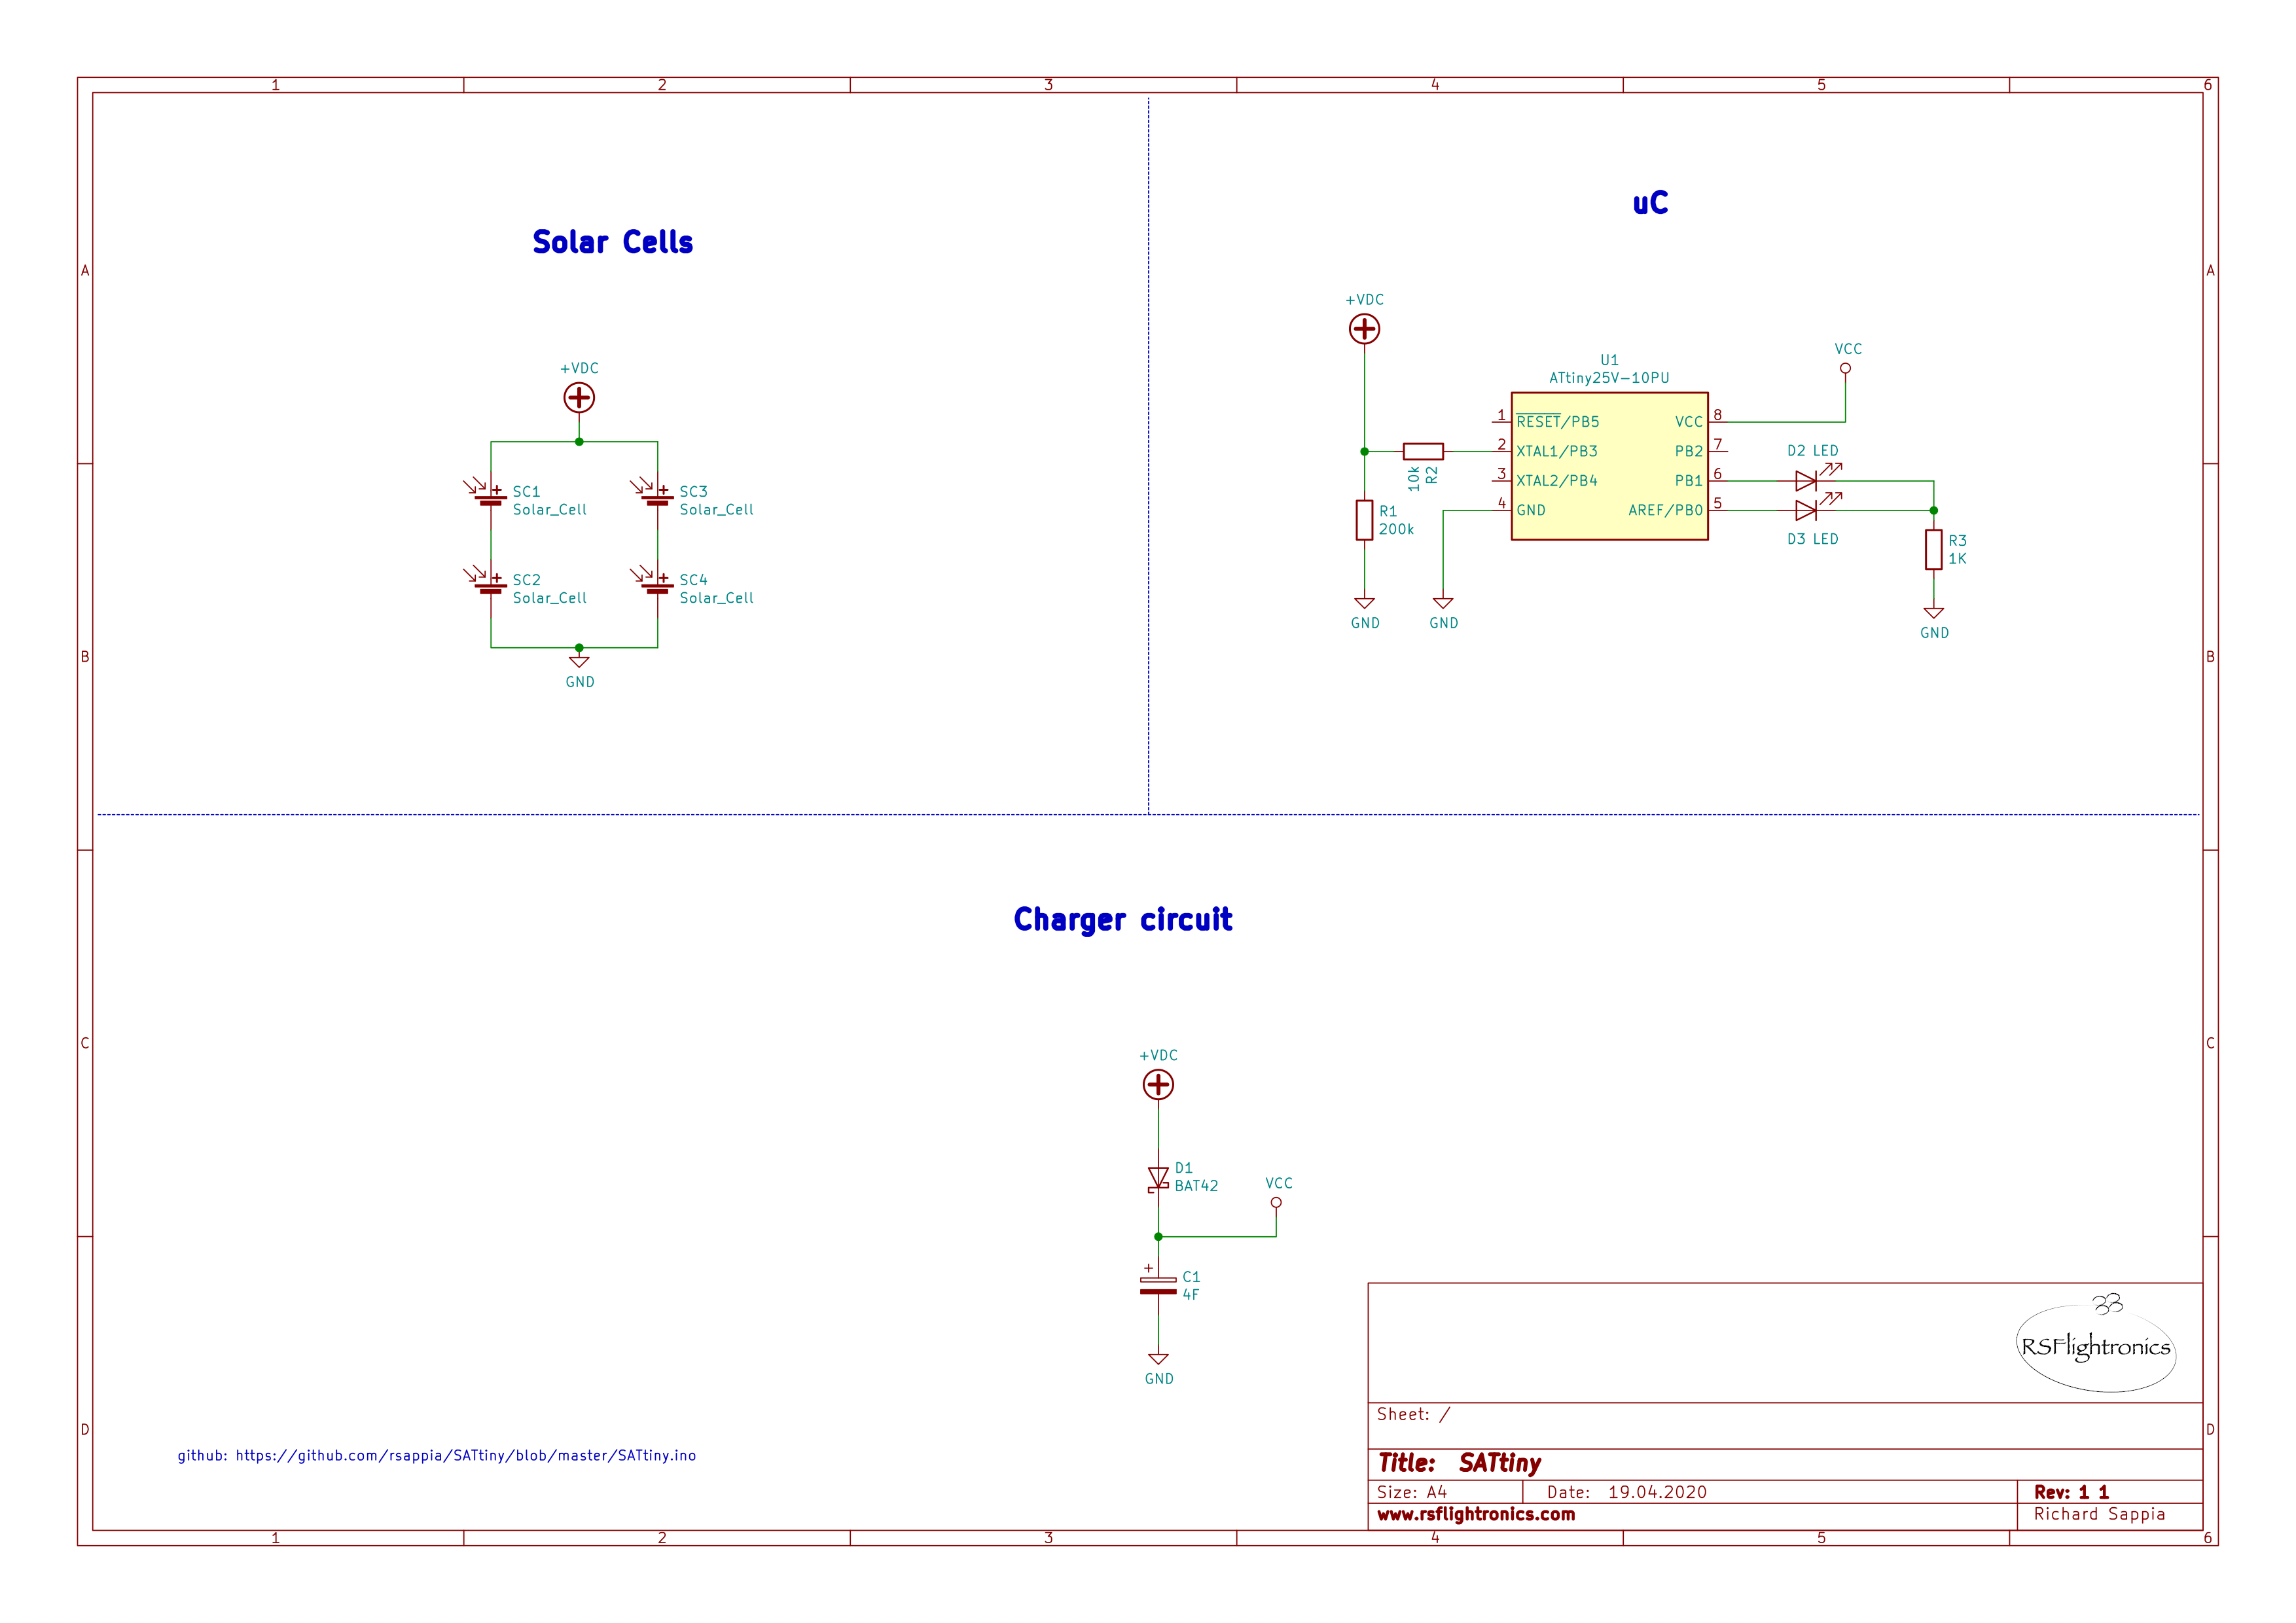
Sattiny´s electronic guts
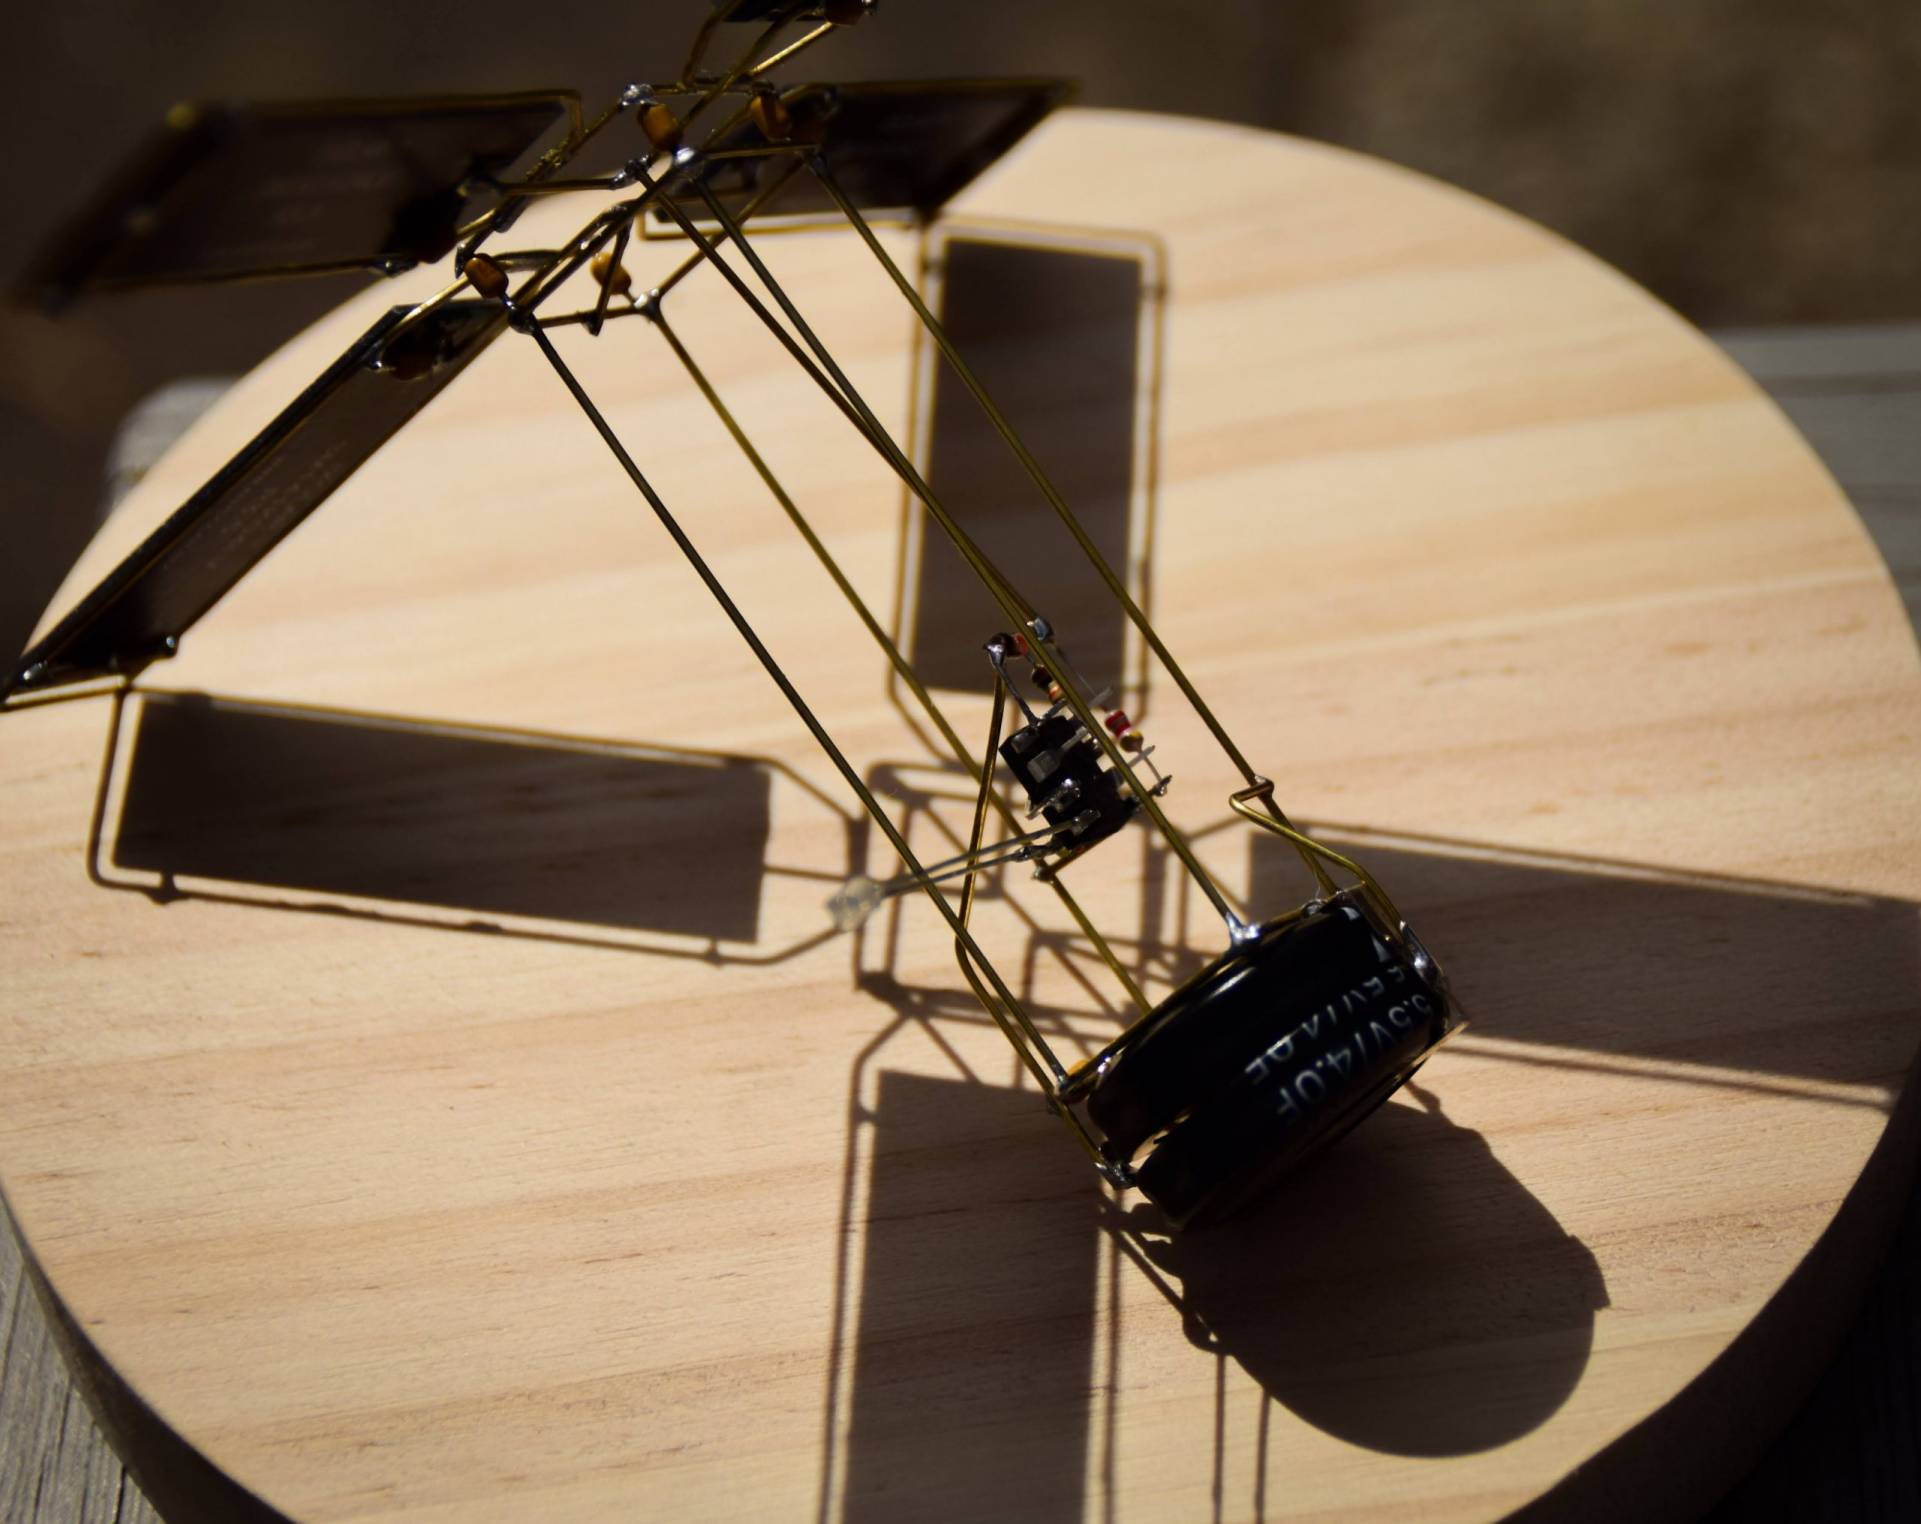
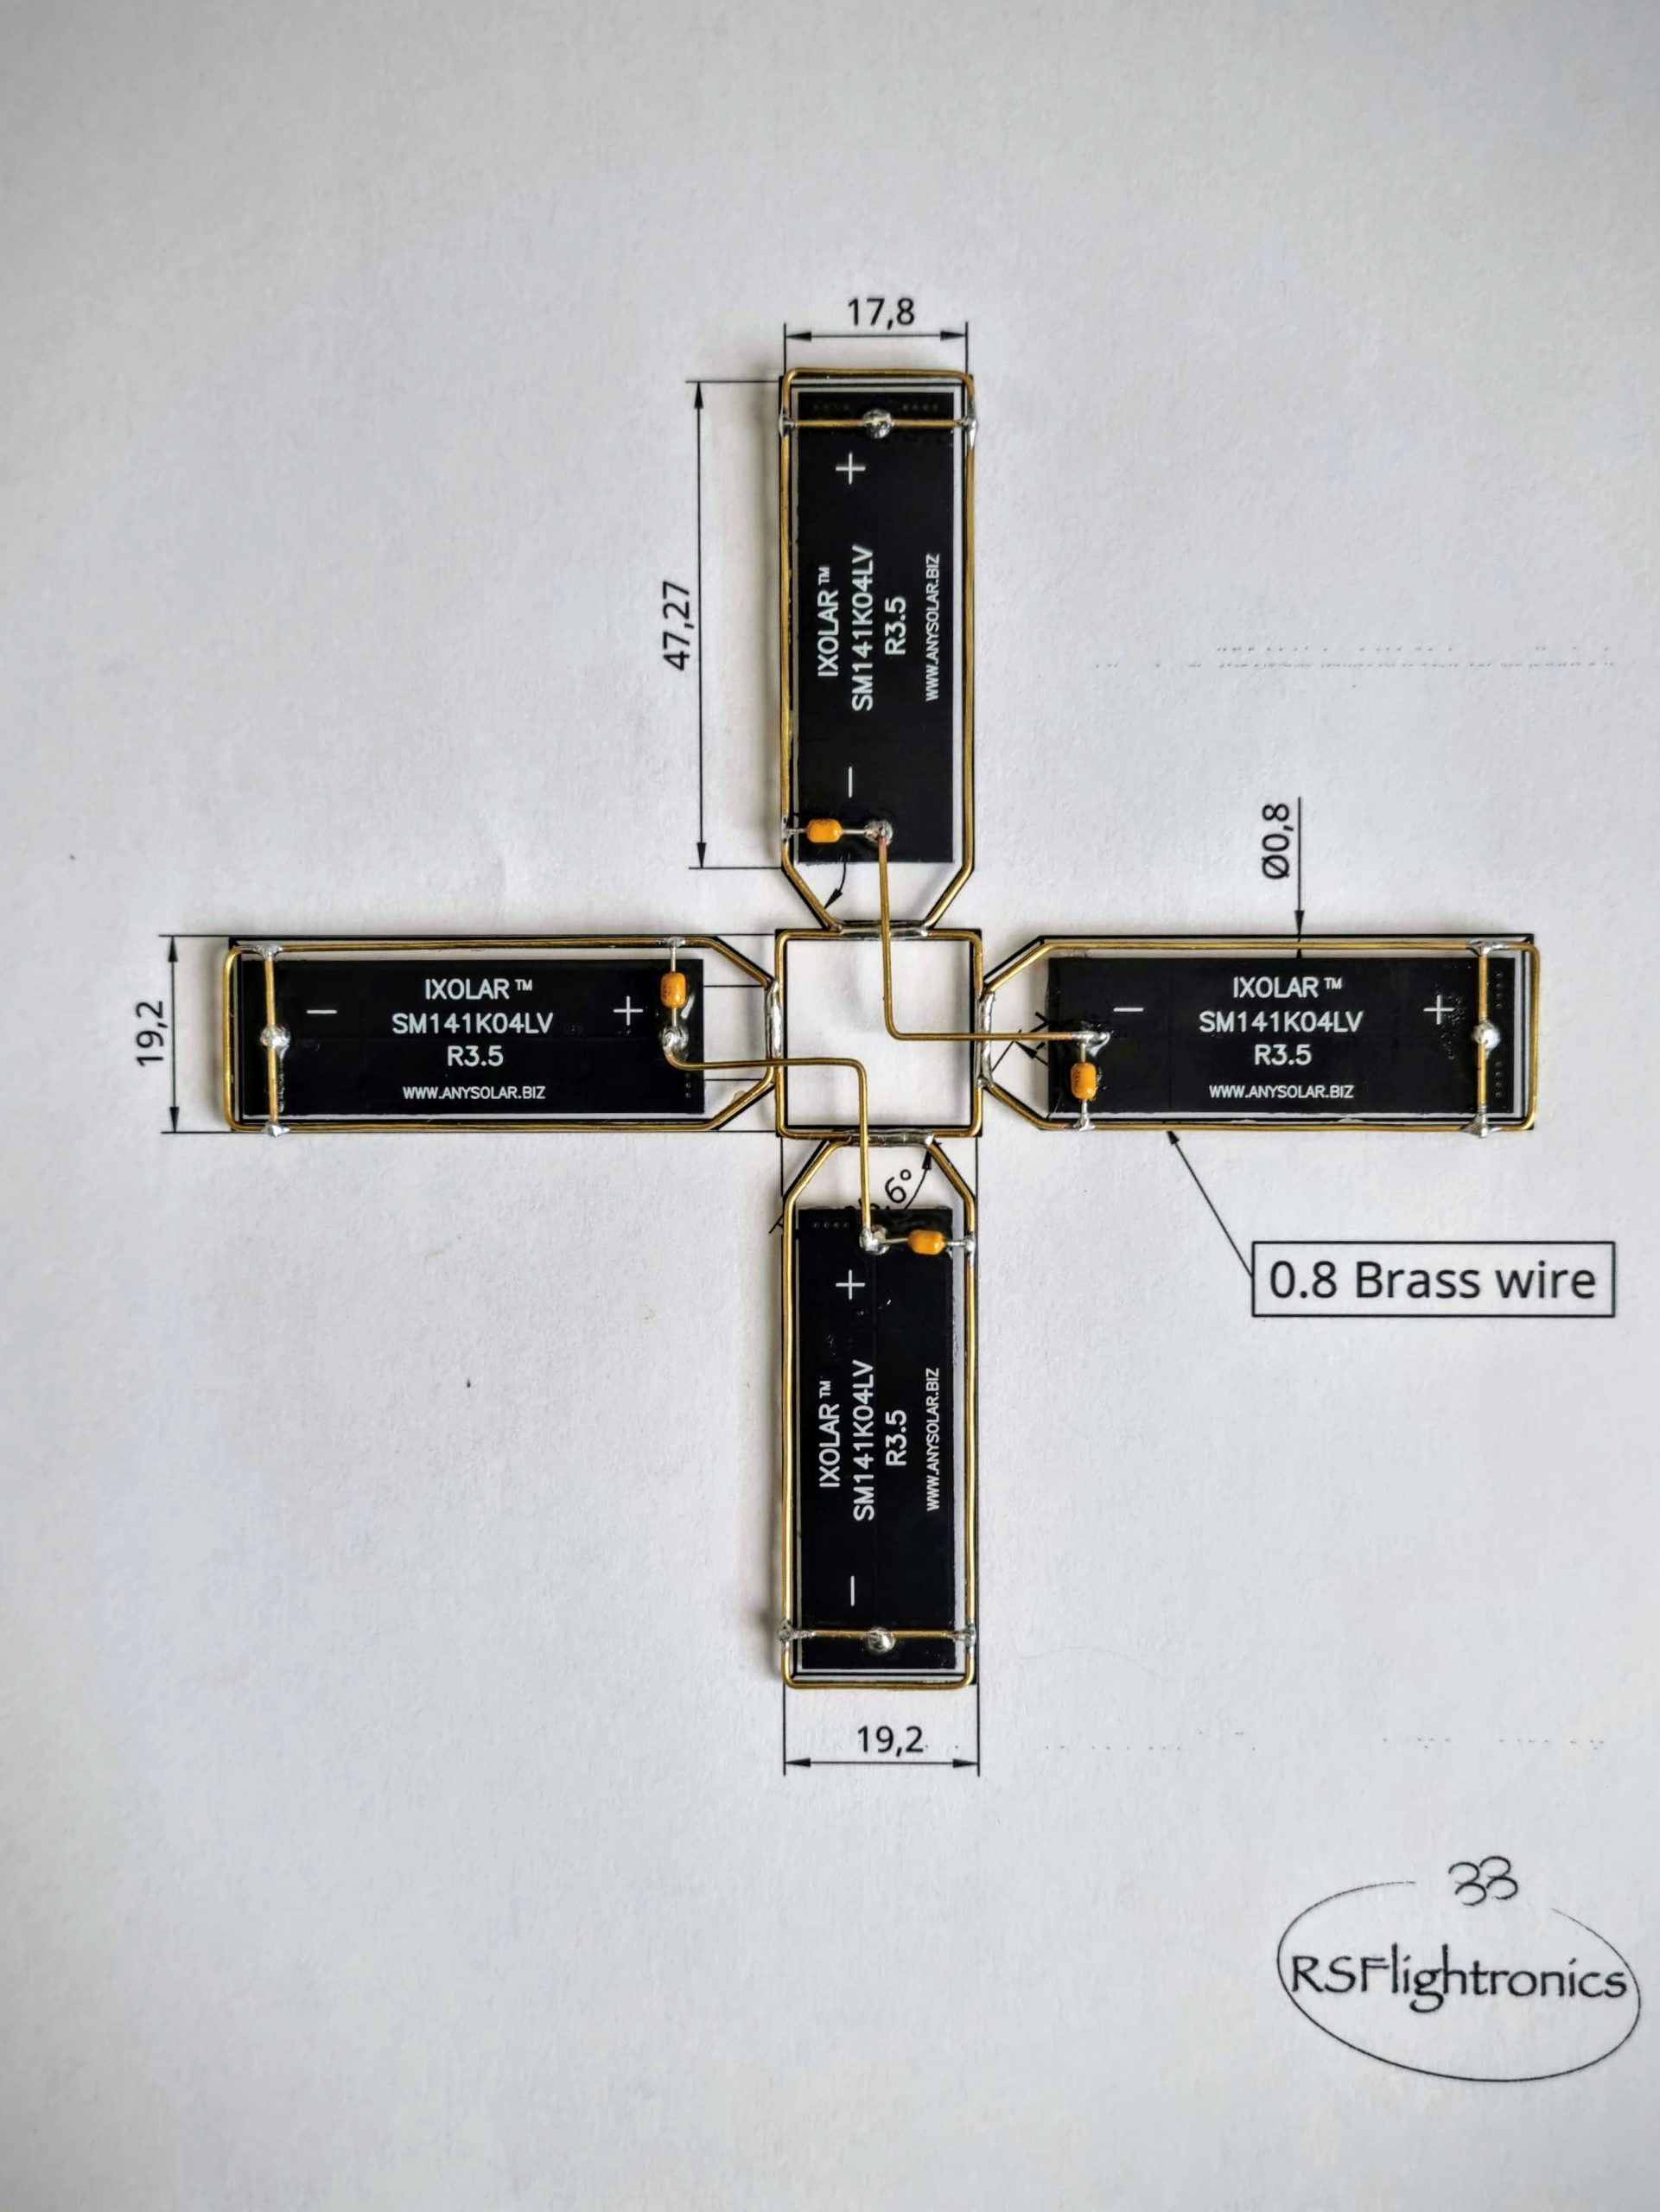
The same electronic used for the original sAttiny has been applied here. The only differences are the new solar cells and an additional 4uF gold cap connected in parallel to the previous one.
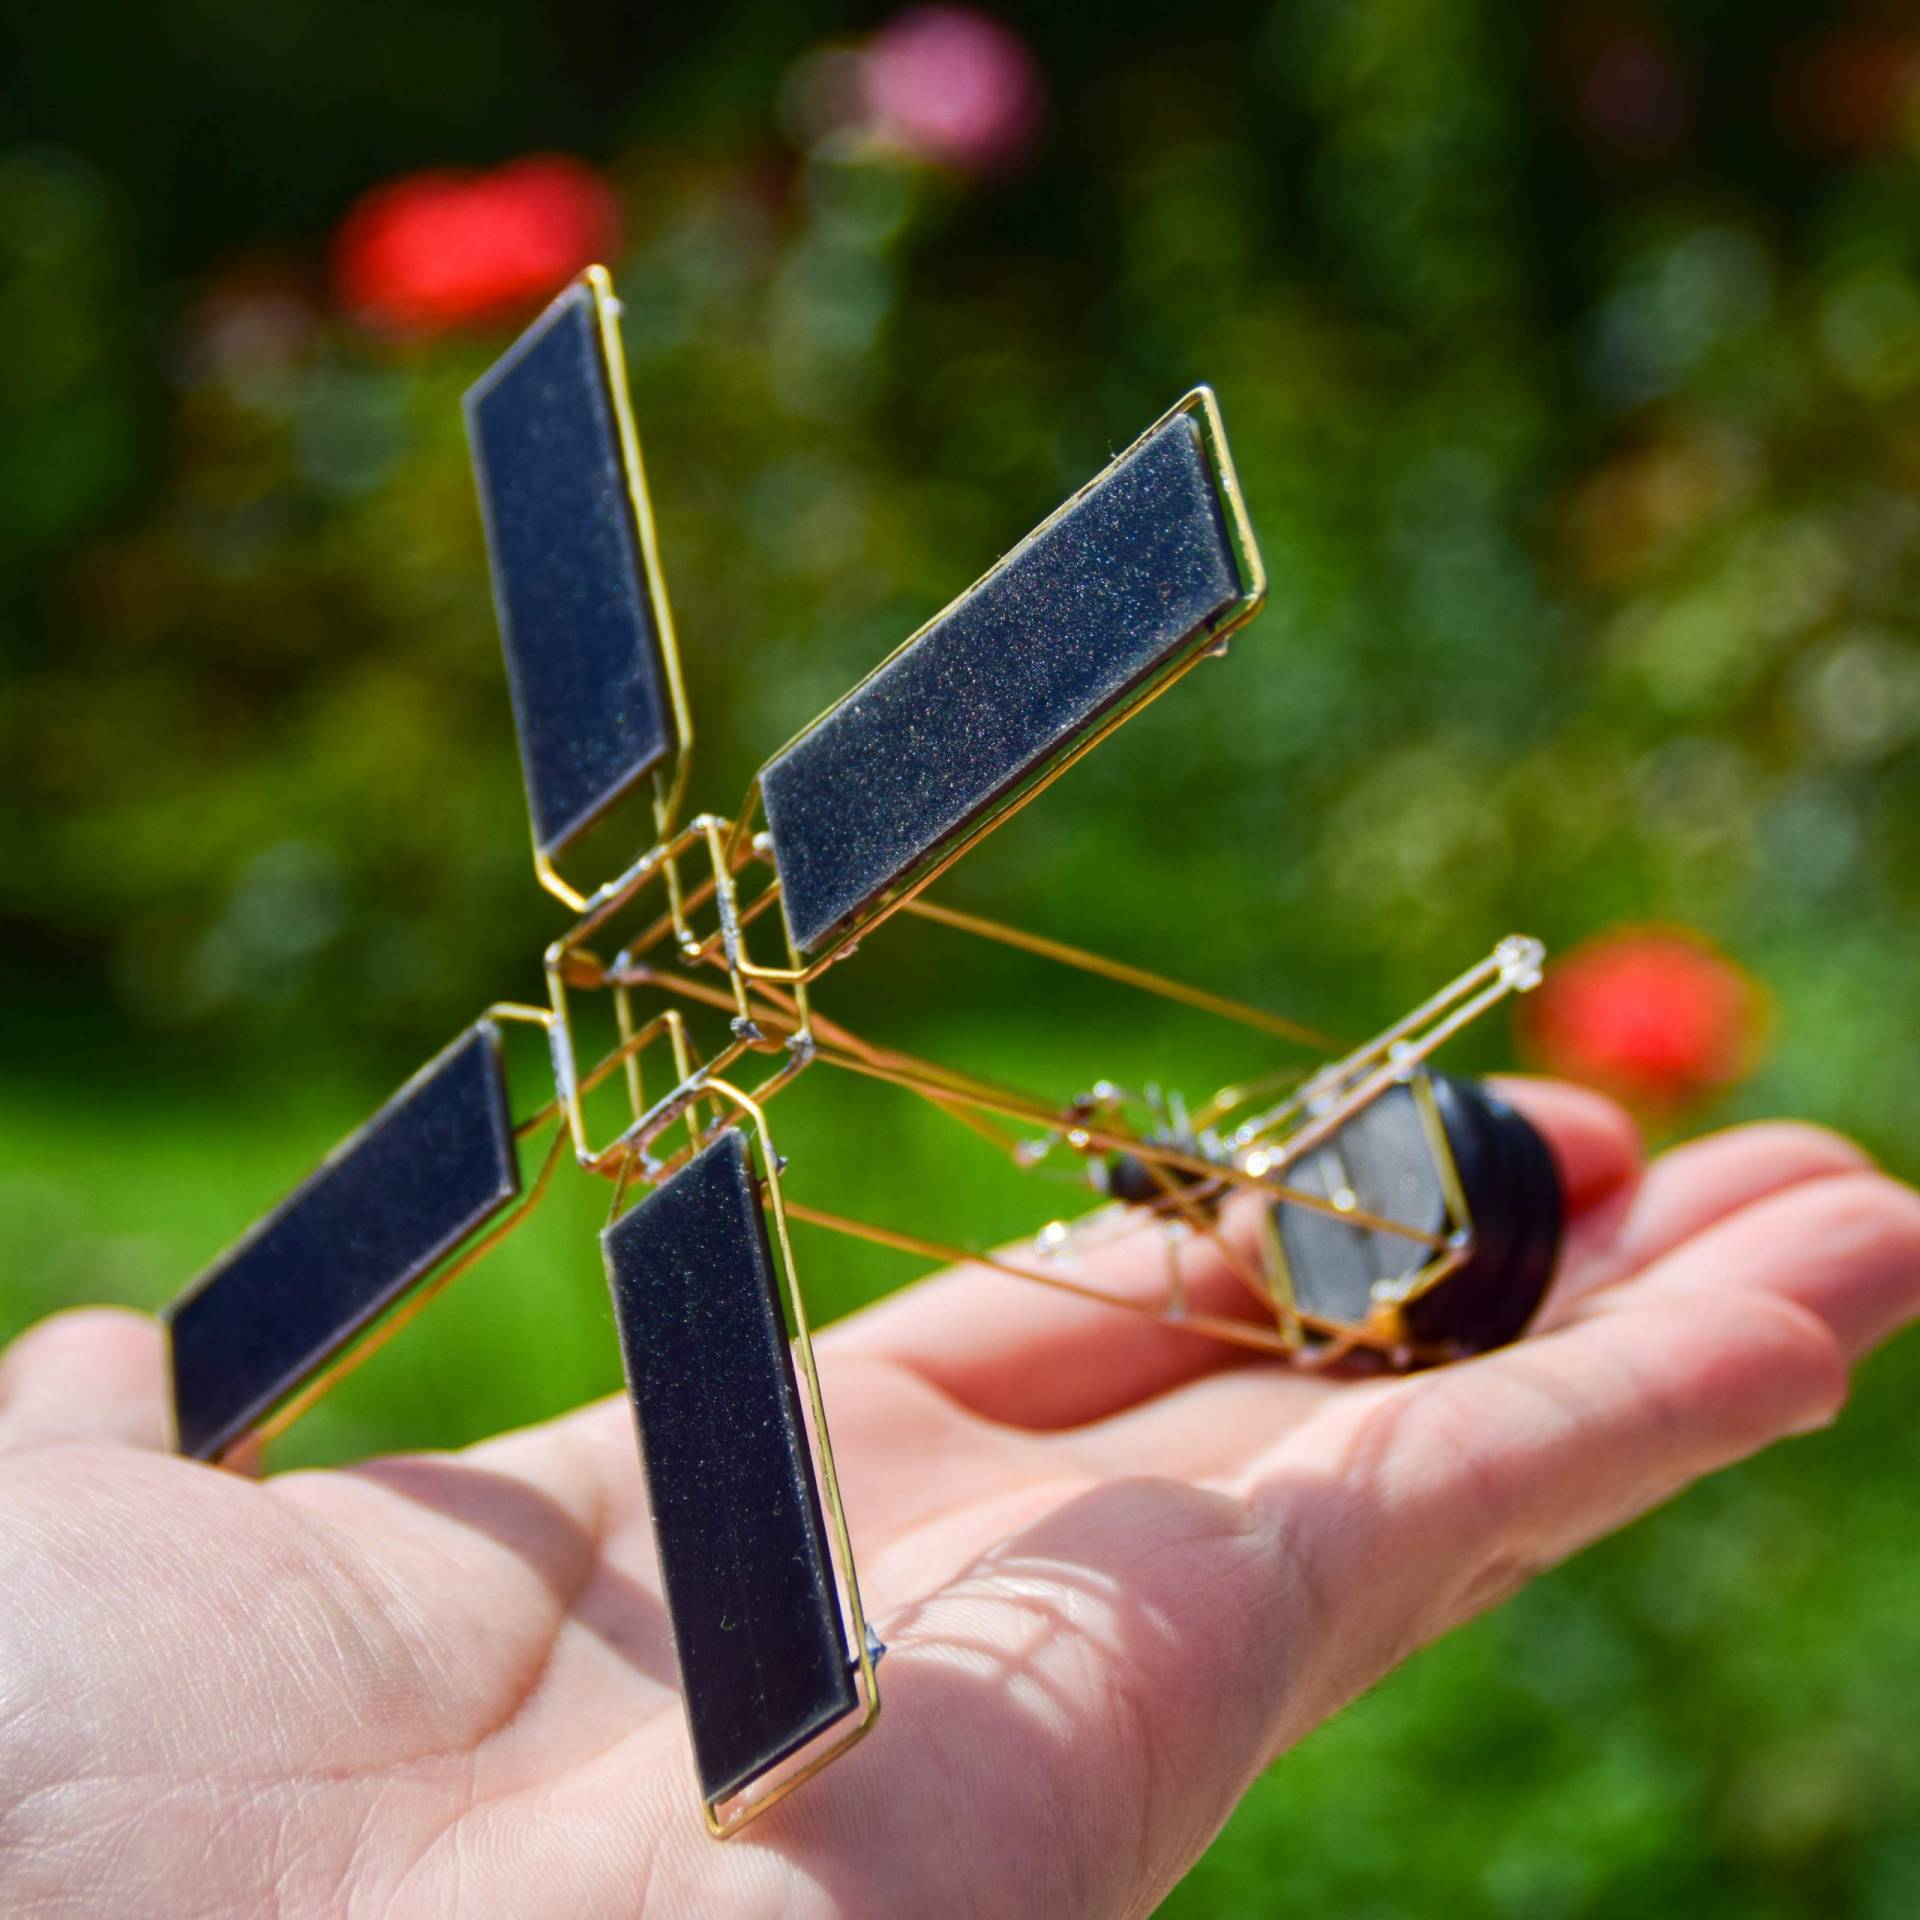
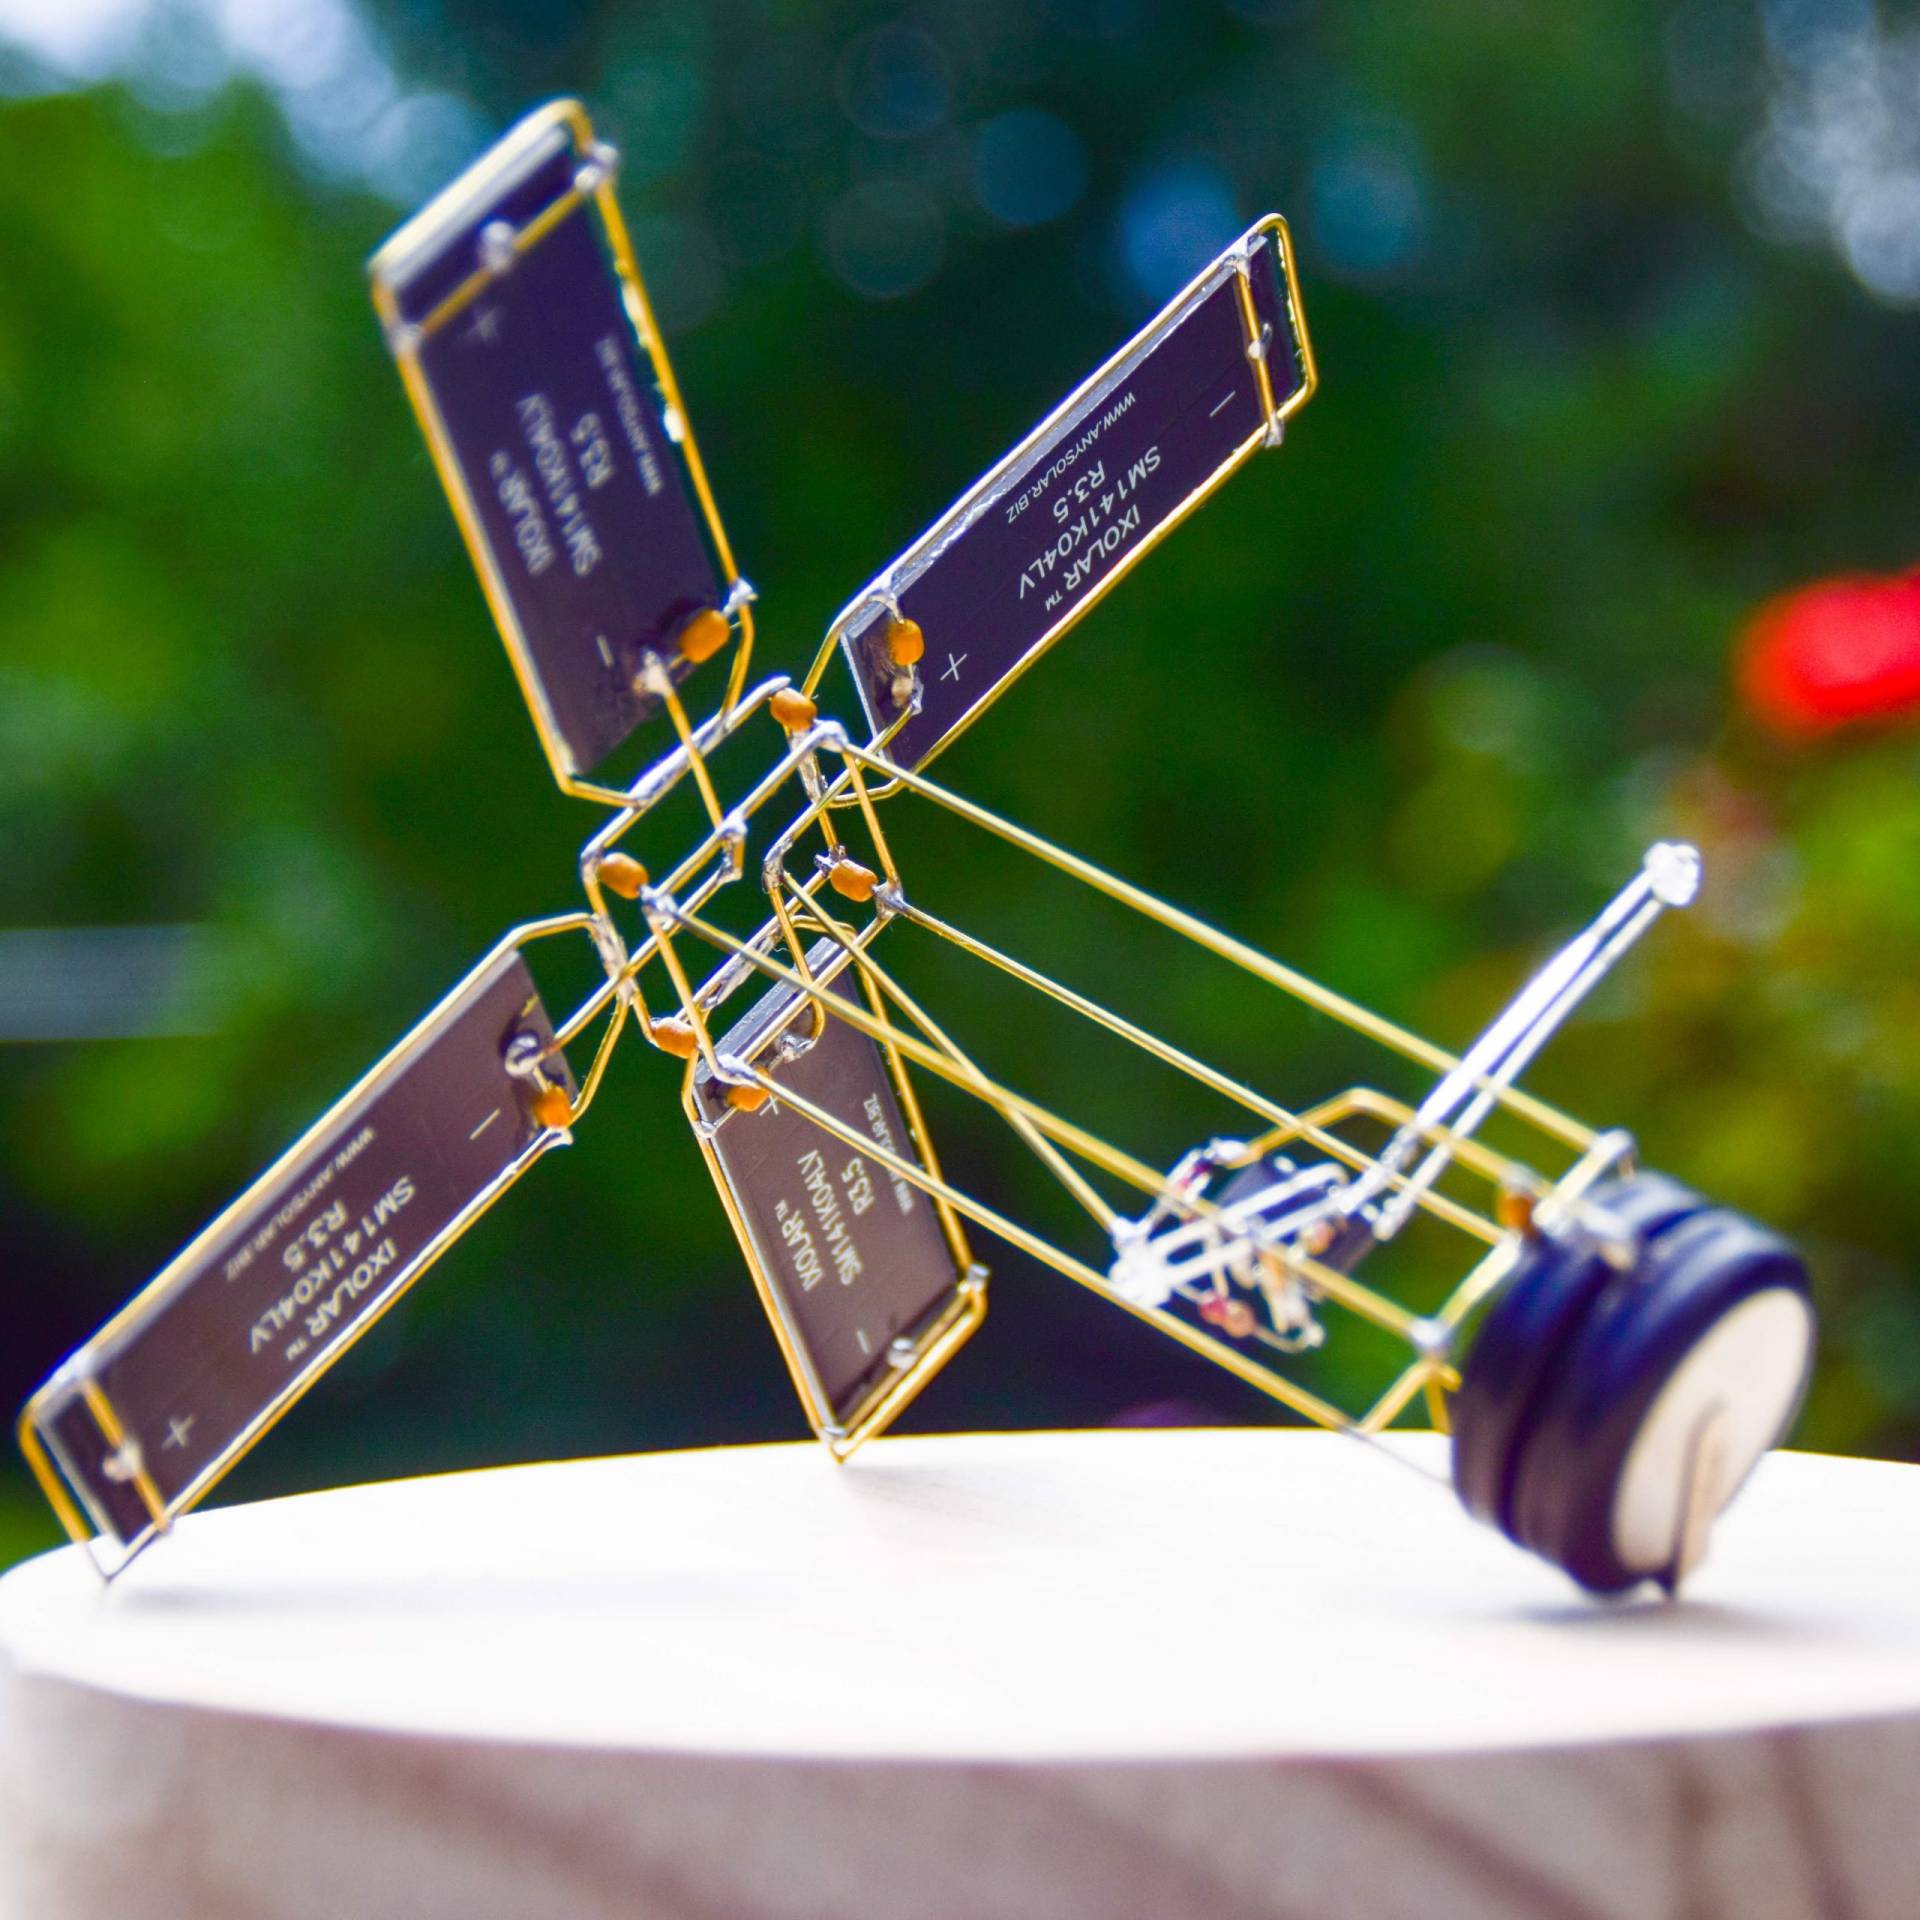
The following solar cells were used for this project :
- IXolar SM141K04LV
Schematic
Github repo
All details related to the code running in the Attiny can be found in the link below:

Another awesome build! I’m going to be building this one too. Great idea on the jigs, I had the same problem with the wire!