
Contents
Introduction

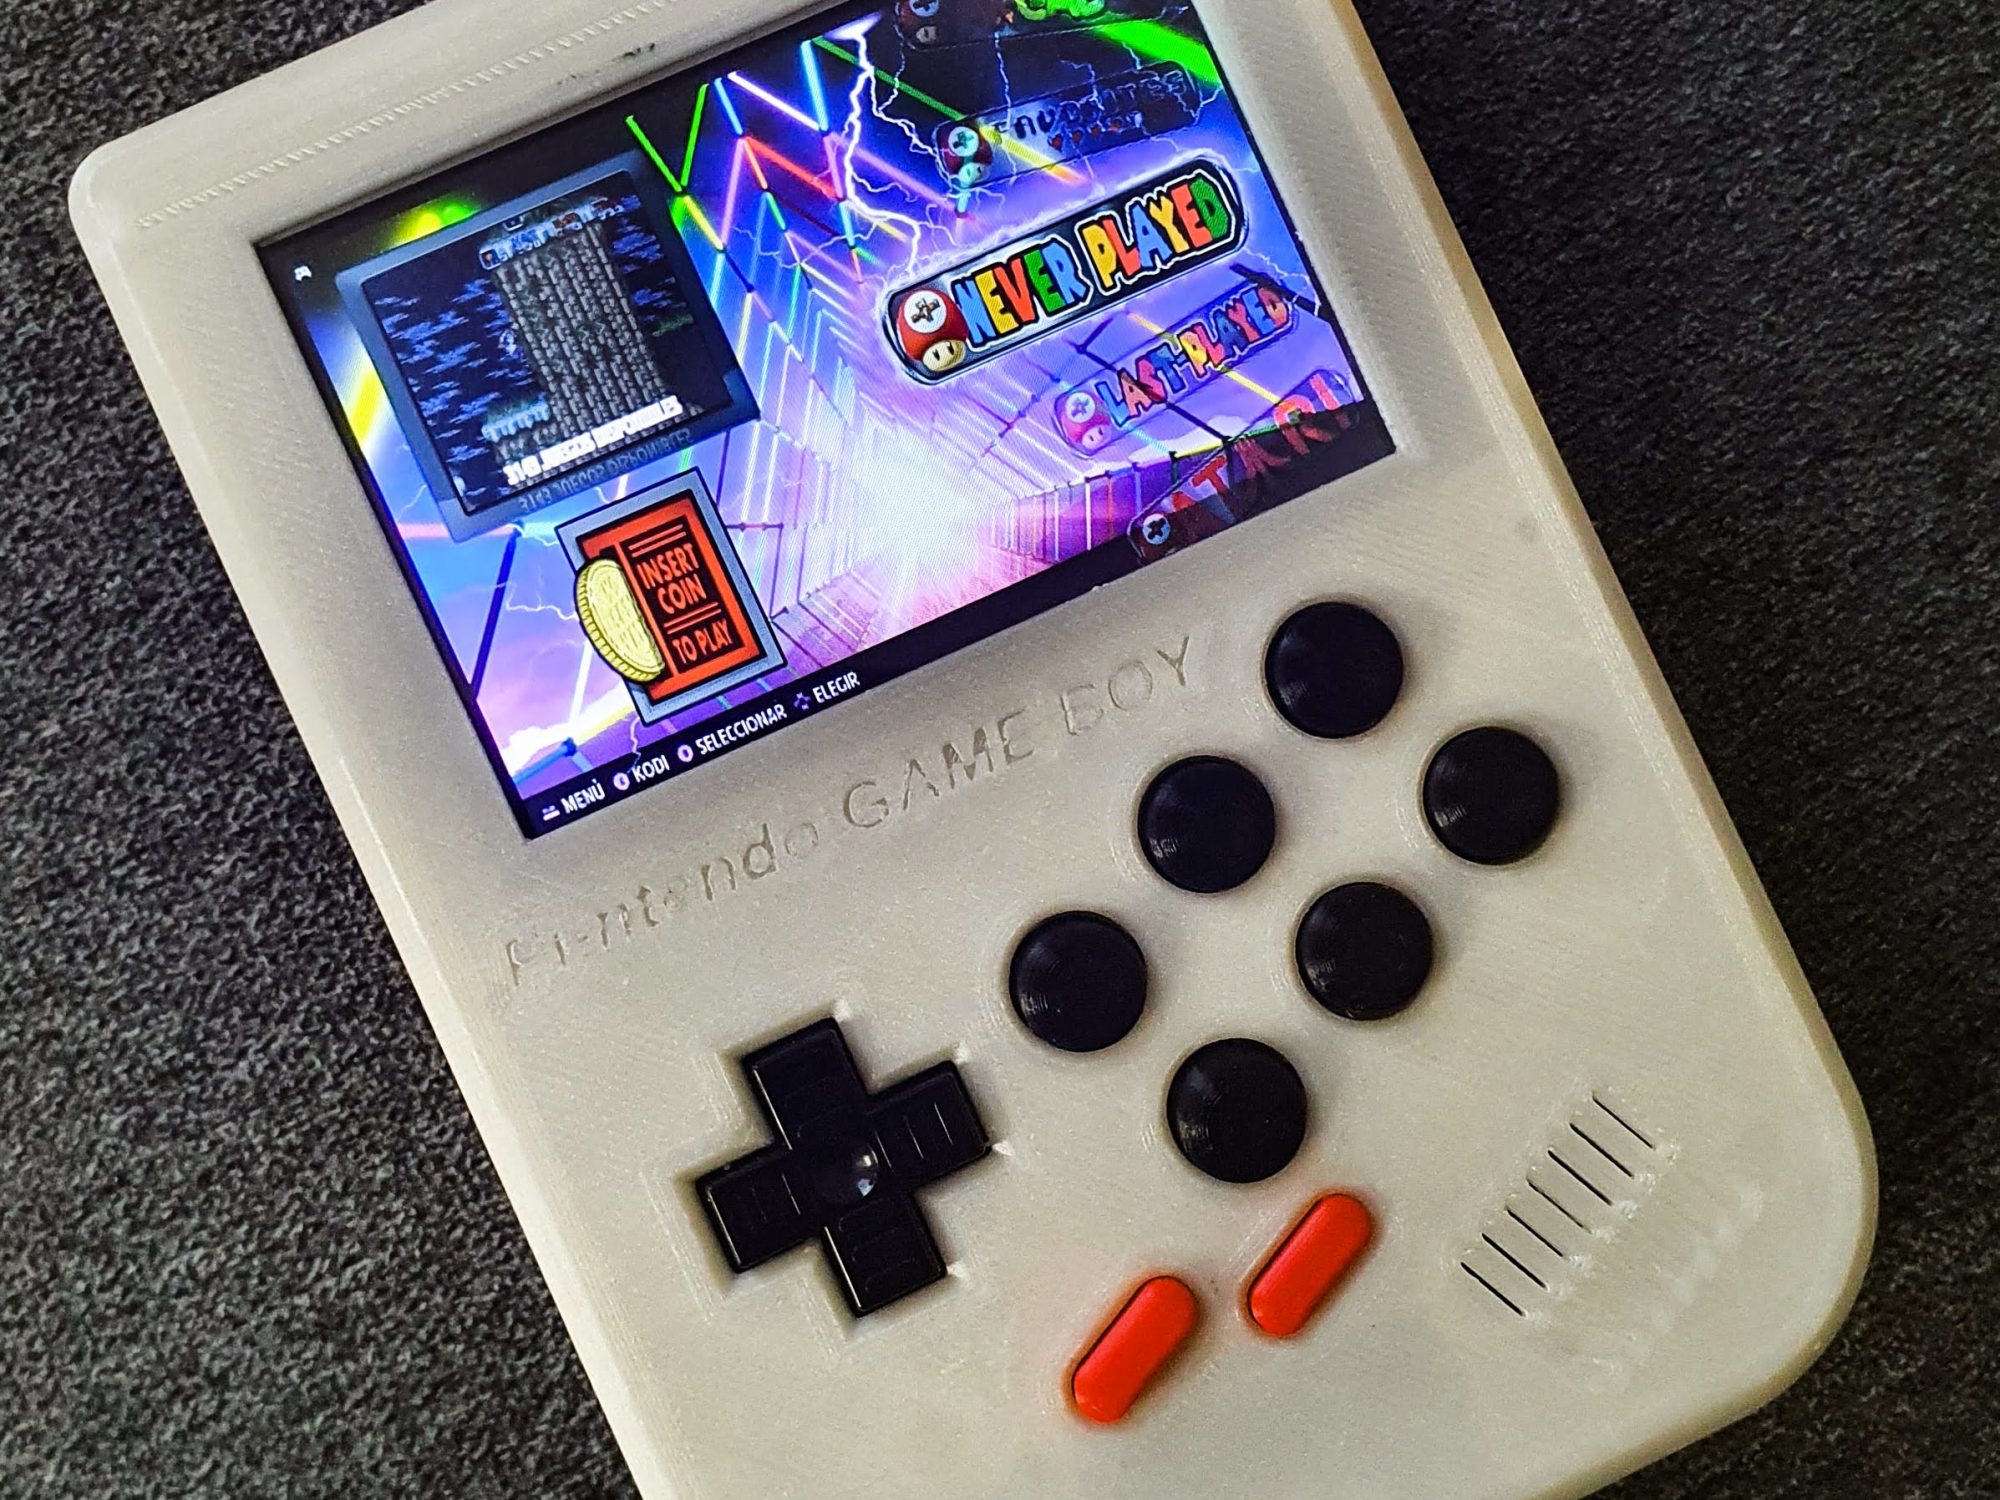
In this post, I will be sharing all necessary steps and components so you can also enjoy playing the old good games in a nice format 😉
The idea for this project is to create a retro emulator console without requiring any specific board with dedicated electronics for this particular model. There is a lot of soldering involved during the building process, but hey! at the end of the day, you can get in your hands a very decent setup for less than 100€!
Features
- Raspberry 3B+ inside
- 3.5 HDMI Display
- Analogic joystick
- USB C charging port
- 3000mAh LiPo battery
- Brightness control
- Amplified audio output
- Gameboy original form factor
- All components, including buttons, are 3D printed
Project progress
This project had several iterations until it reached its mature state where I can say that it is ready to see the light :).
The following two videos show a summary of the two main milestones.
Part list
These are the necessary components, please notice that the linked items are only meant to show you exactly what I used, in order to make sure that the components will fit well in the 3D printed case.
- Raspberry Pi 3B+
- Micro SD Card ( The size of the card will depend on the installation you choose, in my case 64Gb were ok to run Batocera)
- YuXi DIY 6 Buttons PCB Board Switch Wire Connector Kit For Raspberry Pi GBZ For GameBoy GB Zero DMG-001
- 3.5 inch LCD HDMI USB Touch Screen Real HD 1920×1080 LCD Display
- EREMIT 3.7V 3.000mAh LiPo Akku 605080
- 1 x MT3608 2A DC-DC Step-Up Boost Modul
- 1 x GY-TP4056 USB Li-Ion Lademodul 5V 1A 18650 (TYPE C Variant)
- 1 x PAM8403 Stereo Audio amplifier
- 1 x Gameboy speaker (Max 22,5mm Diameter)
- 1 x PSP 1000 Analog Joystick
- 1 x 12mm Metallic switch with integrated LED
- 1 x Arduino Pro Mini 3.3V
- 1 x Reparatur Set Game Boy Classic
This is a work in progress! Stay tuned for more!
